Getting Started - Ubuntu
- Requirements
- Update the server and install Apache
- Install PHP
- Install Database
- Virtual Host
- Let's Encrypt SSL
- Ioncube loaders
- Add new user for SSH
- Install Composer
- Install Ticaga
- Create an Admin Account
Requirements
Ticaga requires the latest version of PHP, this is because we pride ourselves on being up-to date with security updates, functions and cool new features.
Minimum requirements:
- PHP: 8.4
- MariaDB: 10.5.27 // MYSQL: 15.1
- Ioncube loaders: 14.0
- Composer
- Laravel 12.x
- Lets Encrypt for SSL
Environment:
We recommend Ubuntu 25.10 on a Virtual Private server with at least 2GB RAM.
Update the server and install Apache
So let's update the server and ensure everything is ready for us to continue.
sudo apt update -y && sudo apt upgrade -yNow let's install Apache:
sudo apt install apache2 -yLet's start and enable Apache on boot:
sudo systemctl start apache2 && sudo systemctl enable apache2
Install PHP
Let's install PHP:
sudo apt install php8.4 php8.4-cli -y
sudo apt install php8.4-{bz2,curl,mbstring,intl,fpm,gd,mysqlnd,opcache,zip,intl,common,bcmath,readline,apcu,xml,dom,mcrypt} -y
sudo apt install php-cli php-mailparse -y
Install Database
To use Ticaga we need a database, we recommend MYSQL, to install MySQL just run the following:
sudo apt install mysql-server -yNow we need to start and enable the MySQL service just like Apache:
sudo systemctl start mysql && sudo systemctl enable mysqlNow you can run the MySQL installation set-up:
sudo mysql_secure_installationThis loads the installation for MySQL, find out more and the questions here.
Time to create the database and user for Ticaga:
mysql -u root -pEnter your root password.
CREATE DATABASE ticaga;
CREATE USER 'ticaga_user'@'localhost' IDENTIFIED BY 'p@s3w0r$2024!';
GRANT ALL PRIVILEGES ON ticaga.* TO 'ticaga_user'@'localhost';
FLUSH PRIVILEGES;
exit;
ticaga = MySQL Database Name
ticaga_user = MySQL Username
p@s3w0r$2024! = MySQL Password (Please don't use this)
ticaga.* = Database name and wildcard. (You need the .*)
ticaga_user = MySQL Username
Congratulations you've now got the database ready.
Virtual Host
Okay, I'm sorry we've just called this Virtual Host, however that is exactly what it is, however to normal humans like ourselves, this is the configuration file which allows our domain (hostname) to show Ticaga.
You need to create a DNS Record for the subdomain (support.ticaga.com) if you aren't using your own domain for Ticaga (ticaga.com). We recommend a Subdomain for Ticaga to keep it away from your main website just for security, we recommend the same for a billing system like Blesta, WHMCS or ClientExec, keep them separate from Ticaga and your website.
Let's create the ticaga configuration file, in our example we're installing on https://ubuntu.ticaga.com for testing:
sudo nano /etc/apache2/sites-available/ubuntu.ticaga.com.confPaste and edit the following for your needs:
<VirtualHost *:80>
     ServerName ubuntu.ticaga.com
     DocumentRoot /var/www/ticaga/public
     <Directory /var/www/ticaga/public>
          Options FollowSymlinks
          AllowOverride All
          Require all granted
          <Files .env>
                Order allow,deny
                Deny from all
          </Files>
     </Directory>
     ErrorLog ${APACHE_LOG_DIR}/ubuntu.ticaga.com_error.log
     CustomLog ${APACHE_LOG_DIR}/ubuntu.ticaga.com.log combined
</VirtualHost>
You need to keep the /public folder because if you don't you'll expose all the Laravel files in the Ticaga installation.
Now we need to activate our new config:
sudo a2ensite ubuntu.ticaga.com.confAnd disable the default one:
sudo a2dissite 000-default.confNow restart Apache:
systemctl reload apache2Let's Encrypt SSL
Now we need to install Let's Encrypt, this is a way to get a free SSL Certificate for our Ticaga installation.
This allows you to use https://ubuntu.ticaga.com instead of http://ubuntu.ticaga.com.
sudo apt install certbot python3-certbot-apache -y
certbot --apache
If you're using Nginx you will need to change --apache to --nginx. We recommend Apache as it's easier to maintain.
Ioncube loaders
Ioncube loaders are required for Ticaga as we encode a few files for licensing purposes.
Without this your Ticaga installation will not work.
Firstly we need to install unzip:
sudo apt-get install zip unzip -yWe'll need that for Ticaga later too.
Let's grab the Ioncube files:
cd /tmp;
wget -N https://downloads.ioncube.com/loader_downloads/ioncube_loaders_lin_x86-64.zip
unzip ioncube_loaders_lin_x86-64.zip
Let's move it to PHP 8.4 loaders to the correct location:
We need to find out where the loader files are stored on Ubuntu, so let's run:
php -i | grep extension_dirours outputs: /usr/lib/php/20240924
Now let's move the files:
sudo cp /tmp/ioncube/ioncube_loader_lin_8.4.so /usr/lib/php/20240924Now we need to load them in the PHP.ini:
sudo nano /etc/php/8.4/apache2/php.iniPaste this under the [PHP] section:
zend_extension = /usr/lib/php/20240924/ioncube_loader_lin_8.4.soYou'll also need to edit the CLI.ini as-well eg:
sudo nano /etc/php/8.4/cli/php.iniElse you won't see the ioncube loaders working in ssh.
Add new user for SSH
Laravel doesn't like it when you run it in root, this is for security purposes. We agree with them it's safer, however you can use root.
adduser ticagaThis creates a user called "ticaga". You should have created a password whilst you added a user.
usermod -aG sudo ticagaThis allows you to add the user "ticaga" to the sudo group, this allows you to use sudo.
Install Composer
Let's install Composer, this allows us to install all the amazing vendor files to use Ticaga:
curl -sS https://getcomposer.org/installer -o /tmp/composer-setup.phpLet's run the installer:
sudo php /tmp/composer-setup.php --install-dir=/usr/local/bin --filename=composer
Install Ticaga
Let's log into the new user we created earlier:
su ticagaLet's give our www folder the correct permissions, this allows you to create the next folder:
sudo chown -R $USER /var/www/Let's go to the www folder:
cd /var/www/Let's create the Laravel project which we will use for Ticaga:
composer create-project --prefer-dist laravel/laravel ticagaProvide permissions to the ticaga folder:
sudo chown -R $USER /var/www/ticagaNow let's go into the ticaga folder:
cd ticagaLet's remove all the default files from Laravel:
rm -rf ./* ./.env ./.env.example ./composer.lockTHIS IS AN IMPORTANT STEP AND DANGEROUS, ENSURE THE ./ IS BEFORE THE *, ELSE YOU WILL DELETE THE WHOLE SERVER!
If you are worried about breaking your server, please contact our support team or open a sales ticket if you have a trial license.
Let's get the latest version of Ticaga:
wget -N https://ticaga.com/latest.zipUnzip the files:
unzip latest.zipLet's install NodeJS for Ticaga:
sudo apt install nodejs -y
sudo apt install npm -y
Let's create the Ticaga .env:
sudo nano .envor you can use vi:
sudo vi .envPaste in the following:
APP_NAME="Laravel"
APP_ENV=production
APP_KEY=
APP_DEBUG=false
APP_URL=http://localhost

APP_LOCALE=en
APP_FALLBACK_LOCALE=en
APP_FAKER_LOCALE=en_US

APP_LIGHT_LOGO=
APP_DARK_LOGO=

LICENSE_KEY=
API_VERSION=v2

APP_MAINTENANCE_DRIVER=file
# APP_MAINTENANCE_STORE=database

PHP_CLI_SERVER_WORKERS=4

BCRYPT_ROUNDS=12

LOG_CHANNEL=stack
LOG_STACK=single
LOG_DEPRECATIONS_CHANNEL=null
LOG_LEVEL=debug

DB_CONNECTION=mysql
DB_HOST=127.0.0.1
DB_PORT=3306
DB_DATABASE=ticaga
DB_USERNAME=ticaga_user
DB_PASSWORD=

TICAGA_MAIL=false
# MailSend Emails
MAILERSEND_API_KEY=

# MailGun Emails
MAILGUN_DOMAIN=
MAILGUN_SECRET=
MAILGUN_ENDPOINT=api.eu.mailgun.net

SESSION_DRIVER=database
SESSION_LIFETIME=120
SESSION_ENCRYPT=false
SESSION_PATH=/
SESSION_DOMAIN=null

BROADCAST_CONNECTION=reverb
FILESYSTEM_DISK=local
QUEUE_CONNECTION=database

CACHE_STORE=database
# CACHE_PREFIX=

MEMCACHED_HOST=127.0.0.1

REDIS_CLIENT=phpredis
REDIS_HOST=127.0.0.1
REDIS_PASSWORD=null
REDIS_PORT=6379

MAIL_MAILER=log
MAIL_SCHEME=null
MAIL_HOST=127.0.0.1
MAIL_PORT=2525
MAIL_USERNAME=null
MAIL_PASSWORD=null
MAIL_FROM_ADDRESS="noreply@domain.com"
MAIL_FROM_NAME="${APP_NAME}"

AWS_ACCESS_KEY_ID=
AWS_SECRET_ACCESS_KEY=
AWS_DEFAULT_REGION=us-east-1
AWS_BUCKET=
AWS_USE_PATH_STYLE_ENDPOINT=false

VITE_APP_NAME="${APP_NAME}"

REVERB_APP_ID=
REVERB_APP_KEY=${APP_KEY}
REVERB_APP_SECRET=
REVERB_PORT=8080
REVERB_SCHEME=http
You can now edit the main settings:
APP_NAME="Ticaga Demo"This is your company name.
APP_URL=https://demo.ticaga.comThis is your URL to your Ticaga, sub-domain or main domain if you prefer.
DB_CONNECTION=mysql
DB_HOST=127.0.0.1
DB_PORT=3306
DB_DATABASE=ticaga
DB_USERNAME=ticaga_user
DB_PASSWORD=p@s3w0r$2024!
These are the database name, username and password you created when doing the Database.
Let's provide the permissions for the bootstrap and storage folders:
sudo chmod -R ugo+rw bootstrap storageNow we need to run the composer command to create the vendor folder for Ticaga, without this Ticaga won't work. We don't ship the vendor folder as it is huge:
composer installNow we need to generate a secure App Key:
sudo php artisan key:generateLet's create the database tables for Ticaga and seed the database with content pre-filled for Ticaga:
sudo php artisan migrate --seedNow let's install Vite, this provides the "node_modules" for Laravel and Ticaga to use:
sudo npm install
sudo npm install -g vite
If you see this:
added 153 packages, and audited 154 packages in 8s

37 packages are looking for funding
  run `npm fund` for details

6 vulnerabilities (3 moderate, 3 high)

To address all issues, run:
  npm audit fix

Run `npm audit` for details.
Run the following:
sudo npm audit fixNext upgrade NPM run:
sudo npm updatePublish Livewire Assets:
php artisan livewire:publish --assetsNeed to replace the BladeCompiler for Laravel for Ioncube to work:
sudo mv ./hot_fix/vendor/laravel/framework/src/Illuminate/View/Compilers/BladeCompiler.php ./vendor/laravel/framework/src/Illuminate/View/Compilers/BladeCompiler.phpLets now build Ticaga:
sudo npm run buildClear Ticaga's caches:
php artisan optimize:clearReboot the server to kick Ioncube into action:
sudo reboot
That's it now you have a fully working Ticaga.
Create an Admin Account
Now you've got your Ticaga up and running go to your installation:
eg: https://demo.ticaga.com
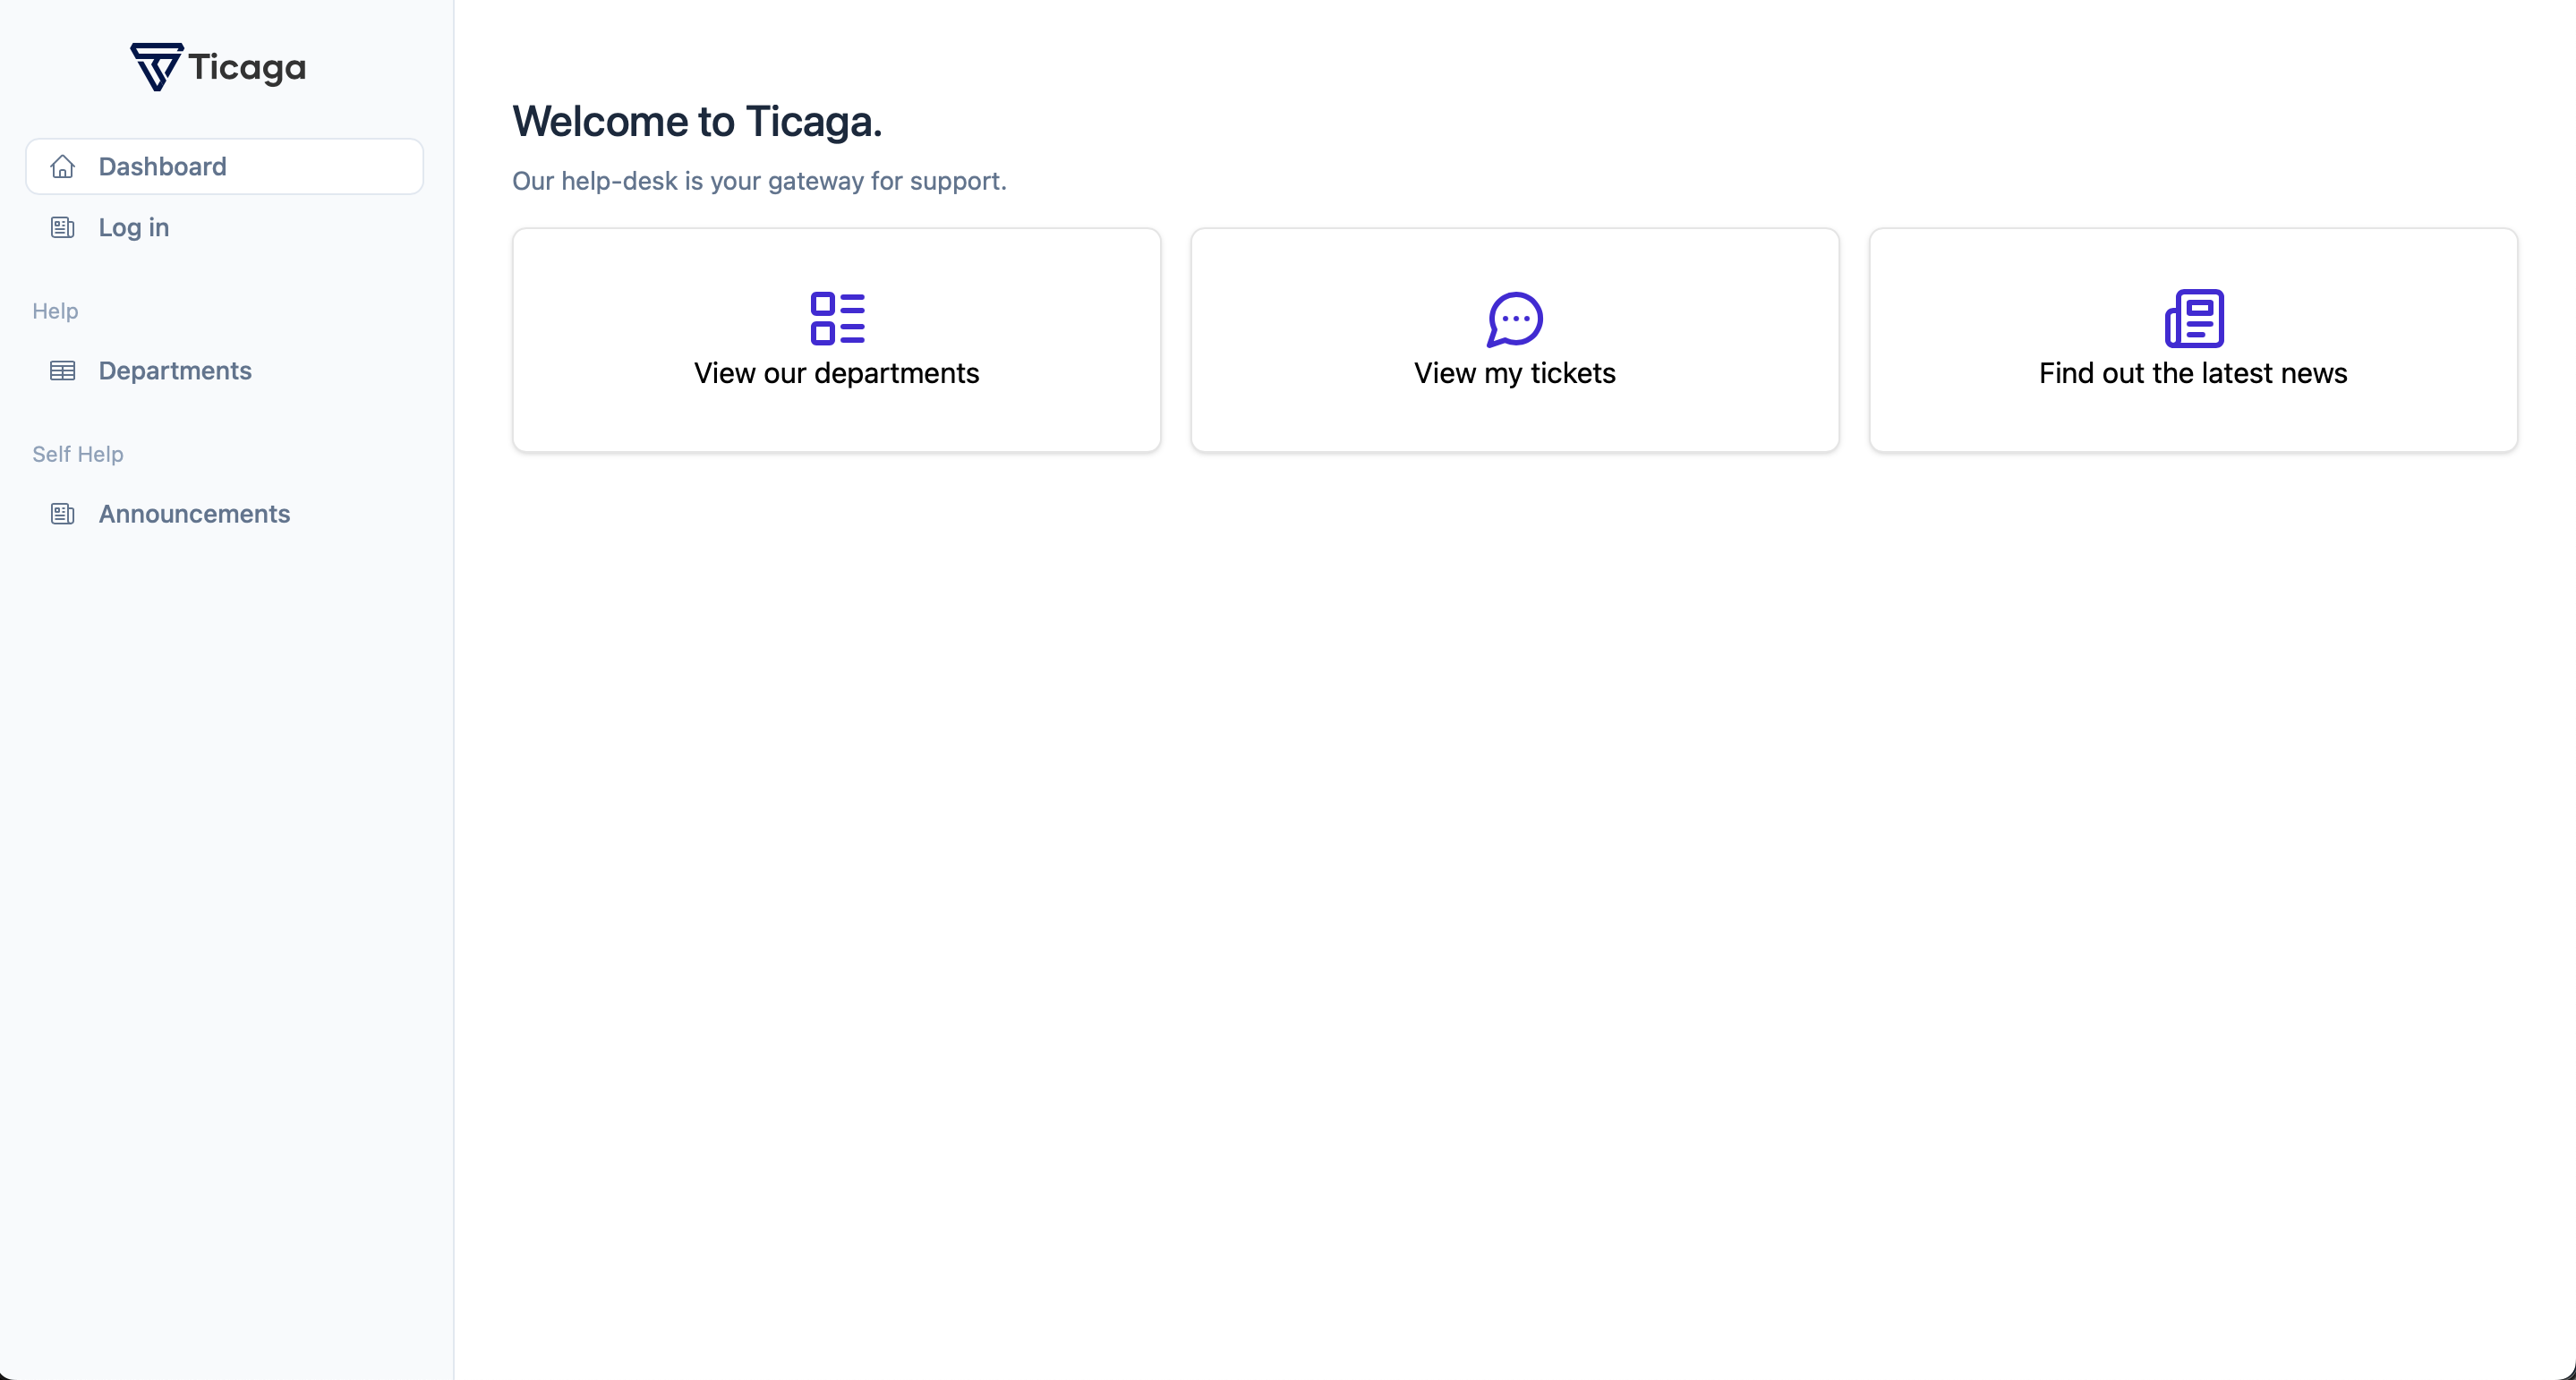
Now click on Log in.
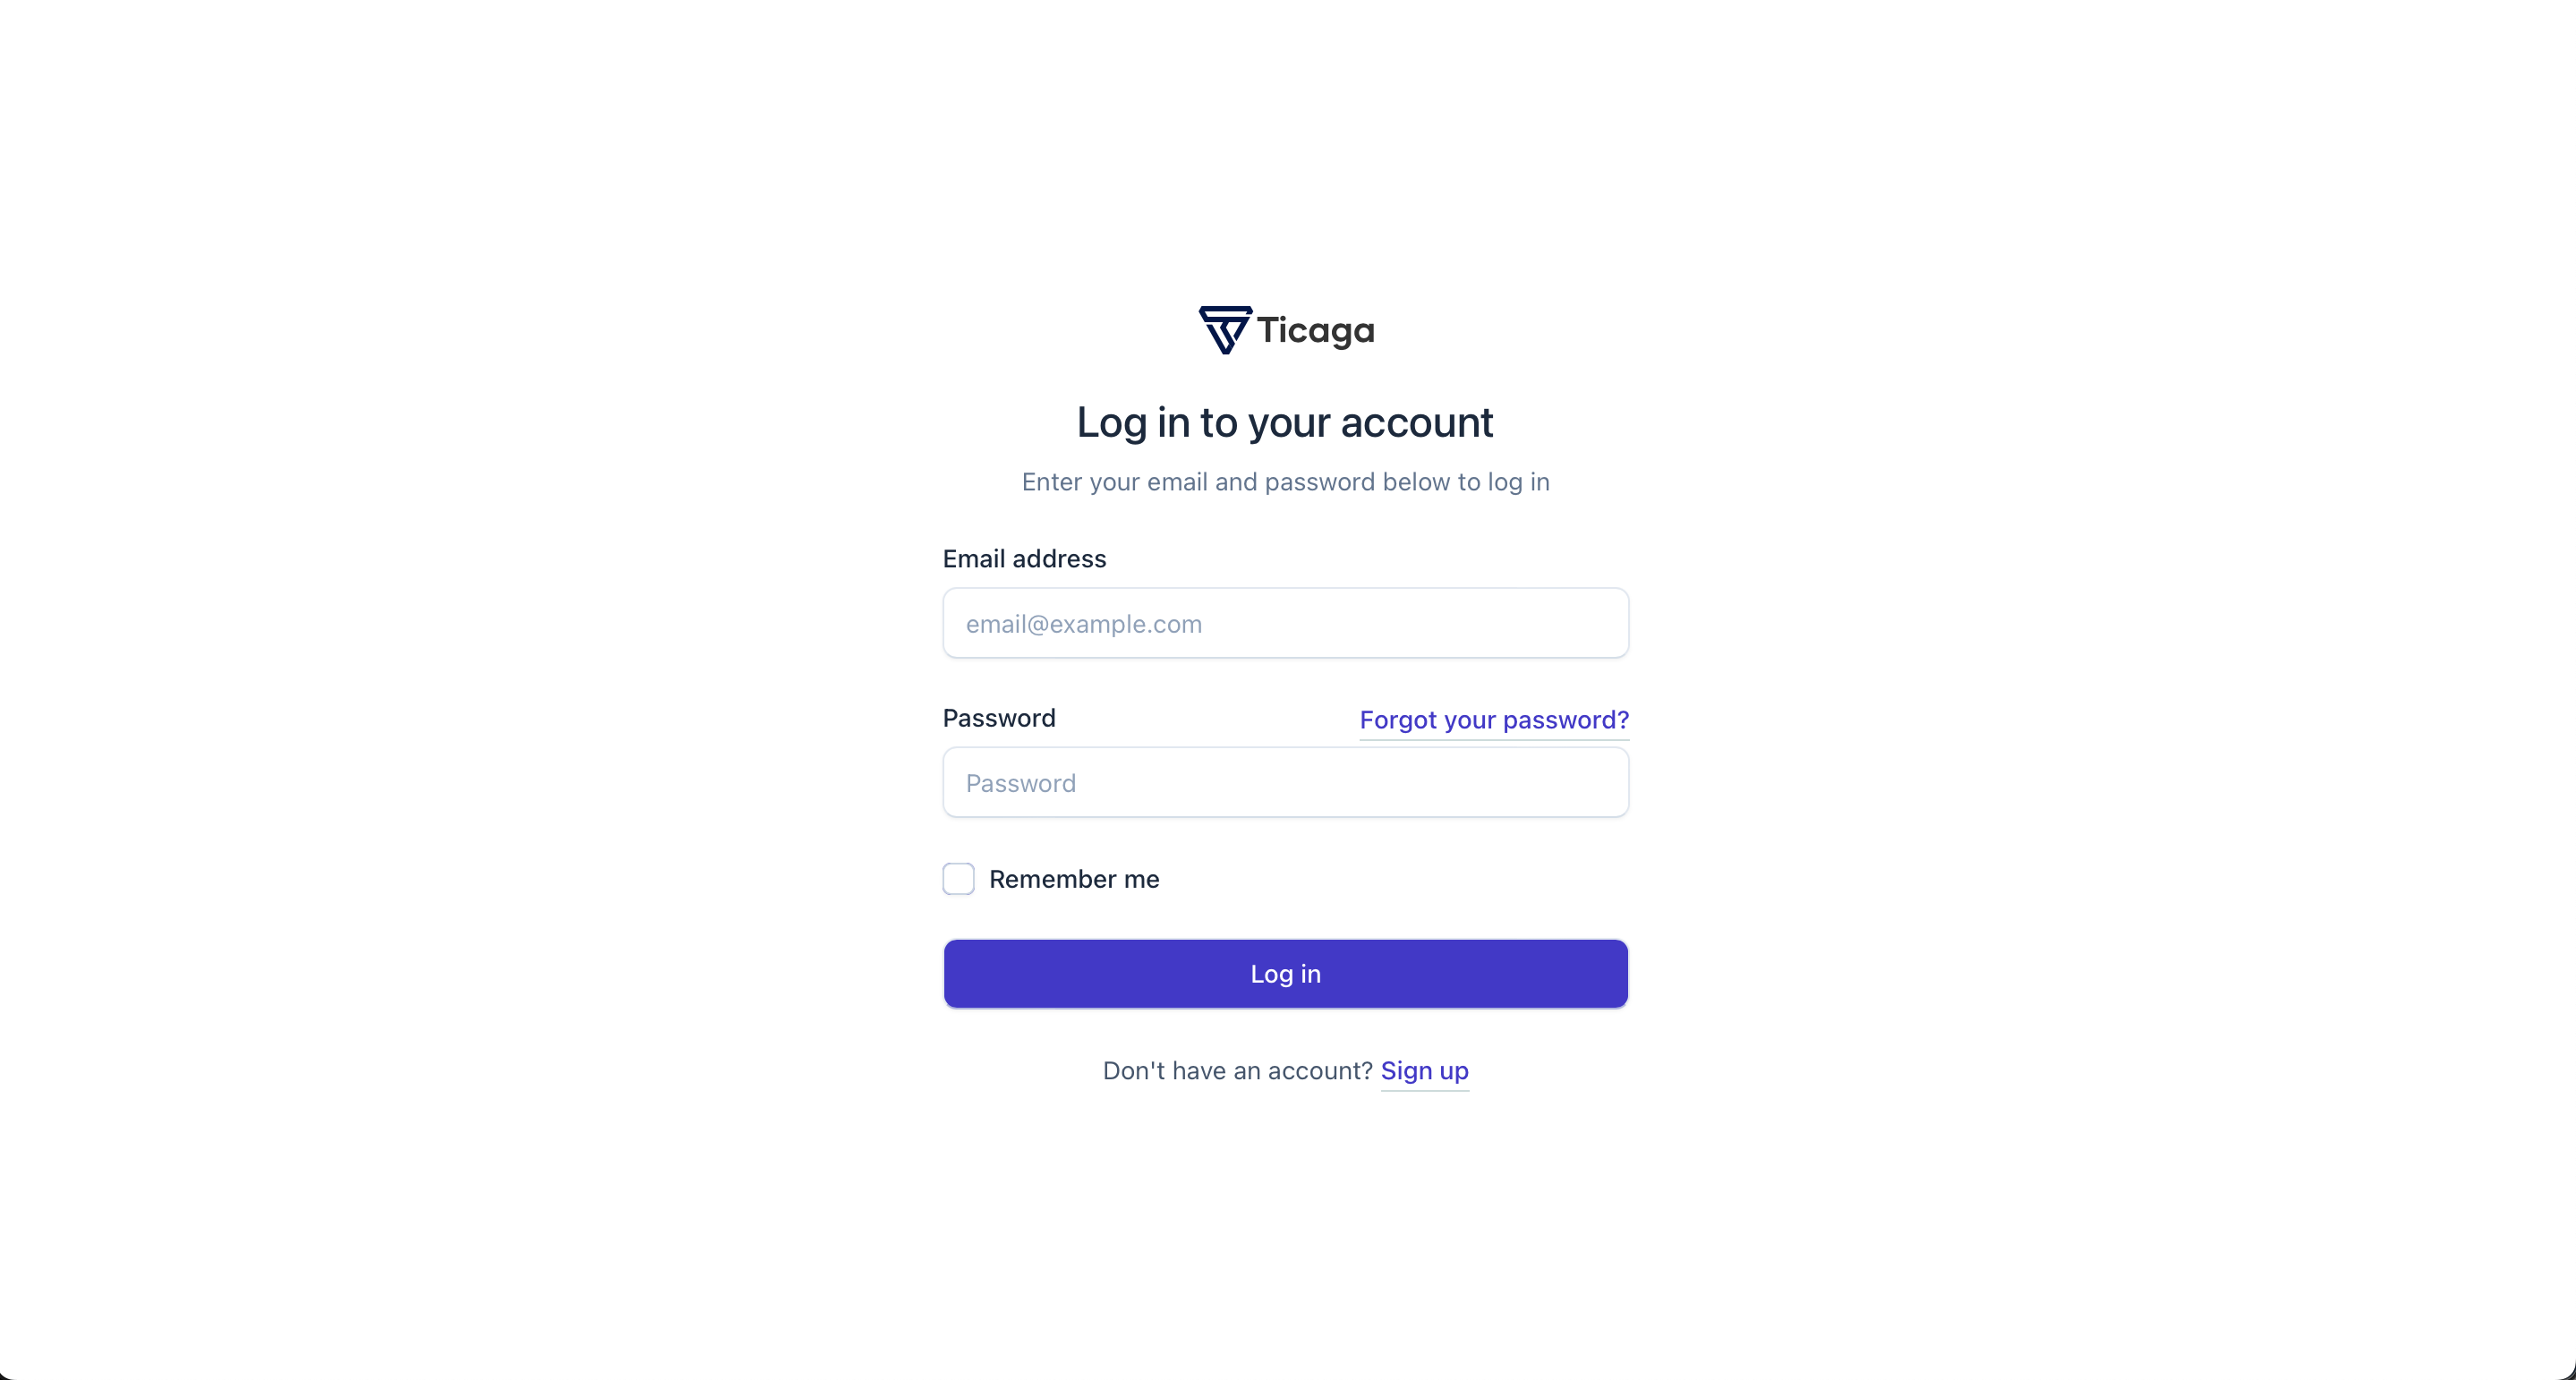
Now click on Sign up.
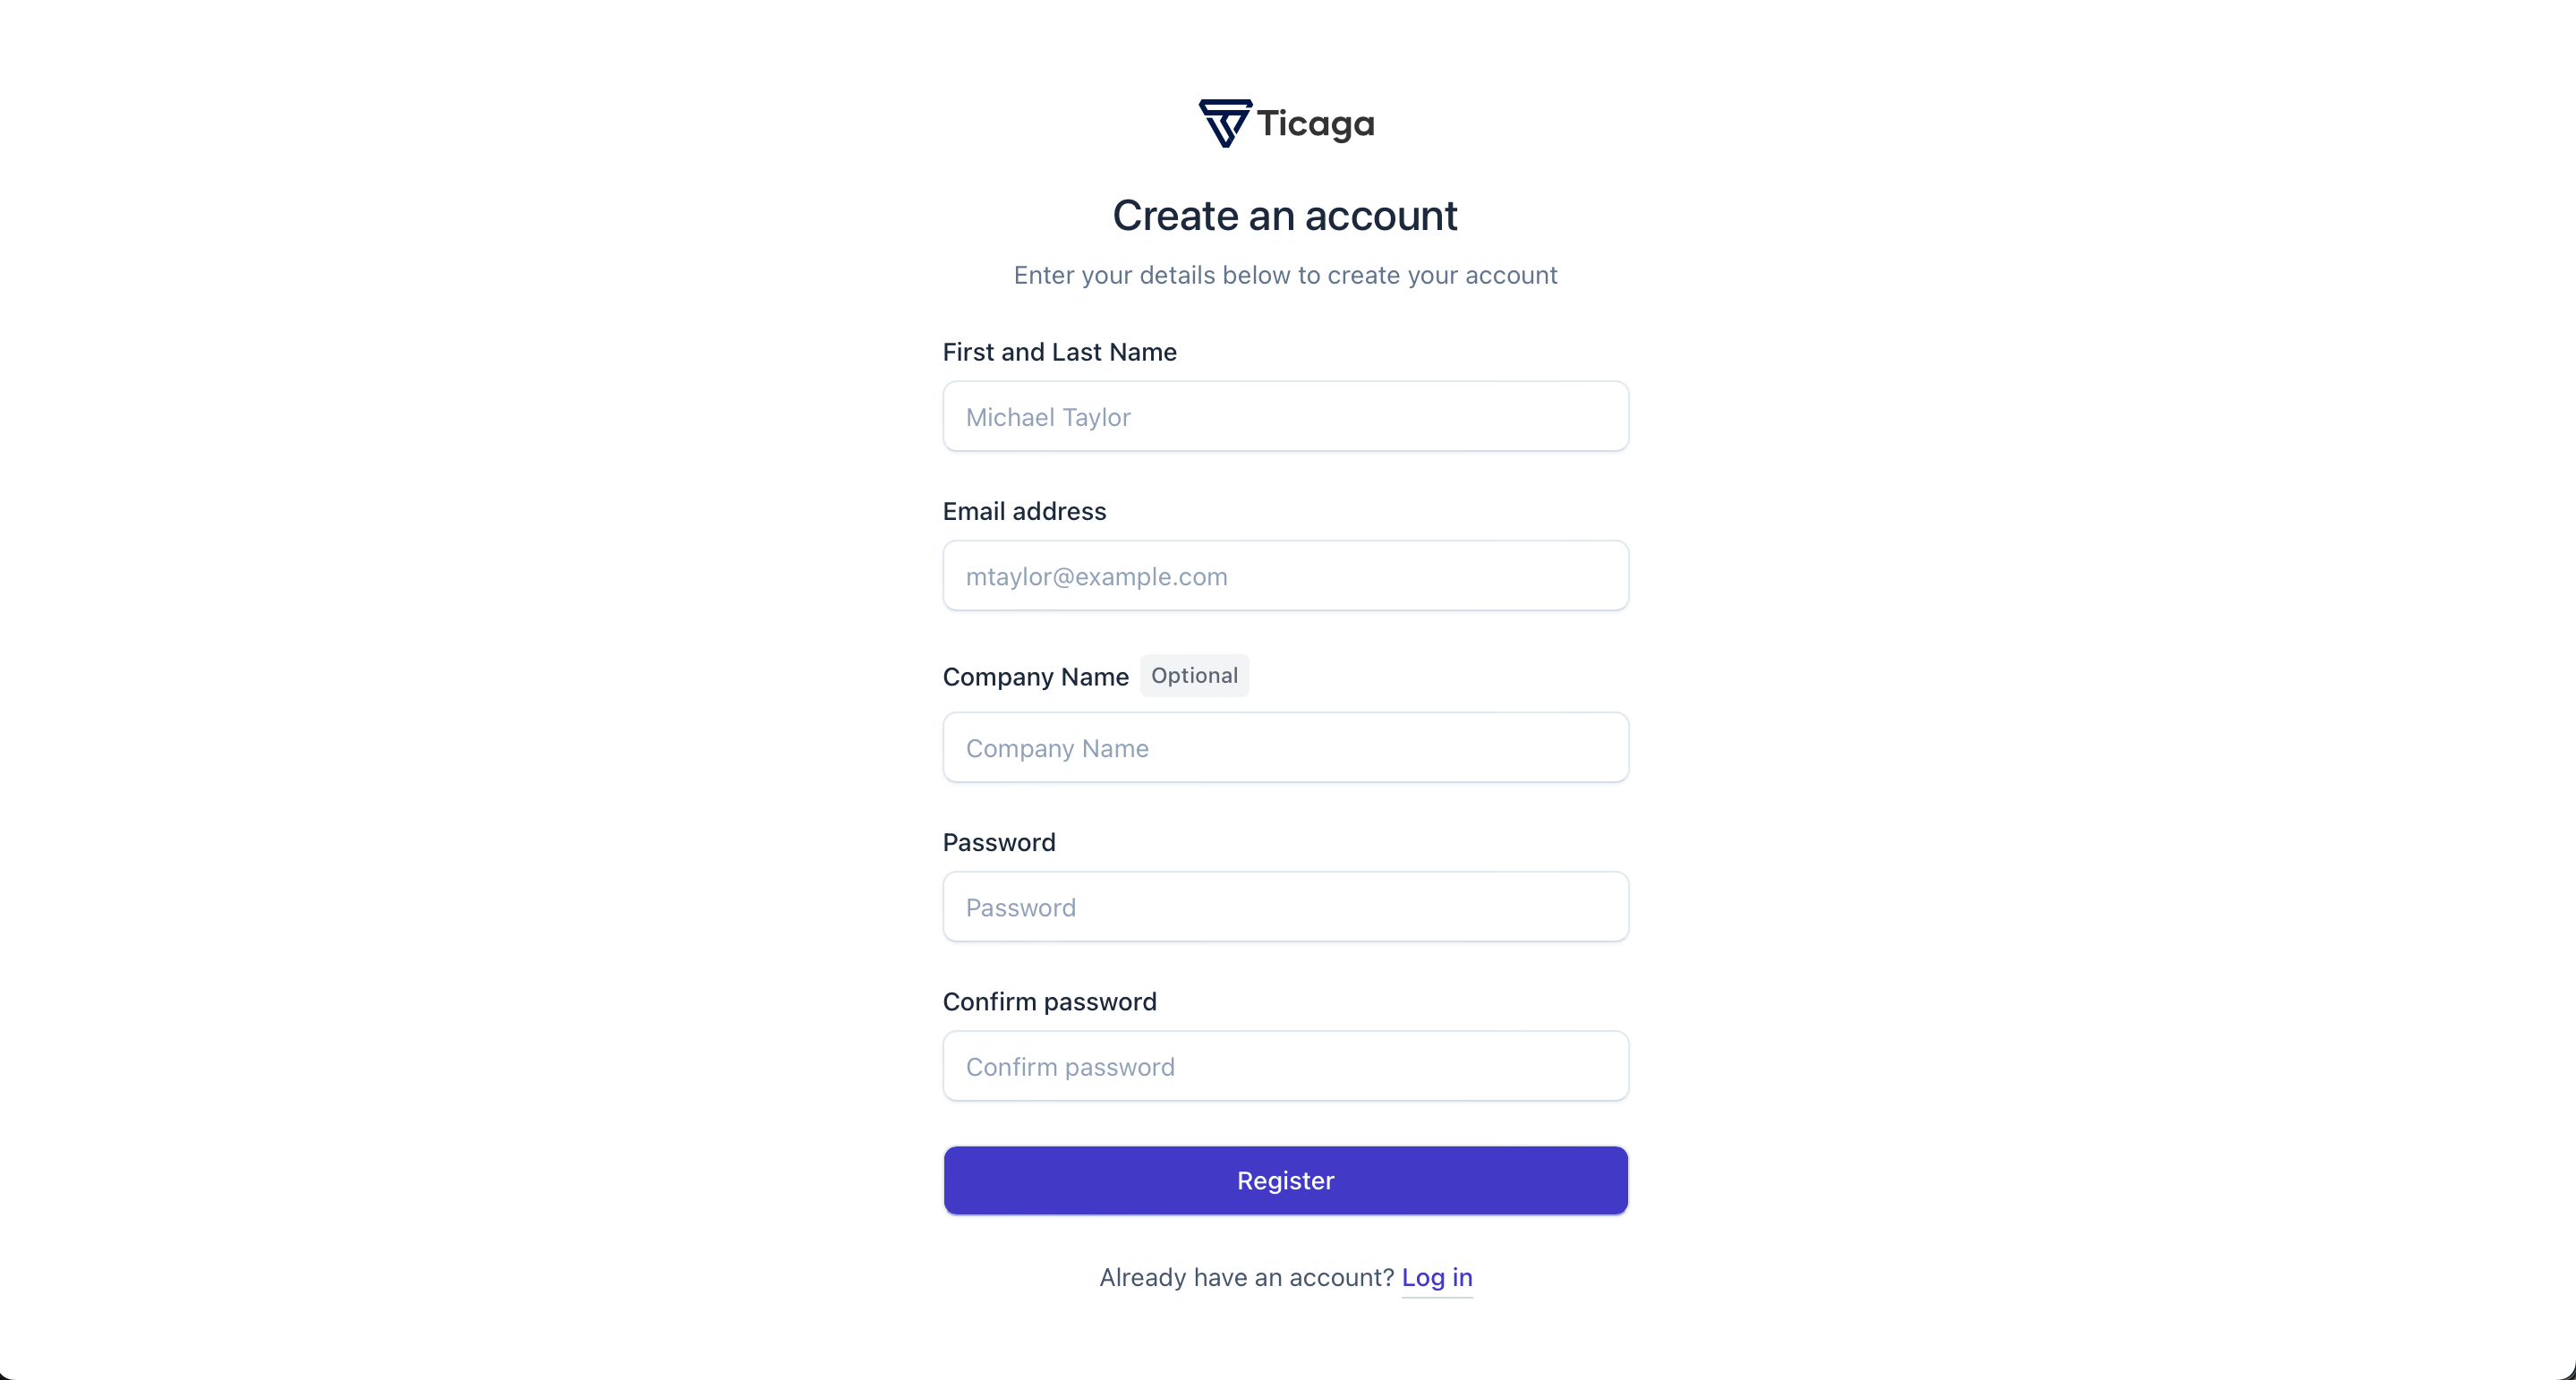
Fill in the form, click Register.
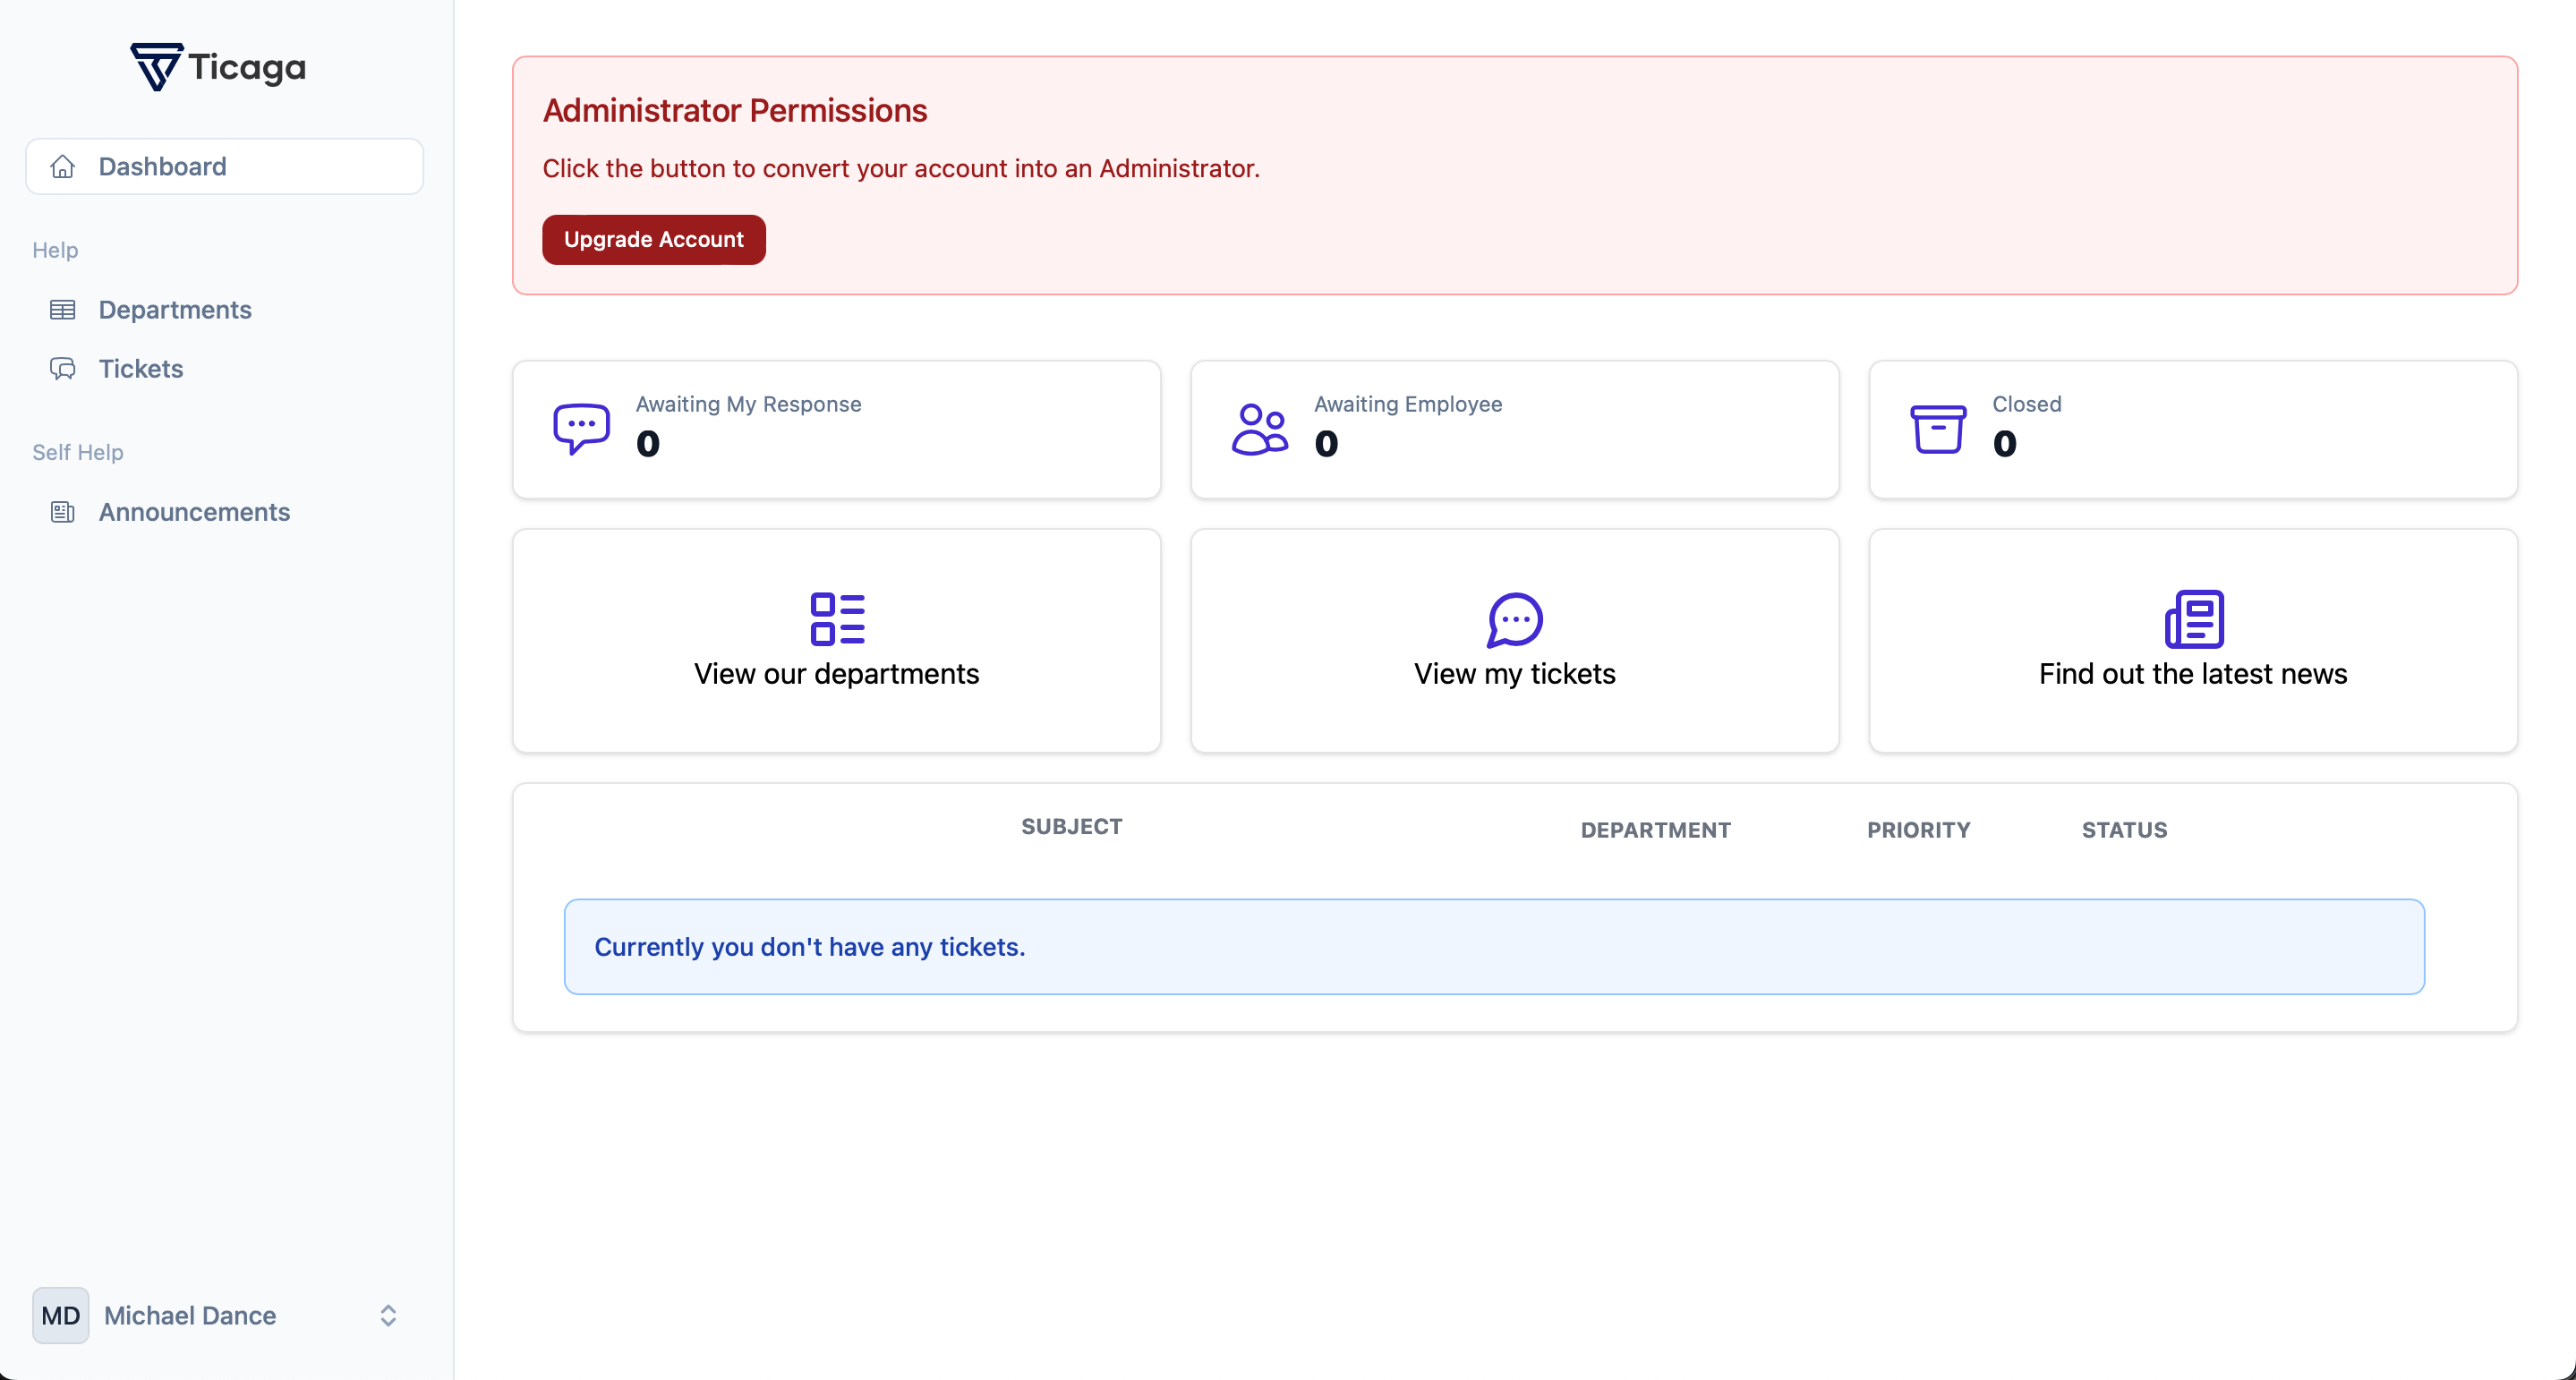
Welcome to your new help-desk. All you need to do is hit "Upgrade Account" to upgrade your account to an Admin.
This is only shown to the FIRST customer on your help-desk.
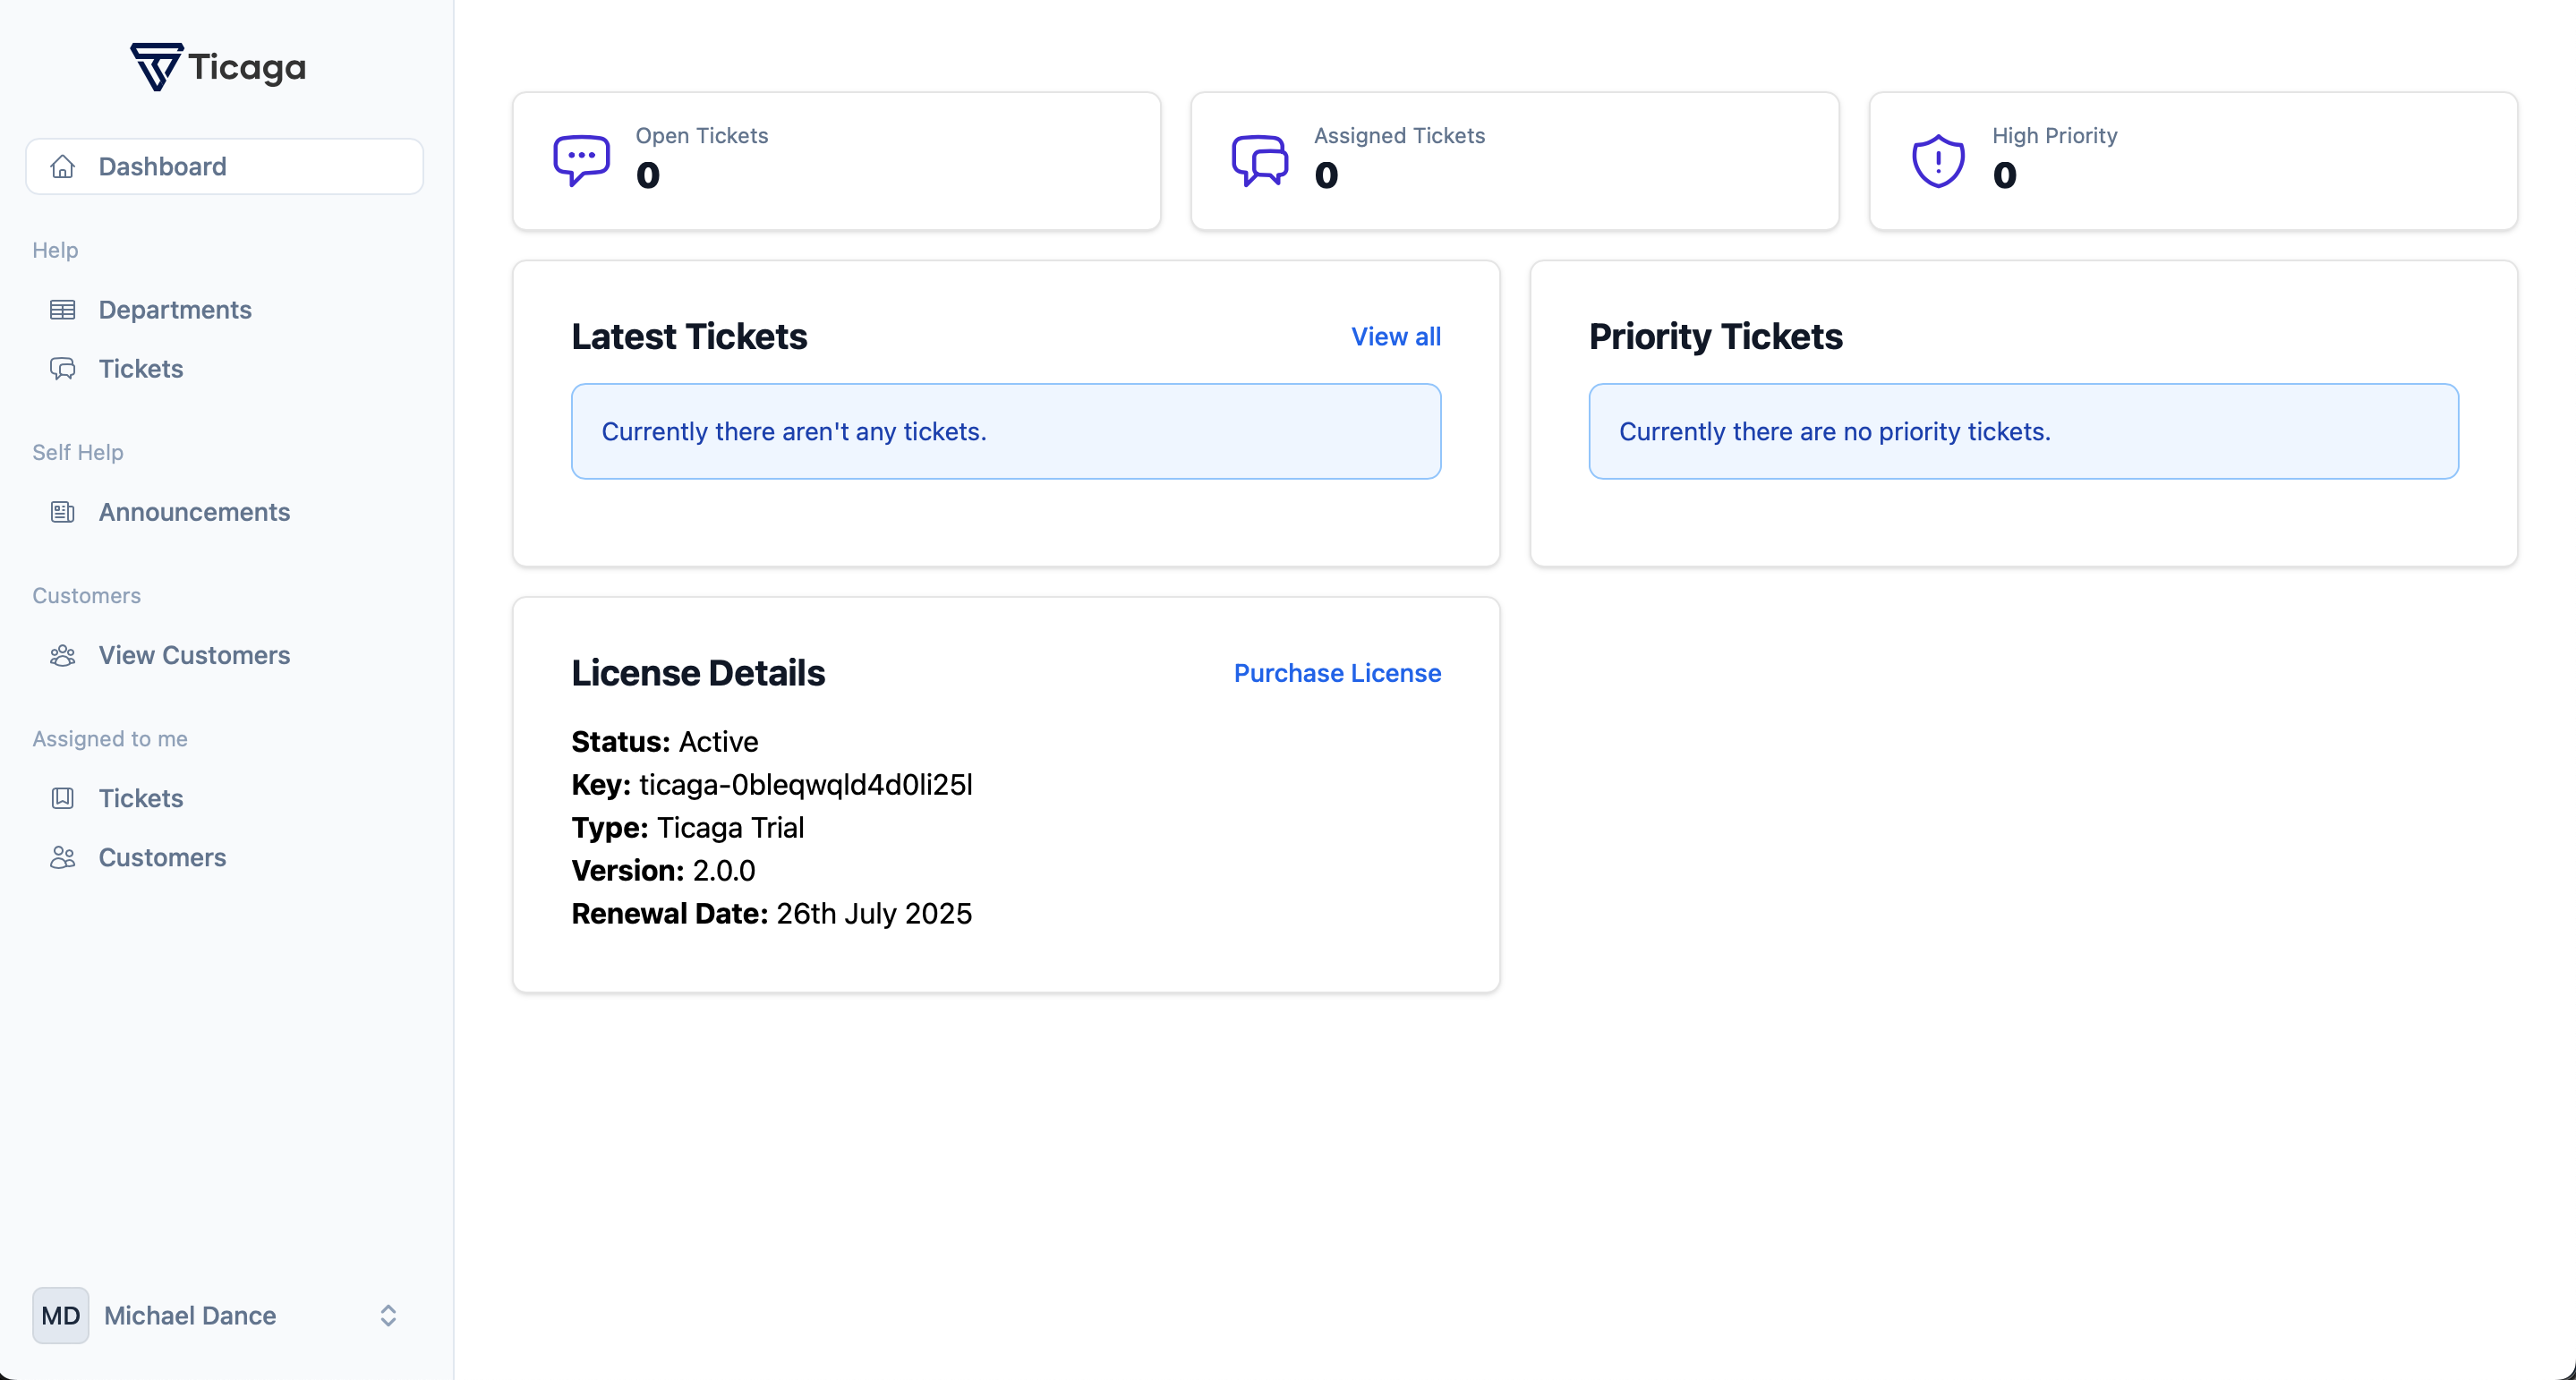
Voila! You're the main Admin of your Ticaga installation. You are issued a 30 day trial automatically.
To purchase a license hit on Purchase License. If you've already bought a license and wish to change the license key, edit the .env file you created when installing Ticaga and change the LICENSE_KEY= value.
For example: LICENSE_KEY=ticaga-1c5sl6LZLizoAtwim. After saving the file and reloading Ticaga your license details will update. As a paid license, your Purchase License will change to the link to manage your license.
You can re-issue your license key here if you move the installation.