Installation
Installing Ticaga
System Requirements
Ticaga requires the latest stable version of PHP to ensure optimal performance, modern functionality and the highest security standards.
Minimum Requirements
-
PHP: 8.4
-
Database:
-
MariaDB 10.5.27 or higher
-
MySQL 8.x or higher
-
-
Composer (latest stable version)
-
Laravel: 12.x
Recommended Environment
For best performance and reliability, we recommend:
-
Operating System: AlmaLinux 10
-
Server Type: Virtual Private Server (VPS)
-
Memory: Minimum of 2 GB RAM
Installation
To begin the installation, run the following commands:
AlmaLinux:
yum install wget nano unzip -y;wget -N https://ticaga.com/install.sh;chmod +x install.sh;sh ./install.shDebian / Ubuntu:
sudo apt-get update;sudo apt-get install -y wget nano unzip;wget -N https://ticaga.com/install.sh;chmod +x install.sh;sudo bash ./install.shThis automated installer will handle the dependencies for you.
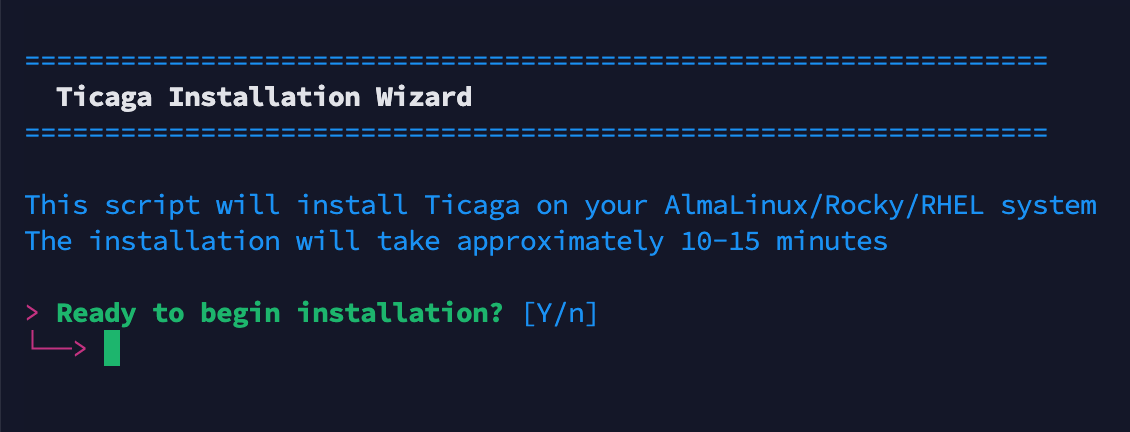
When you're ready enter "Y" to continue.
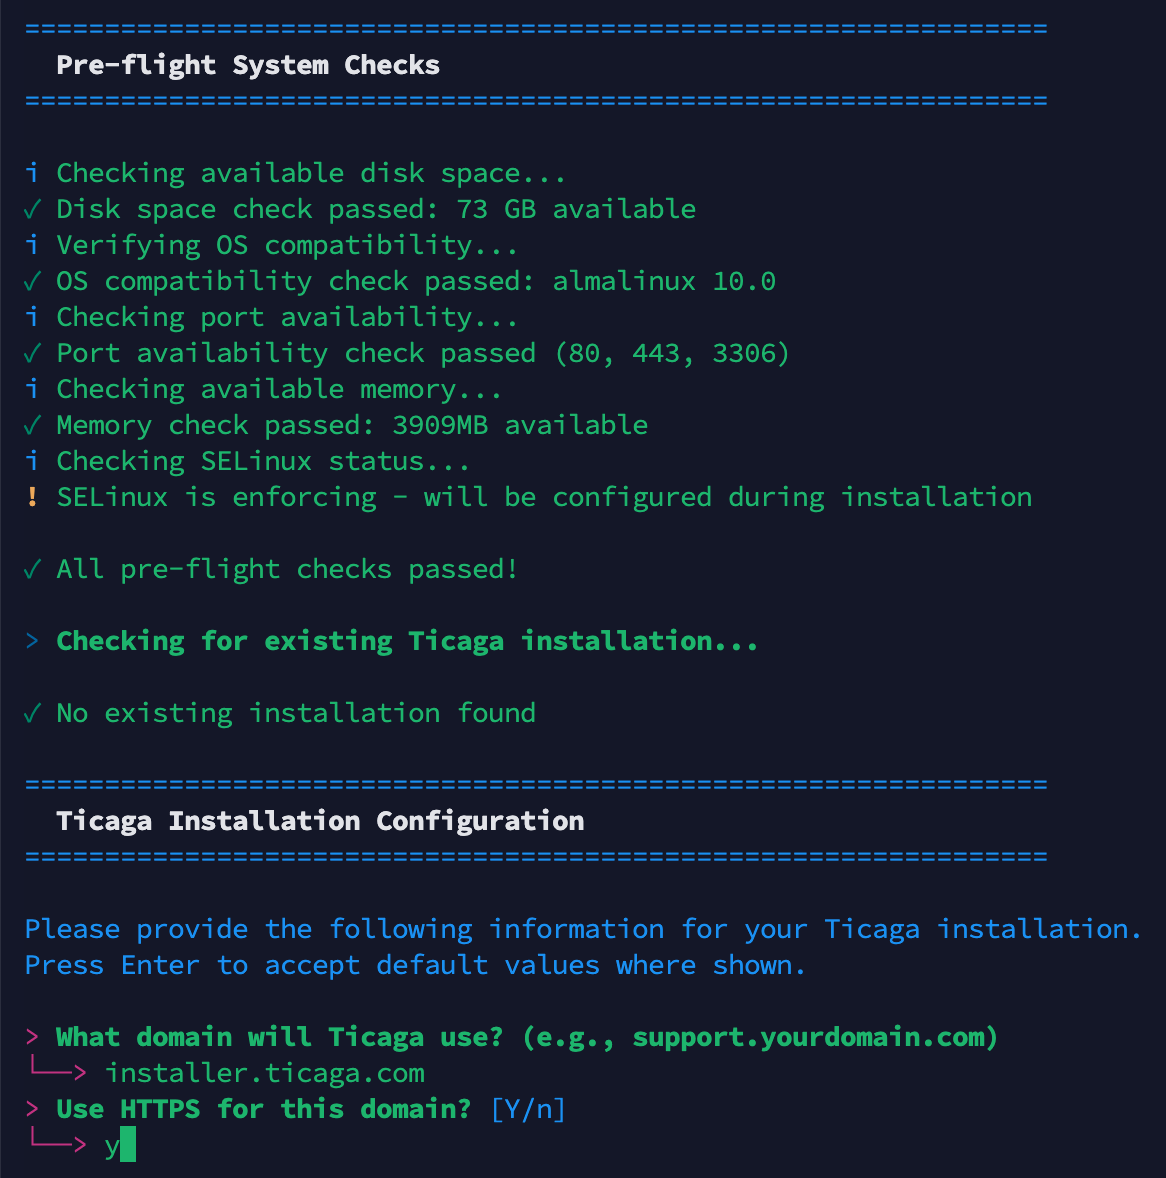
Enter the domain where Ticaga will be installed. We recommend using a subdomain such as support.yourdomain.com or helpdesk.yourdomain.com. For SSL encryption, enter "Y" to enable HTTPS.
A VirtualHost is a configuration technique used to host multiple websites or domain names on a single web server.
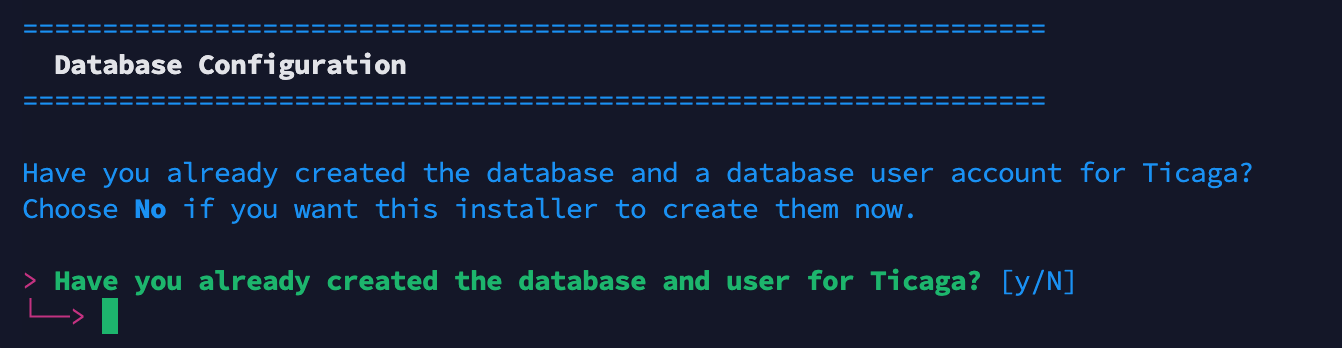
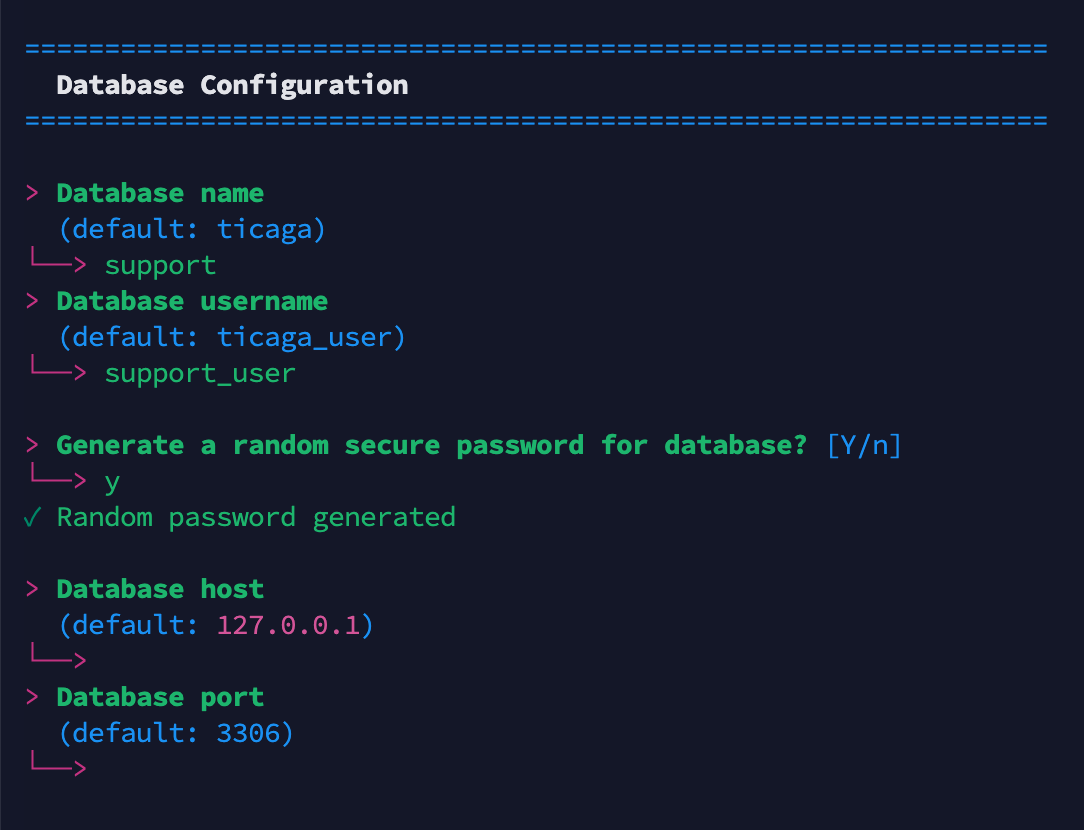
If you have already created a database for Ticaga you can enter Yes, if not enter N or enter to create a new Database & Username.

Enter your email address for Let's Encrypt SSL certificate registration.
This is required for certificate issuance and renewal notifications only.
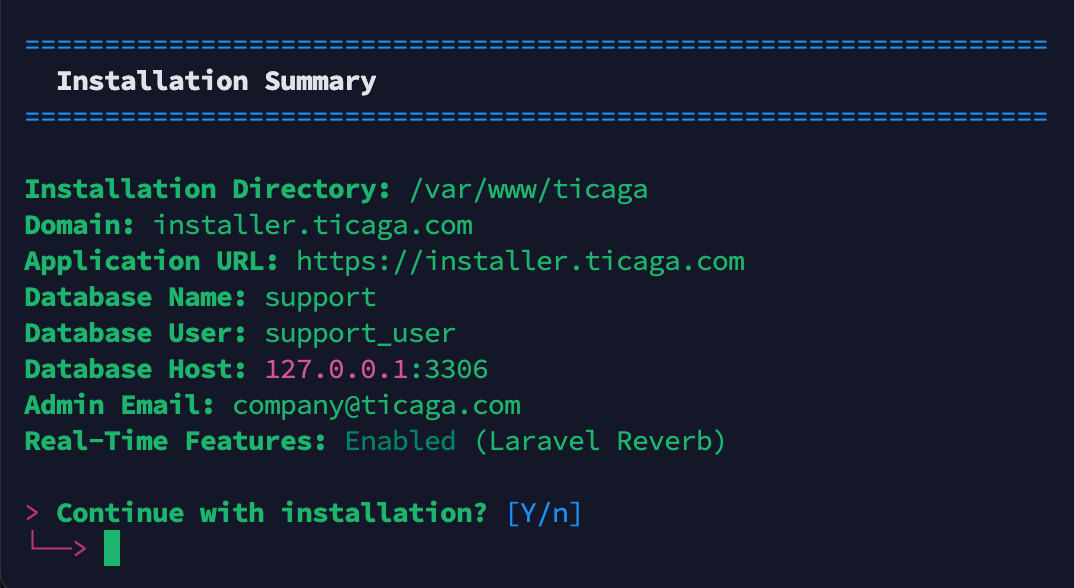
Review the installation summary to verify your configuration. Enter "Y" to proceed with the installation.
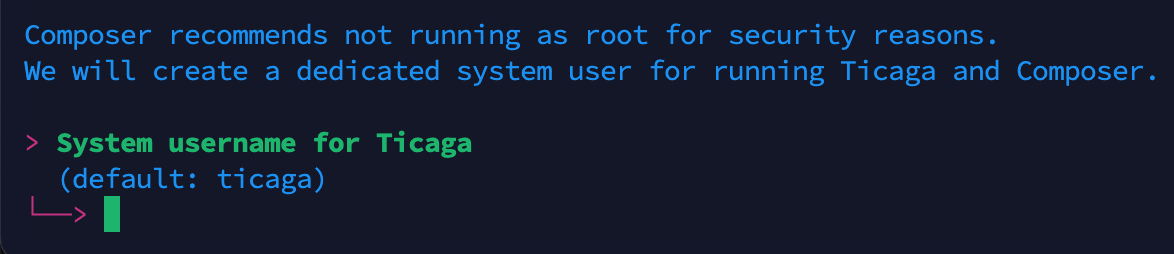
Create a dedicated non-root user account for security purposes. Set a secure password and continue.
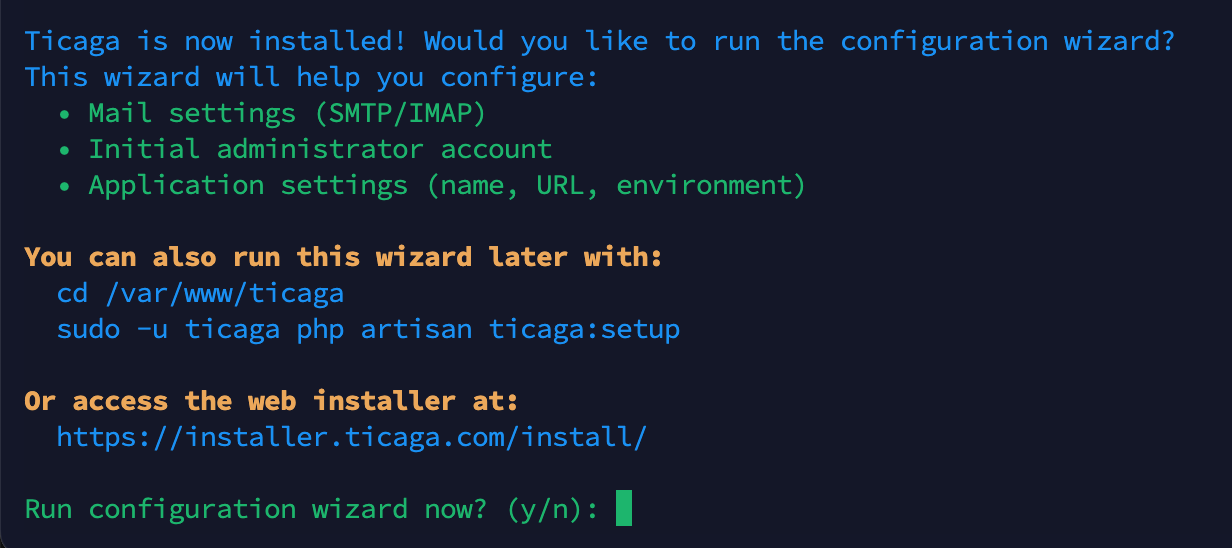
At this step, if you select "Y" You will move to the CLI section, if you select "n" you can pick either the GUI or CLI.
All your database details are in /var/www/ticaga/installation_completed_info.txt Please remove this when Ticaga is installed. It's not accessible from the public but it's best practice to remove it.
CLI
cd /var/www/ticaga
sudo -u ticaga php artisan ticaga:setup
If you don't need to change your database details you can select no.

Configure outgoing email settings if required, otherwise select "no".
Note: This configures the .env mail settings and is separate from the Mail Servers configuration in Settings, which is used for ticket management.

If you skip this step, you will need to register an account and manually assign the superadmin role afterward.

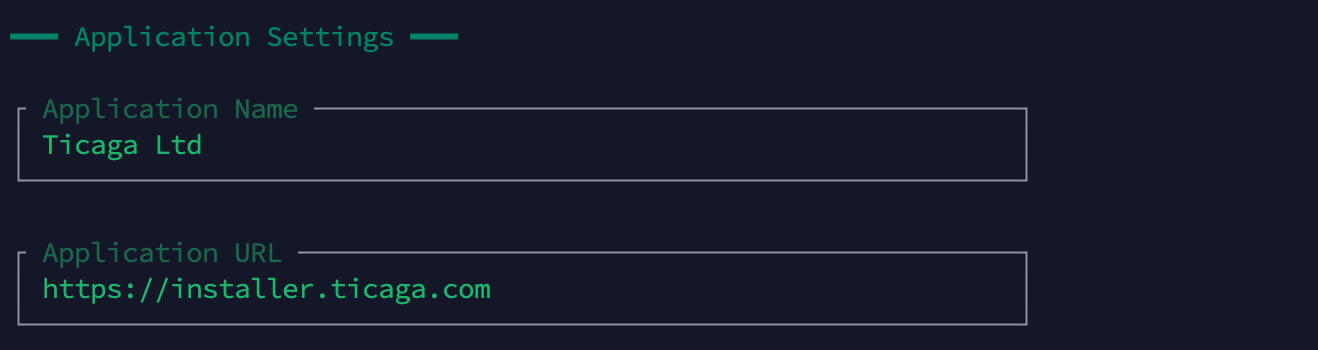
This allows you to change the Company name, URL and debug mode.

Access the license management section to activate a trial license, or contact our sales team to obtain a license key.


GUI
https://support.yourdomain.com/install/
https://helpdesk.yourdomain.com/install/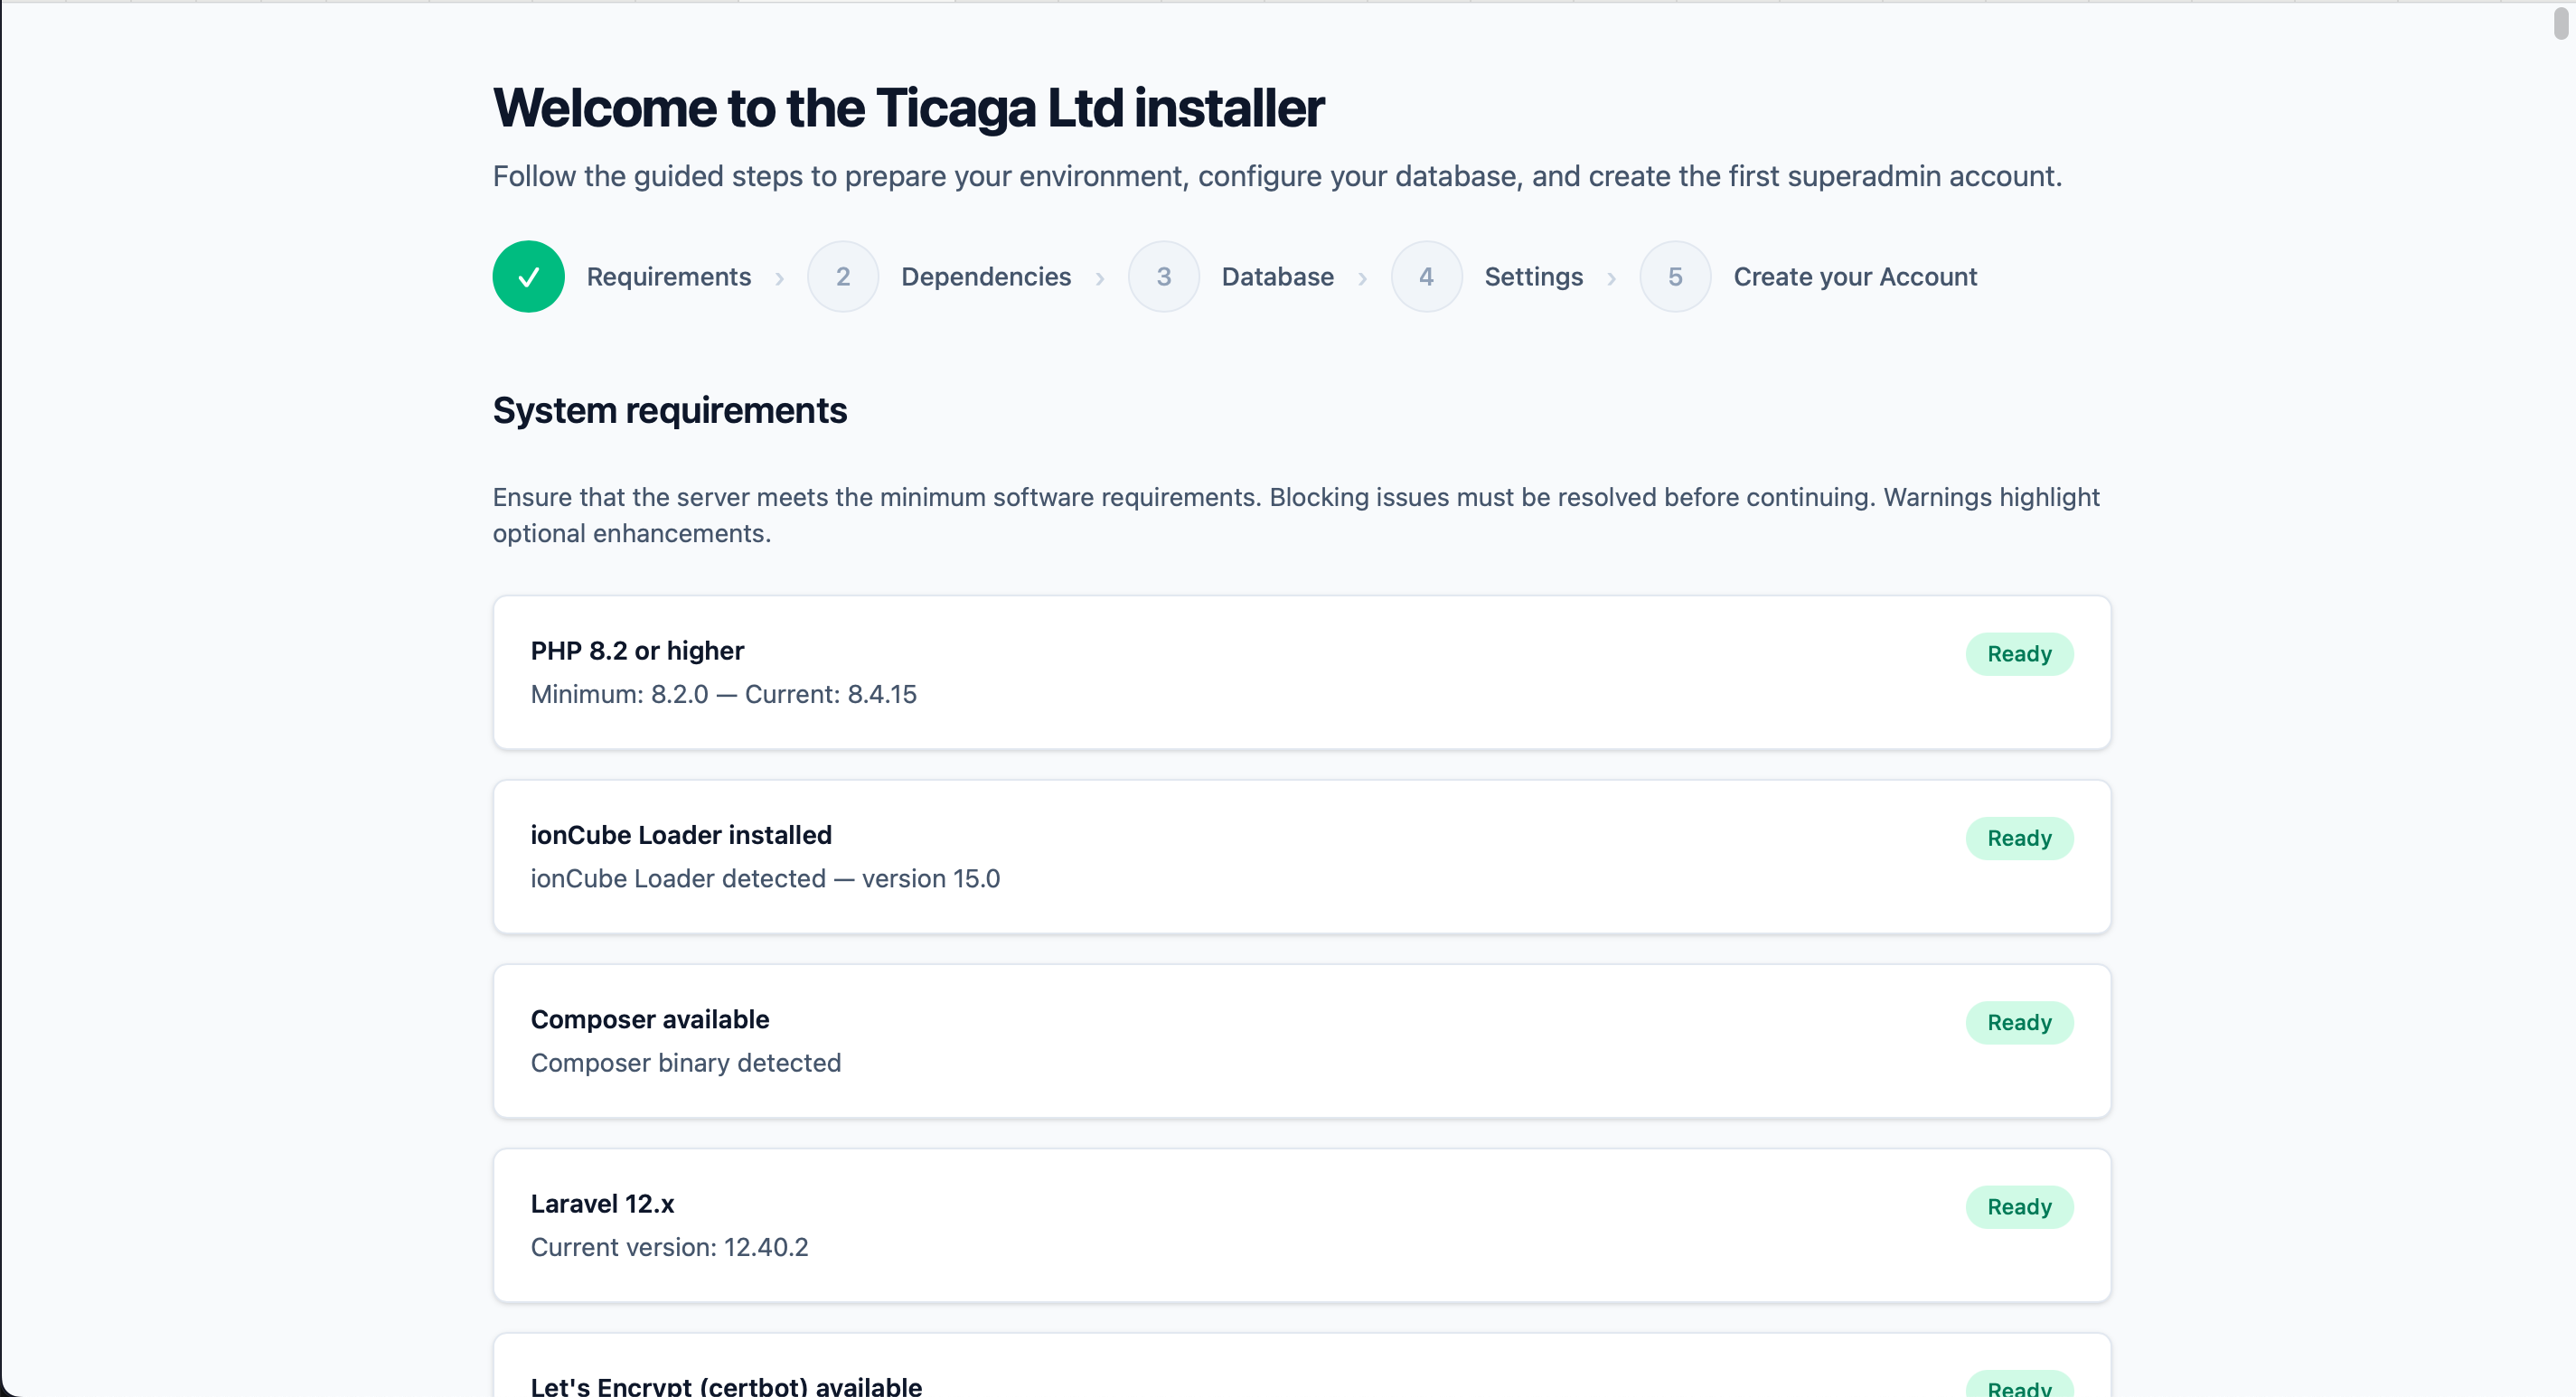
When you've met all the requirements (If you've ran the installer code above this will be all ready).
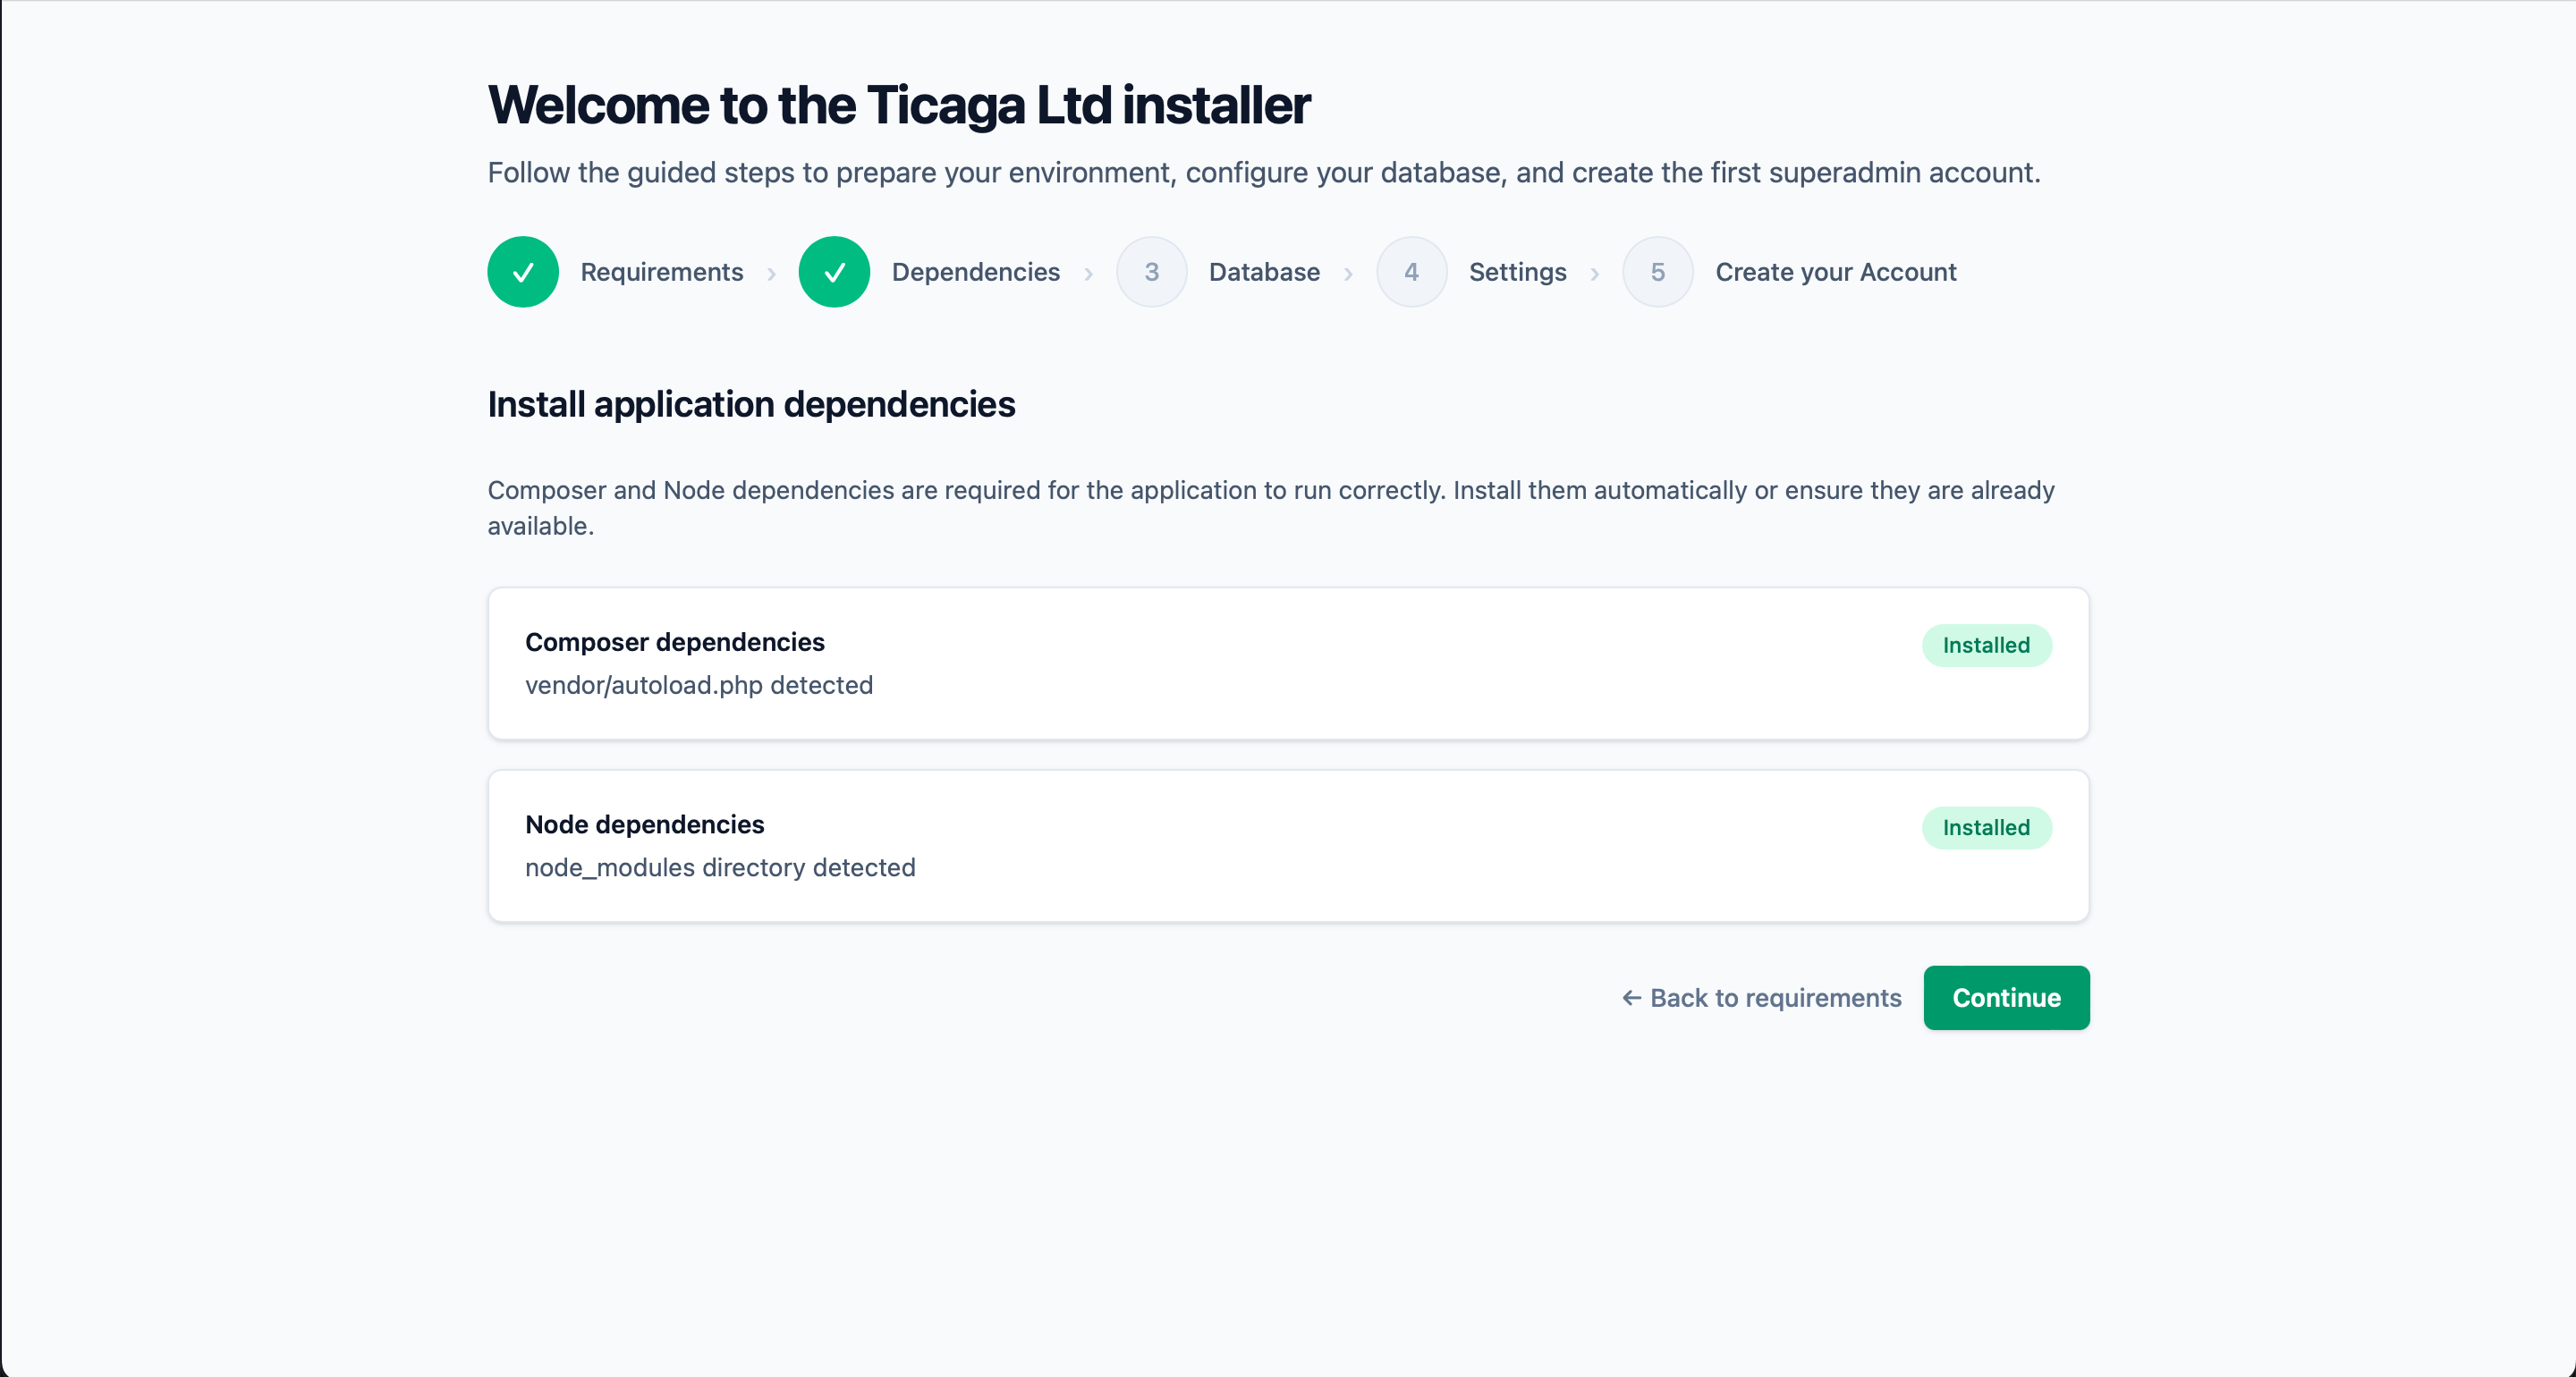
We need the dependencies installed, if there's not there's a button to install them.
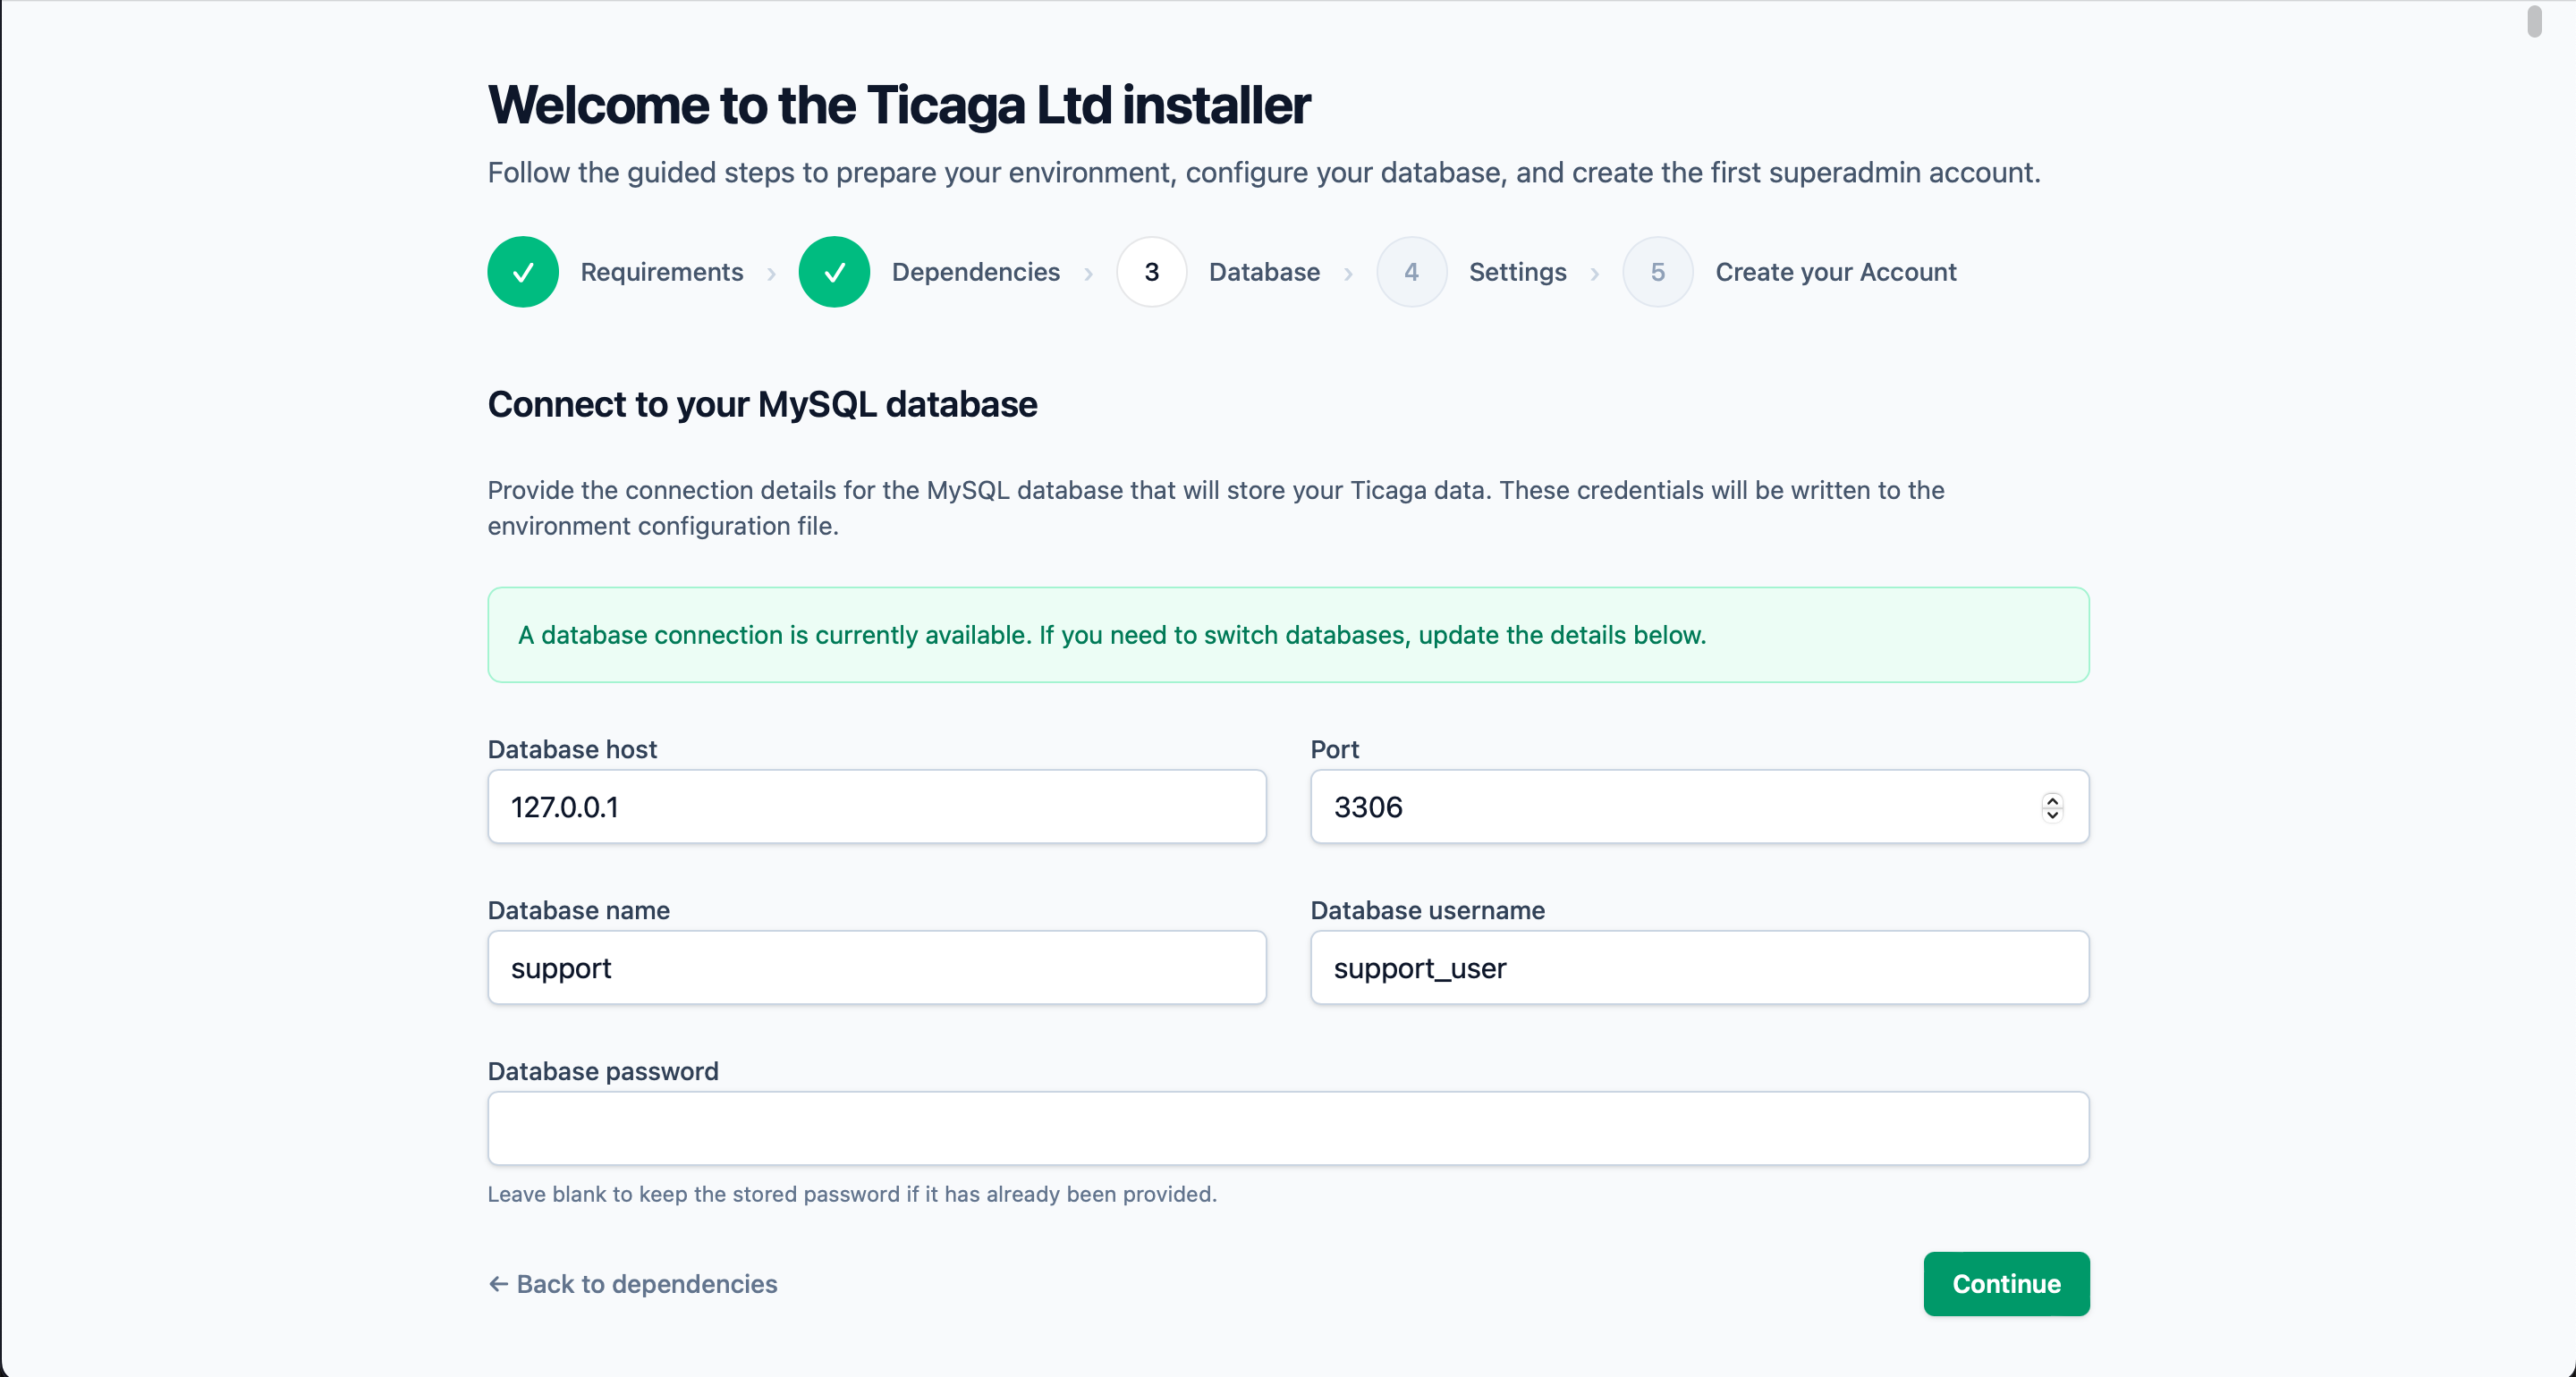
Connect to your database next, if you've used the installer above, just click on continue.
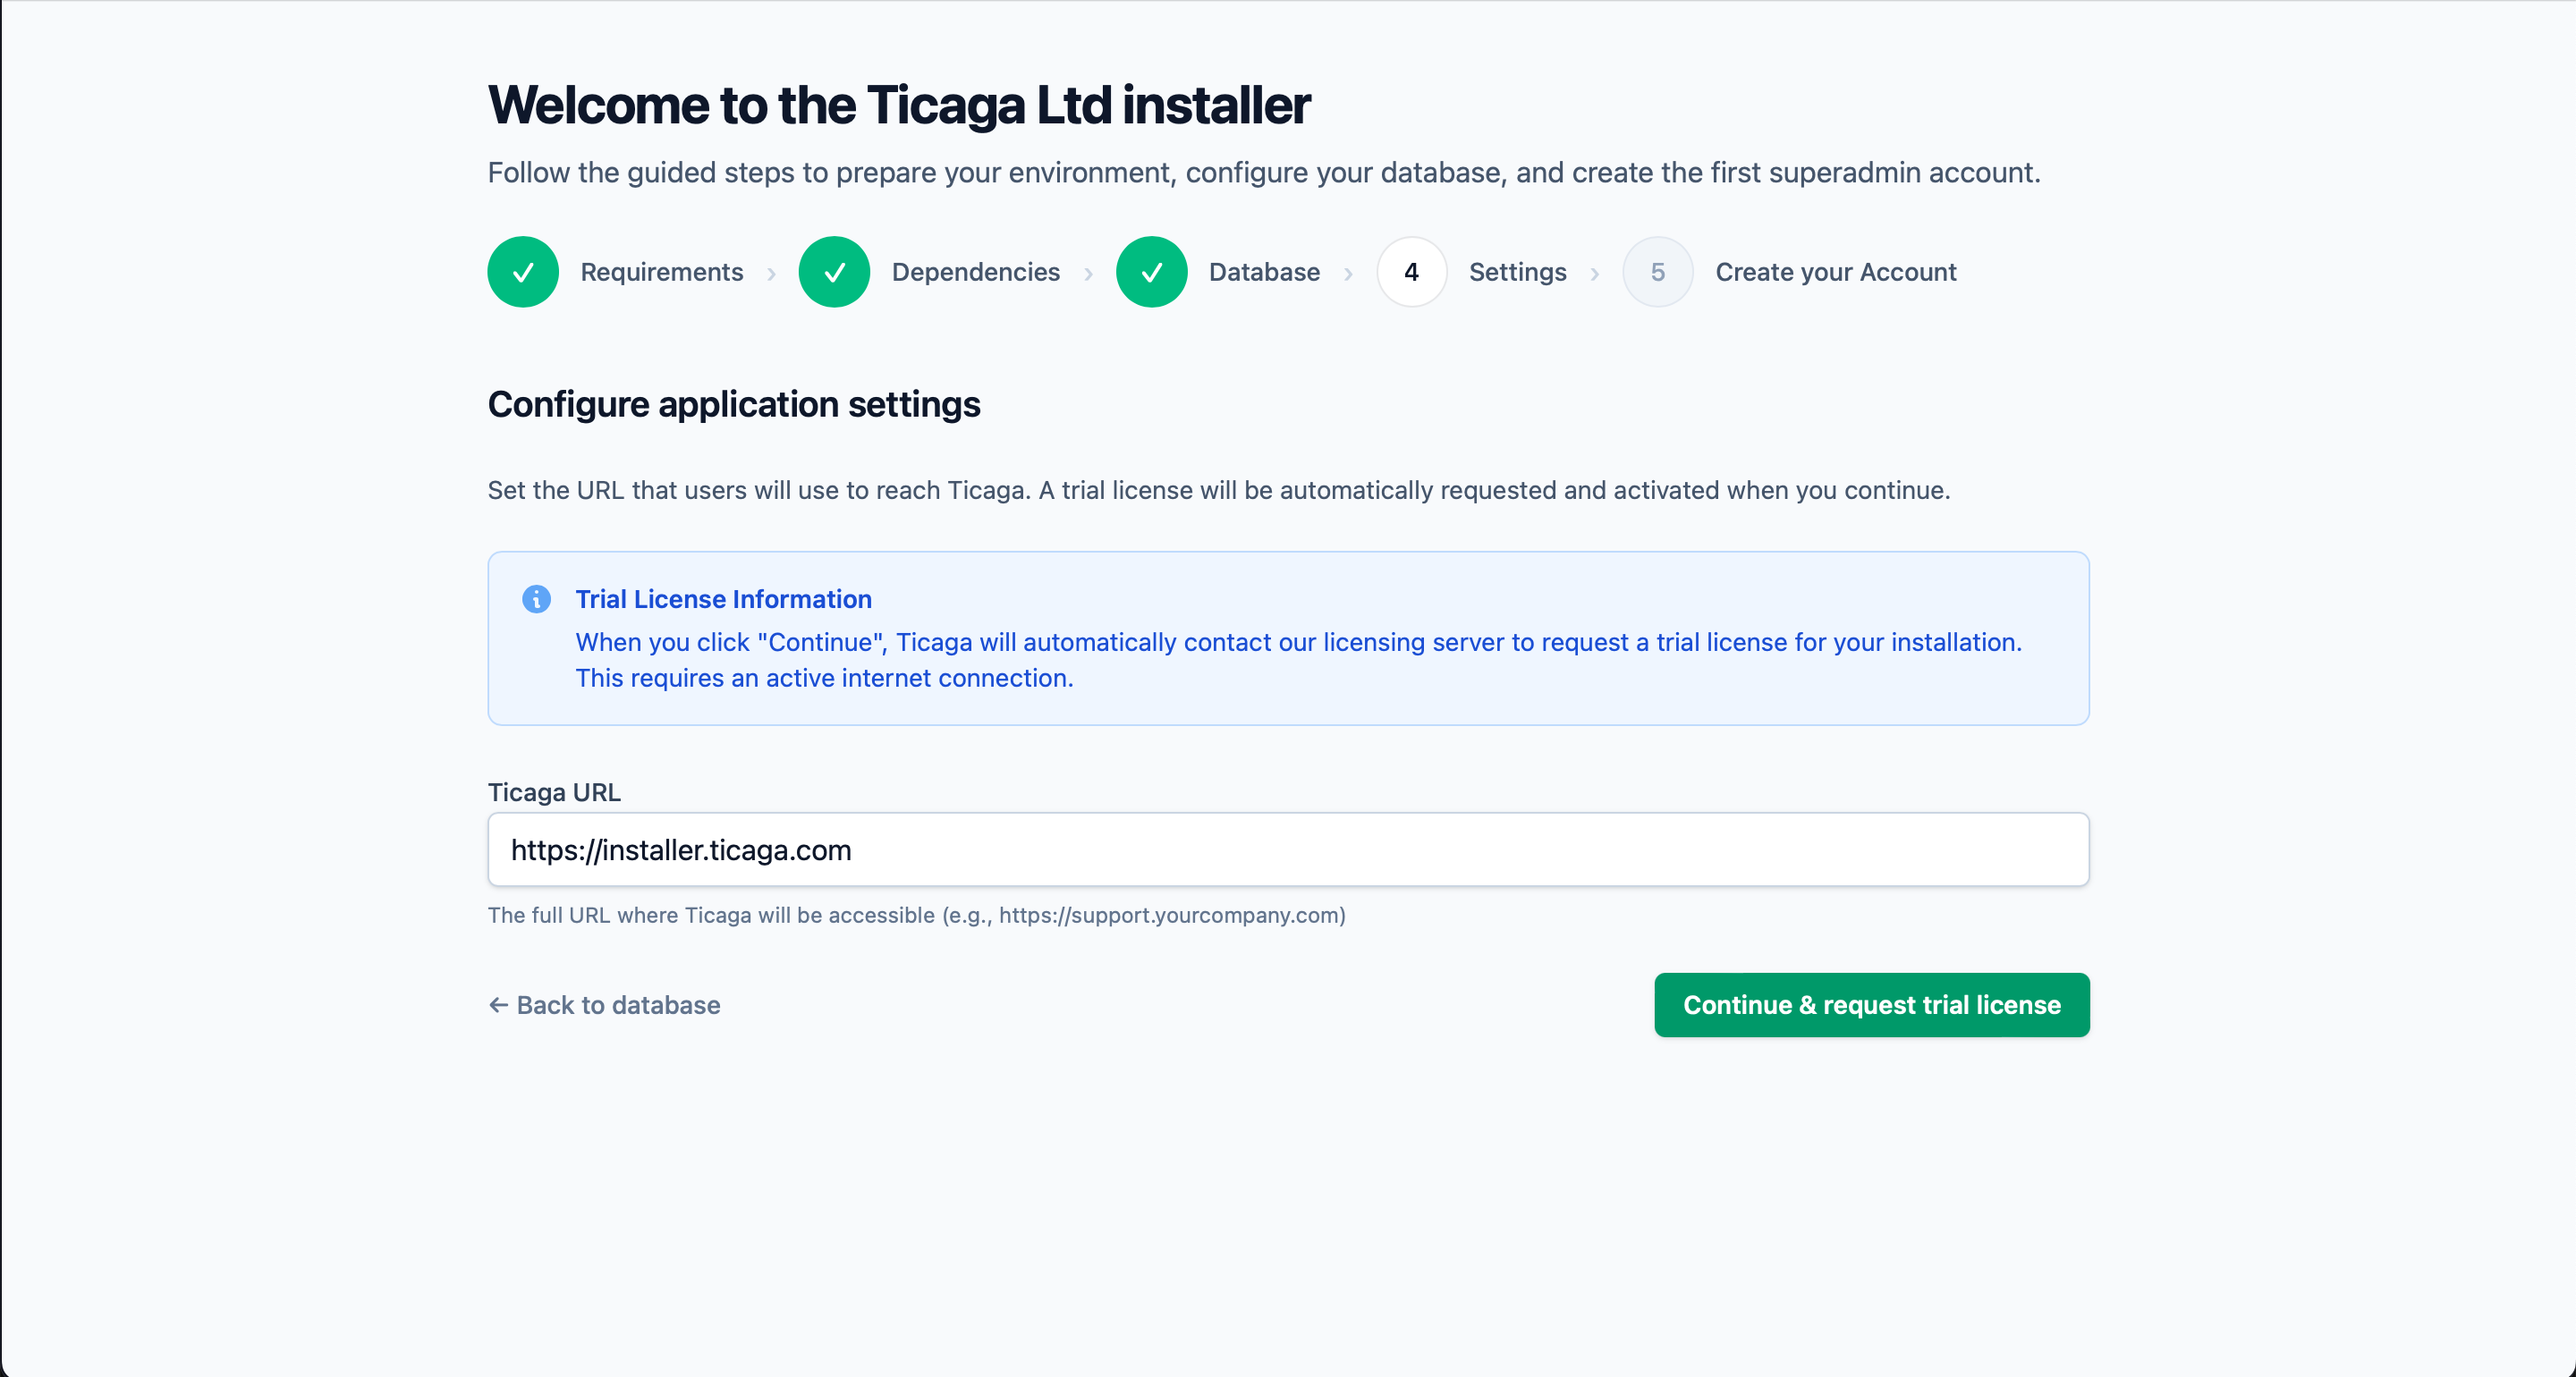
Grab a free 30-day trial automatically.
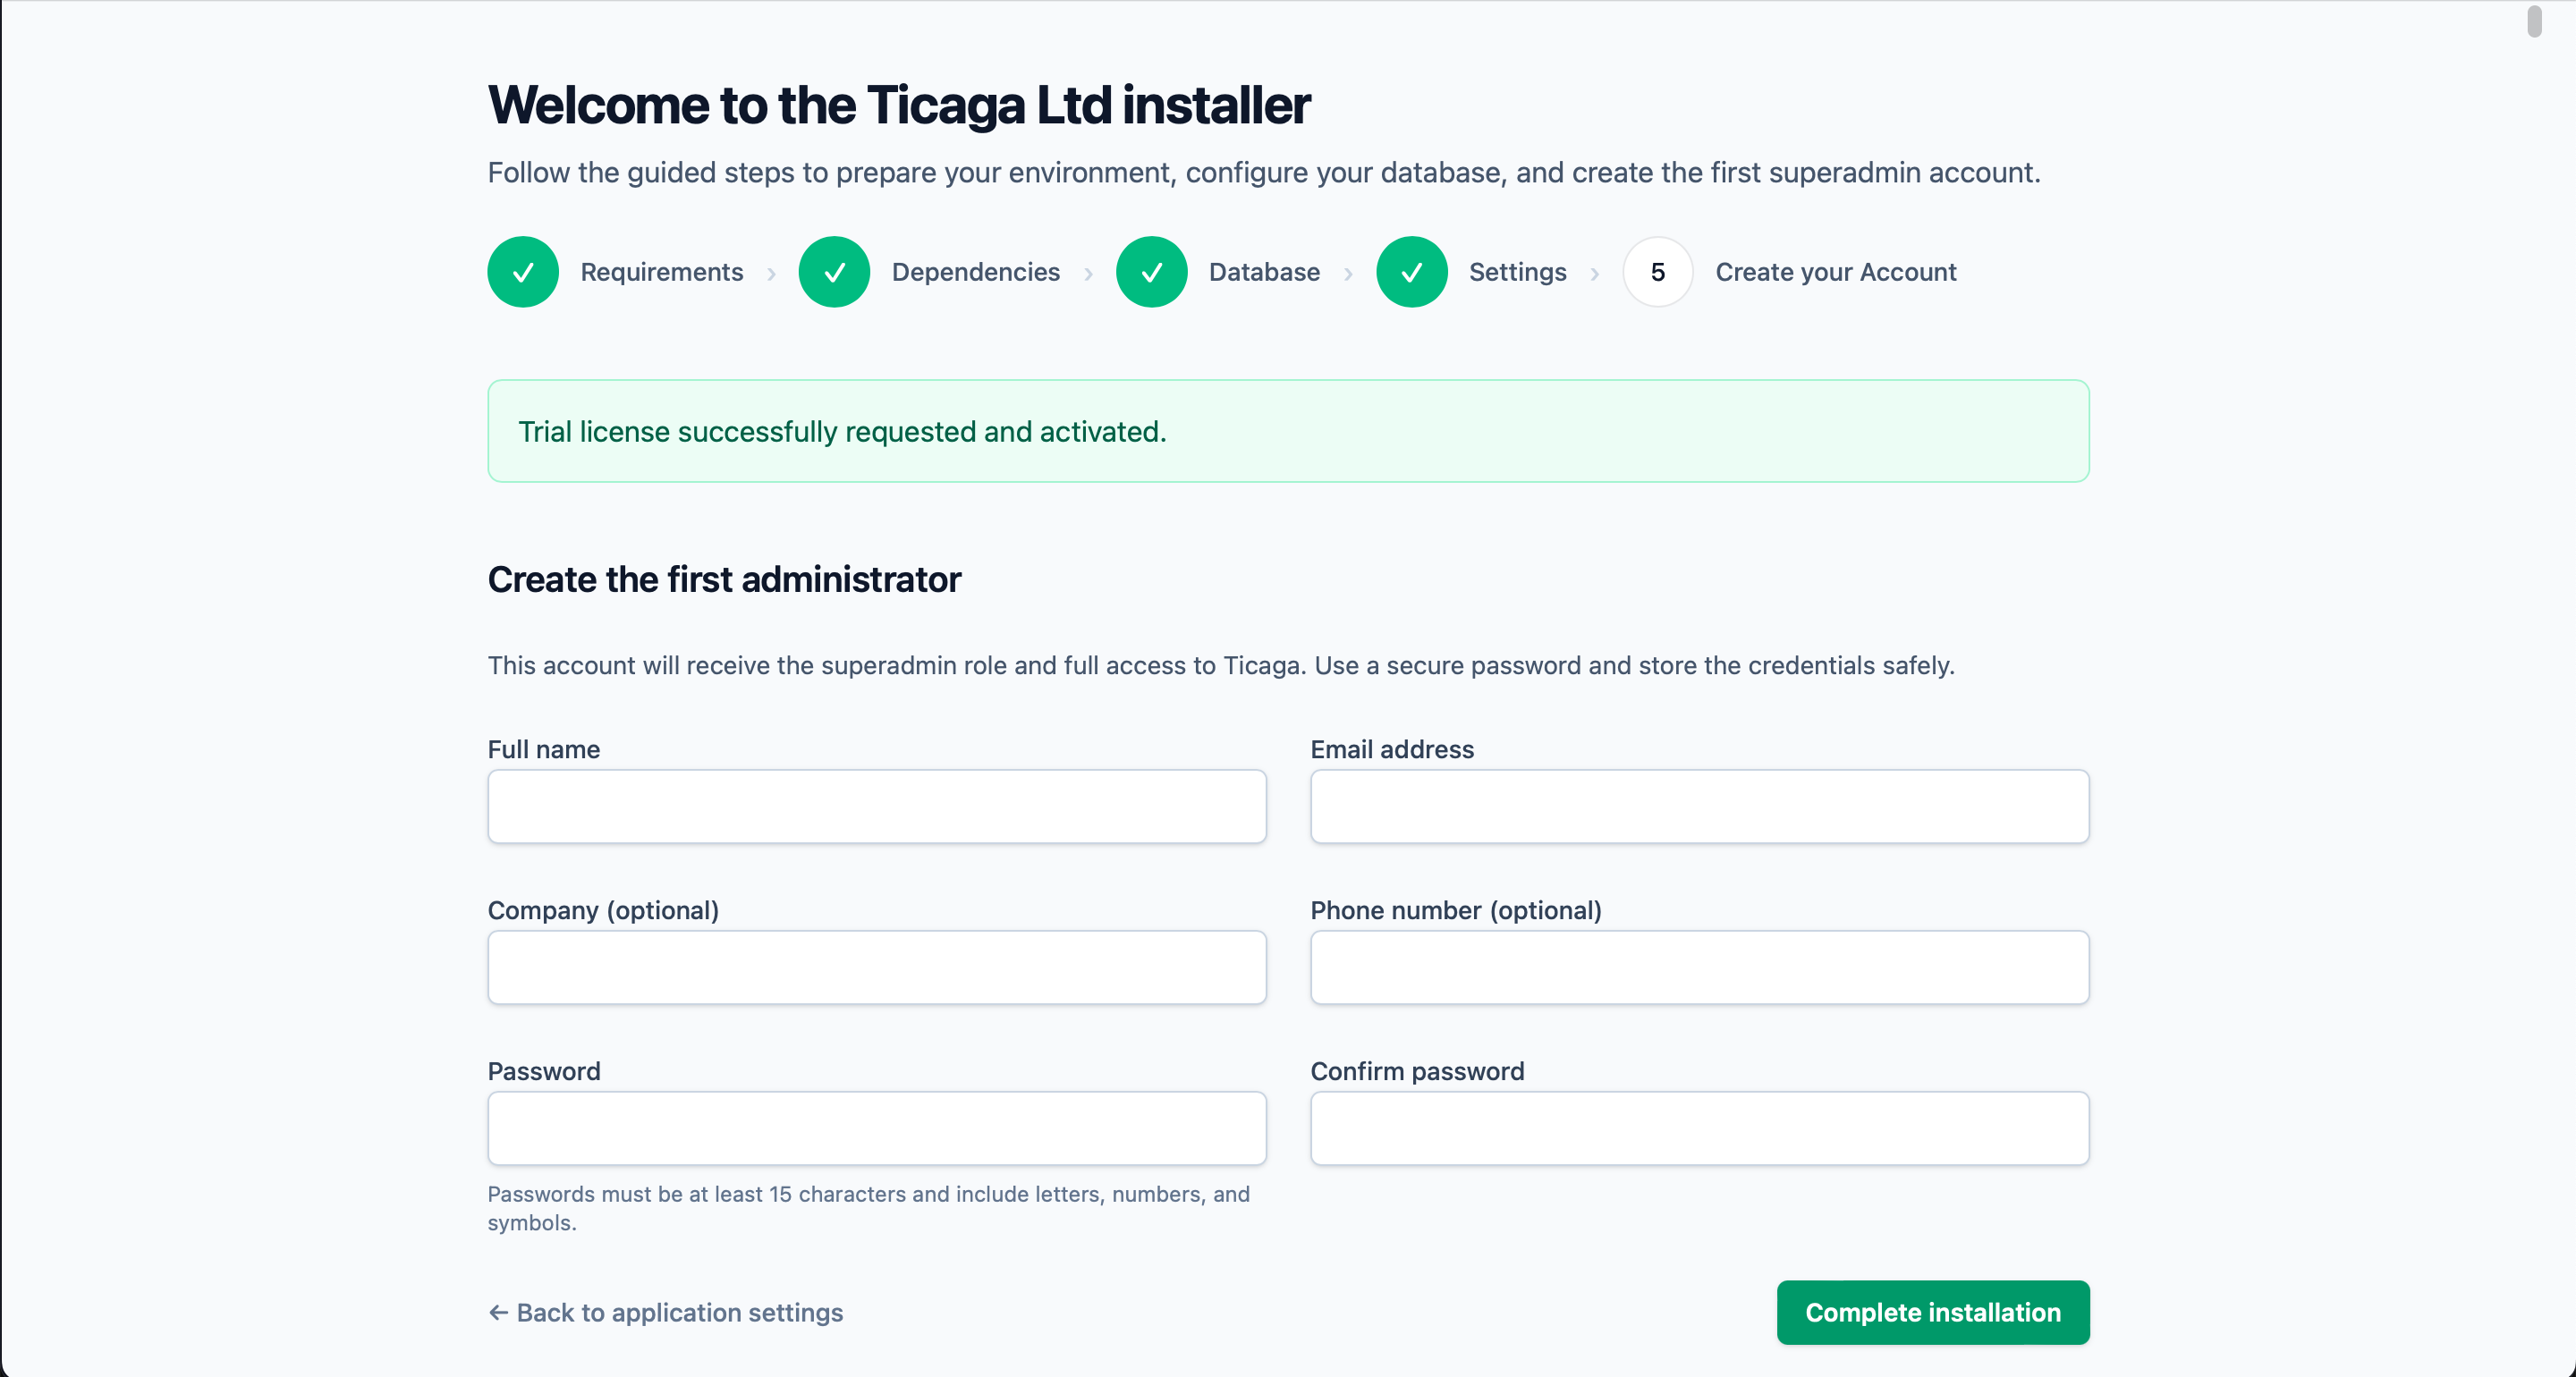
Next create your first Super Admin account, you'll be able to log in next.