WHMCS
Integration & Six design created by WHMCS Solution.
Twenty-one design added by Ticaga.
Plugin Installation
To install the plugin simply download the plugin from: https://github.com/ticaga/ticaga-whmcs
Upload the zip to the root of WHMCS and extract the zip, move the files from ticaga-whmcs-master, and this will place all the files in the correct locations.
Afterwards head over to your WHMCS admin area, click on the spanner 🔧 in the top right and select System Settings.
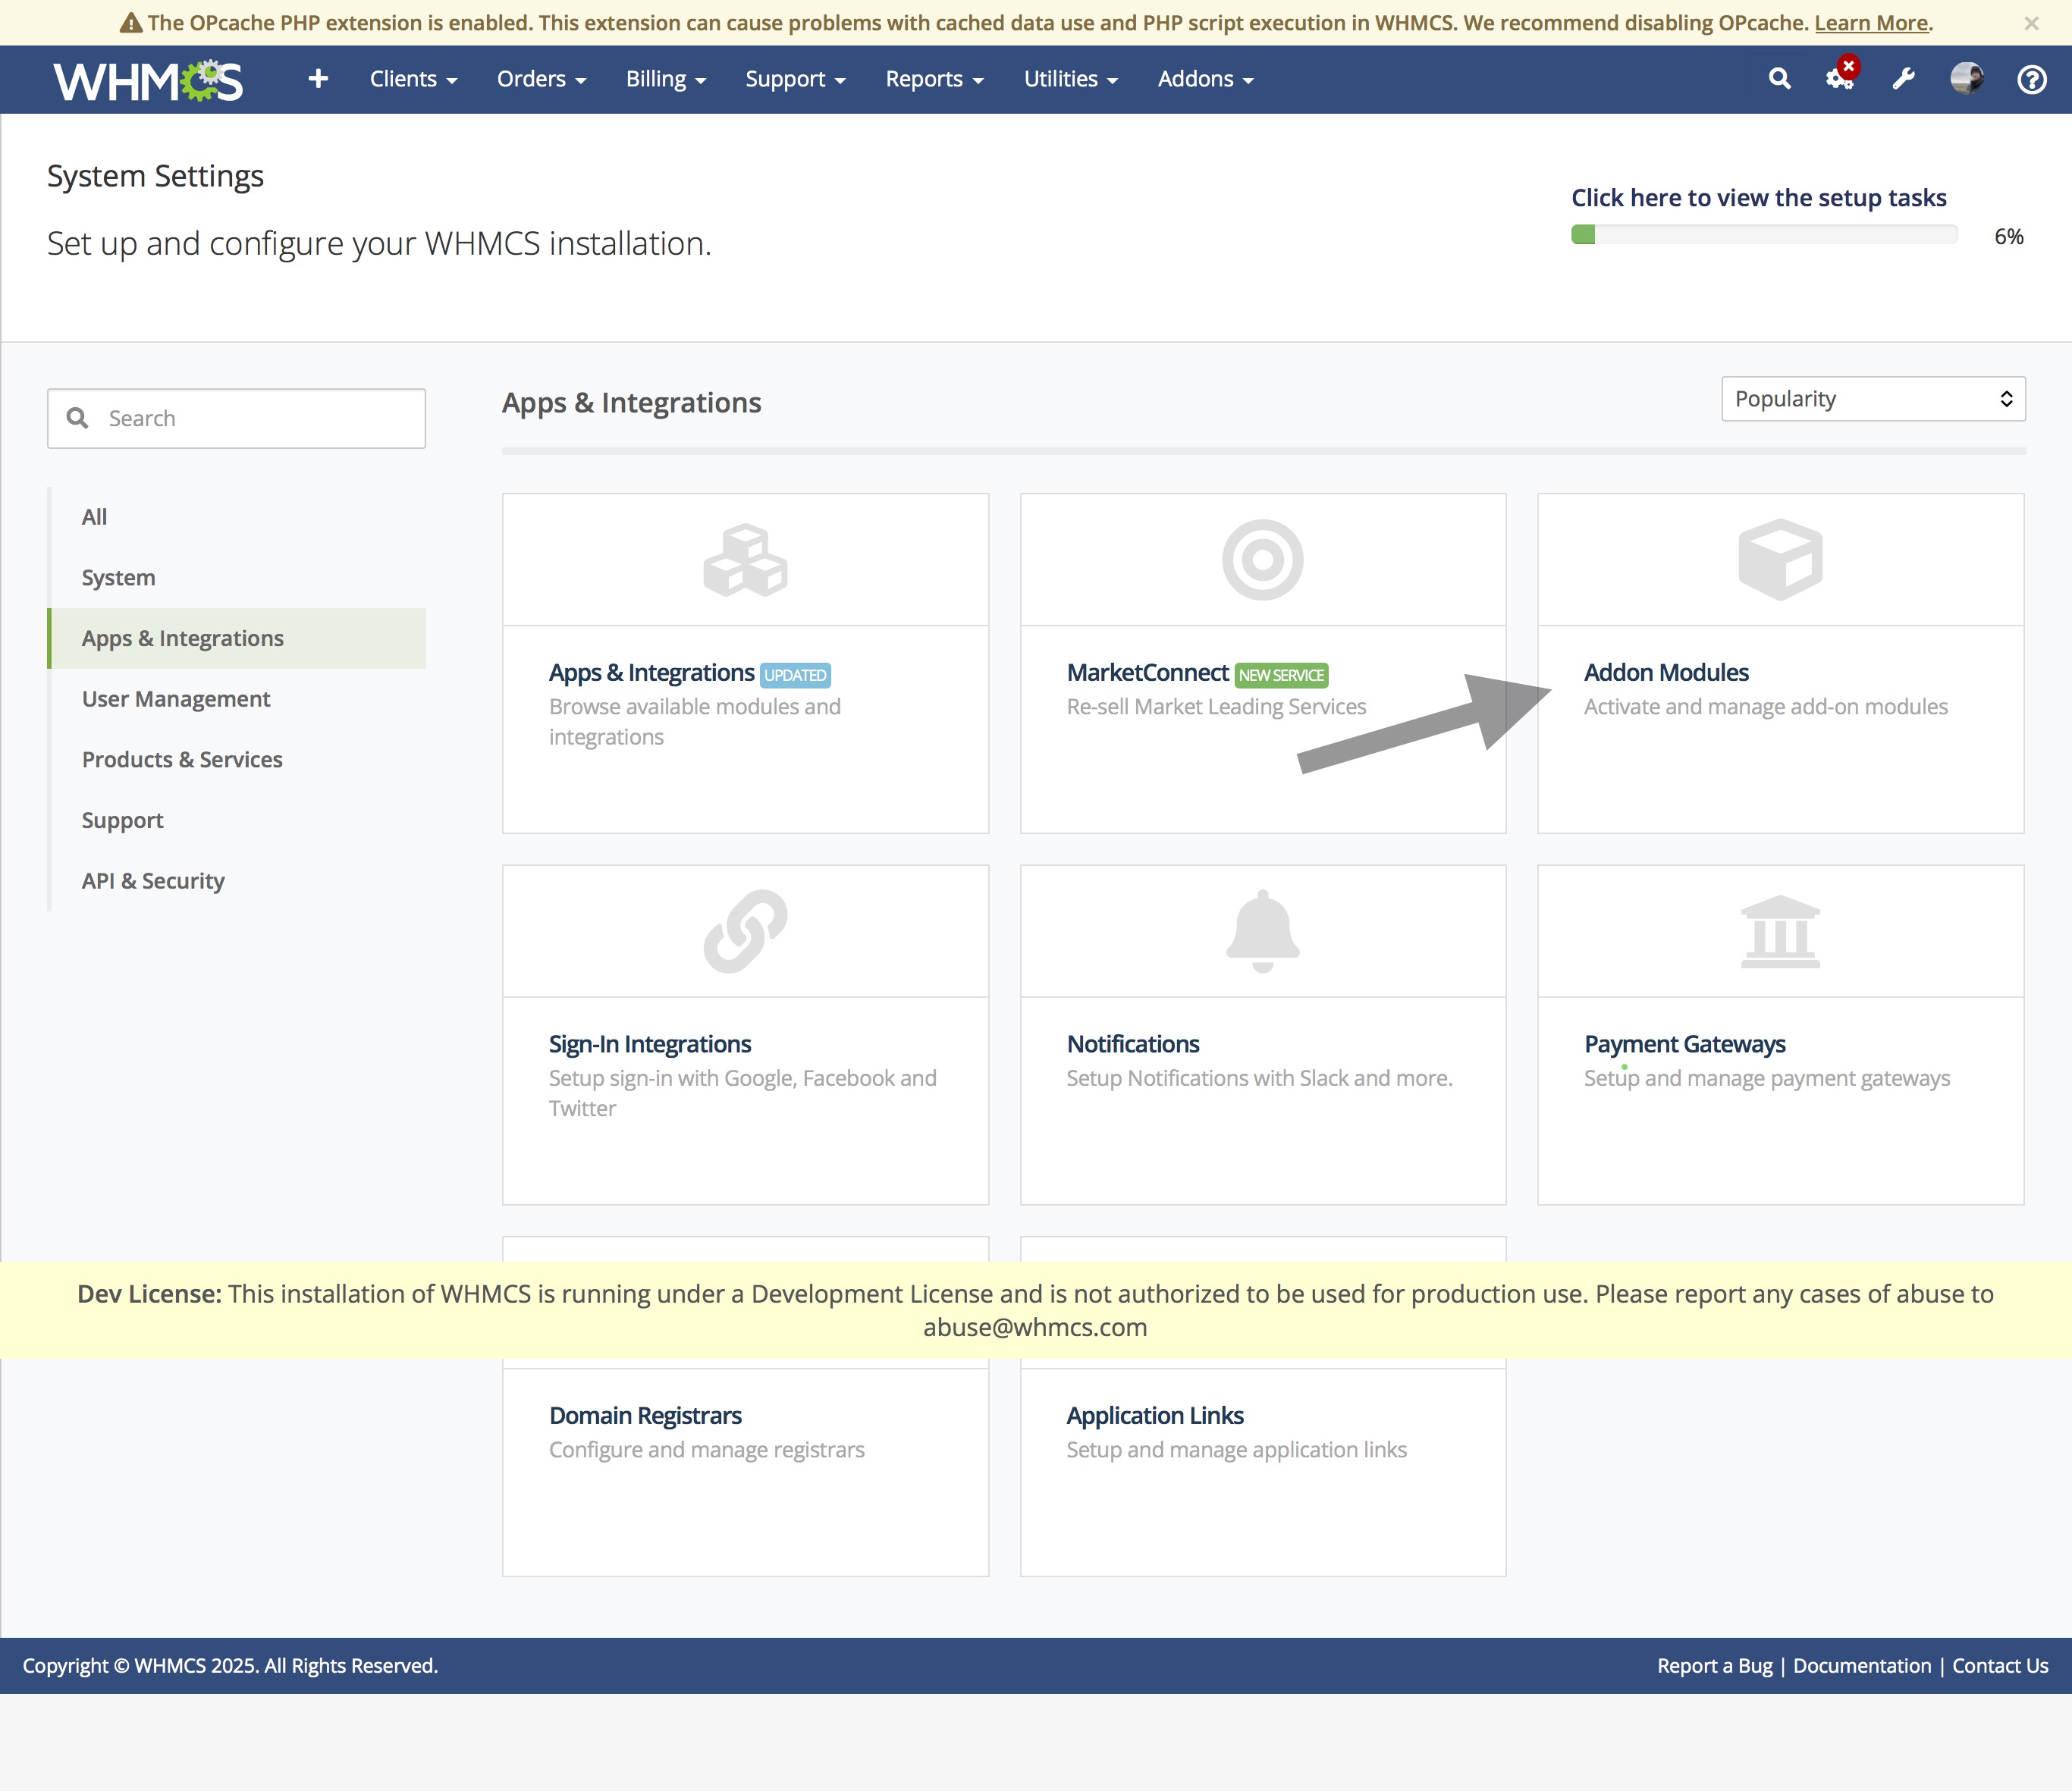
Click on Apps & Integrations and then Addon Modules.

Click on Activate, then click on Configure:

You can find your information for Ticaga here: https://your-ticaga-installation.com/settings/api-token or
Your profile picture > Settings > Api Details.
The Email is your Admin Email Address.
The Token is your API Key.
If you don't have one, click on Create a Token to generate a new one.
Linking Clients
Our WHMCS module automatically creates accounts on Ticaga when a customer registers to your WHMCS installation, this keeps everything simple and easy.
You can see their Ticaga customer ID by going to their profile:
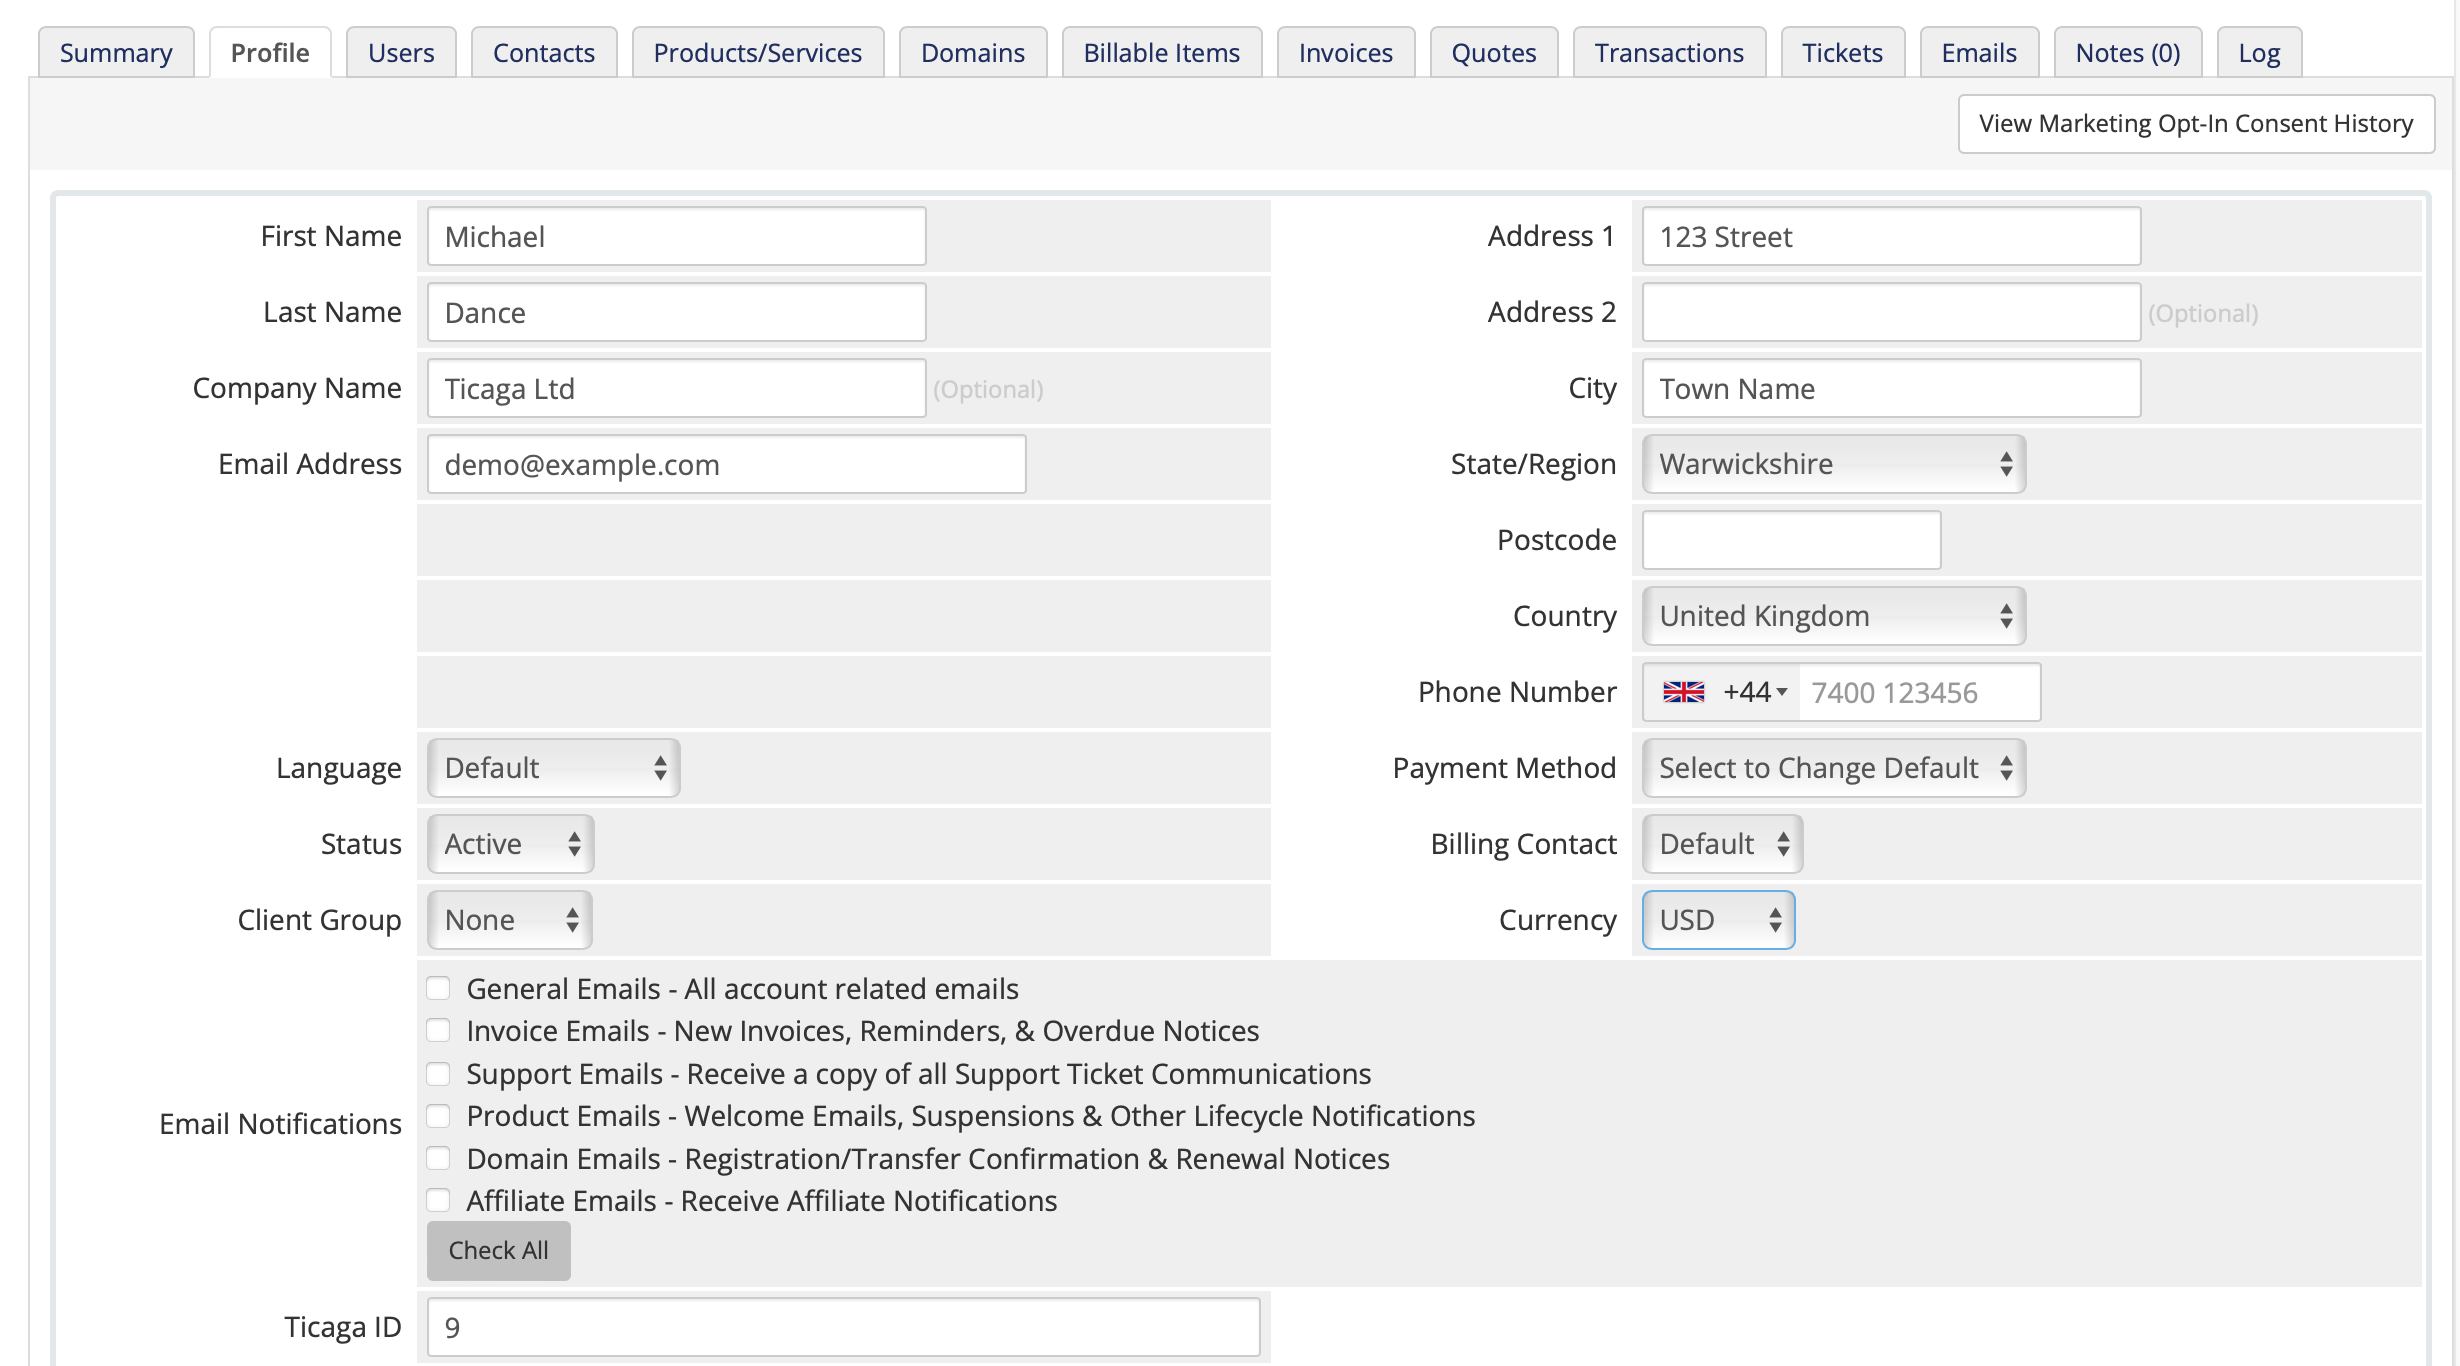
If you’ve already got customers on WHMCS and then connect Ticaga, when your customer logs in the module will create them an account automatically and link them up.
How Clients can open a ticket.
Your customers can simply open a ticket like normal. Click on Open Ticket.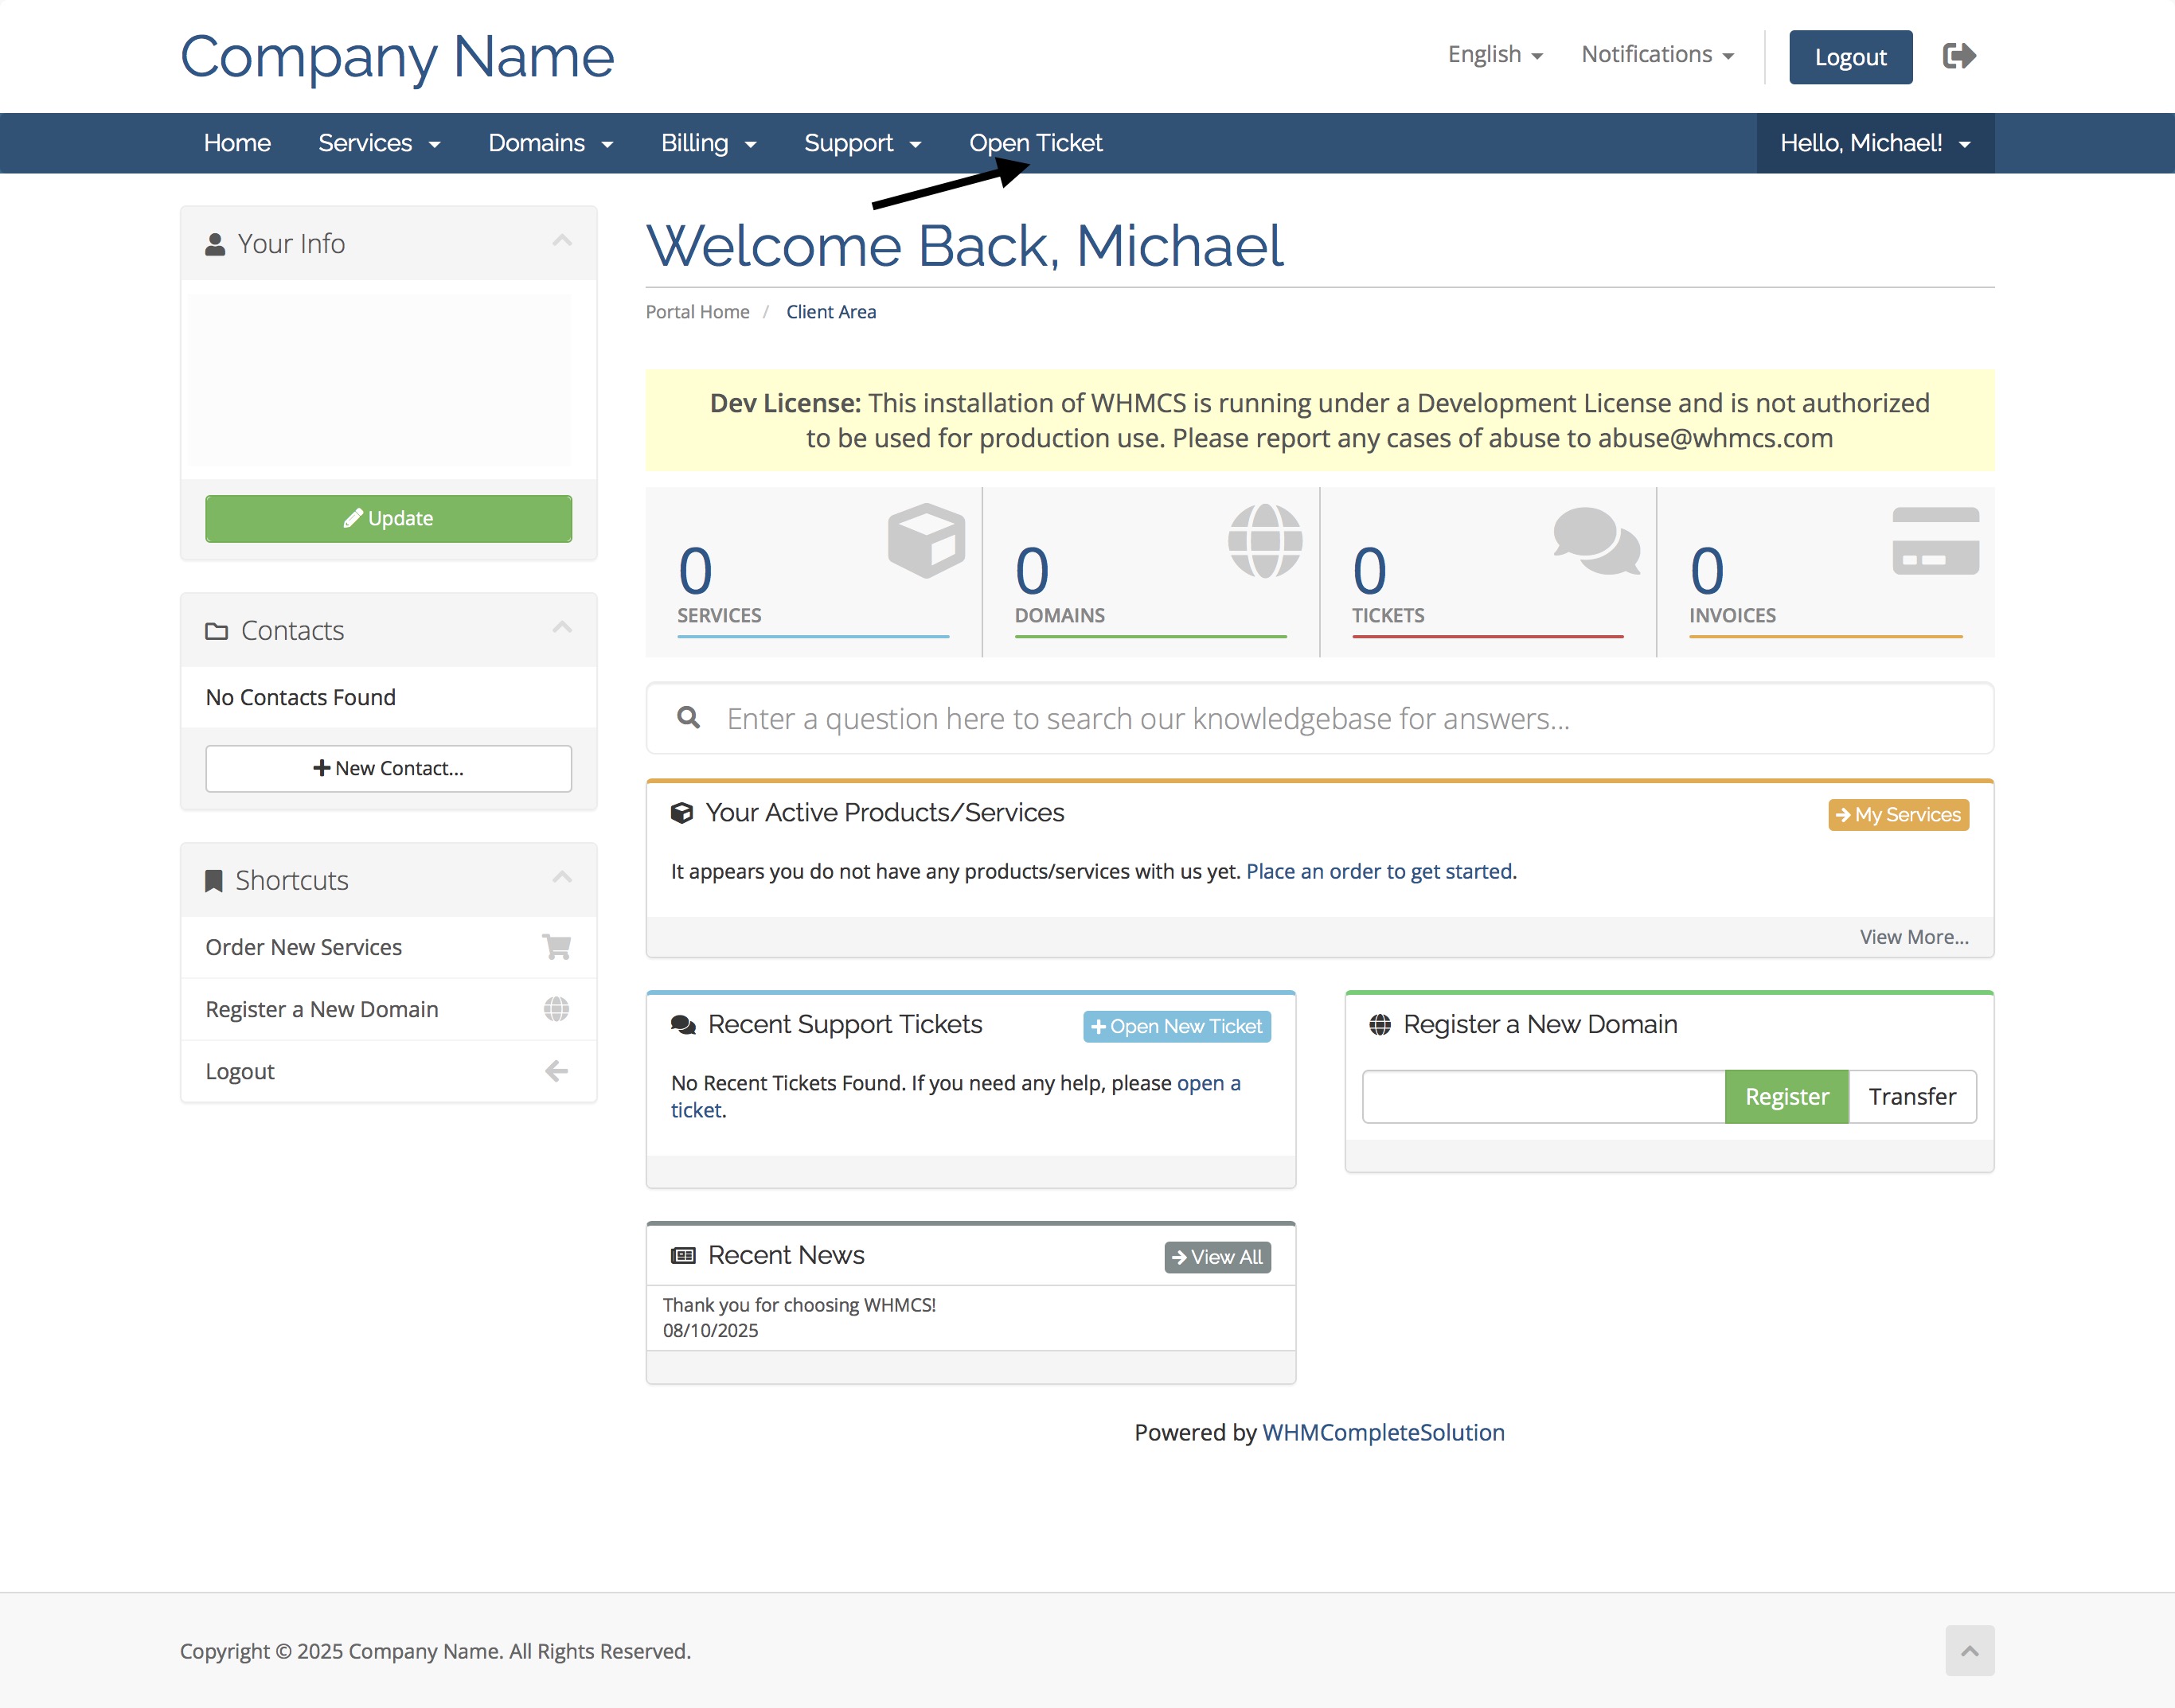
This brings up the open ticket page, just like the default WHMCS, this means it’s familiar to your customers.
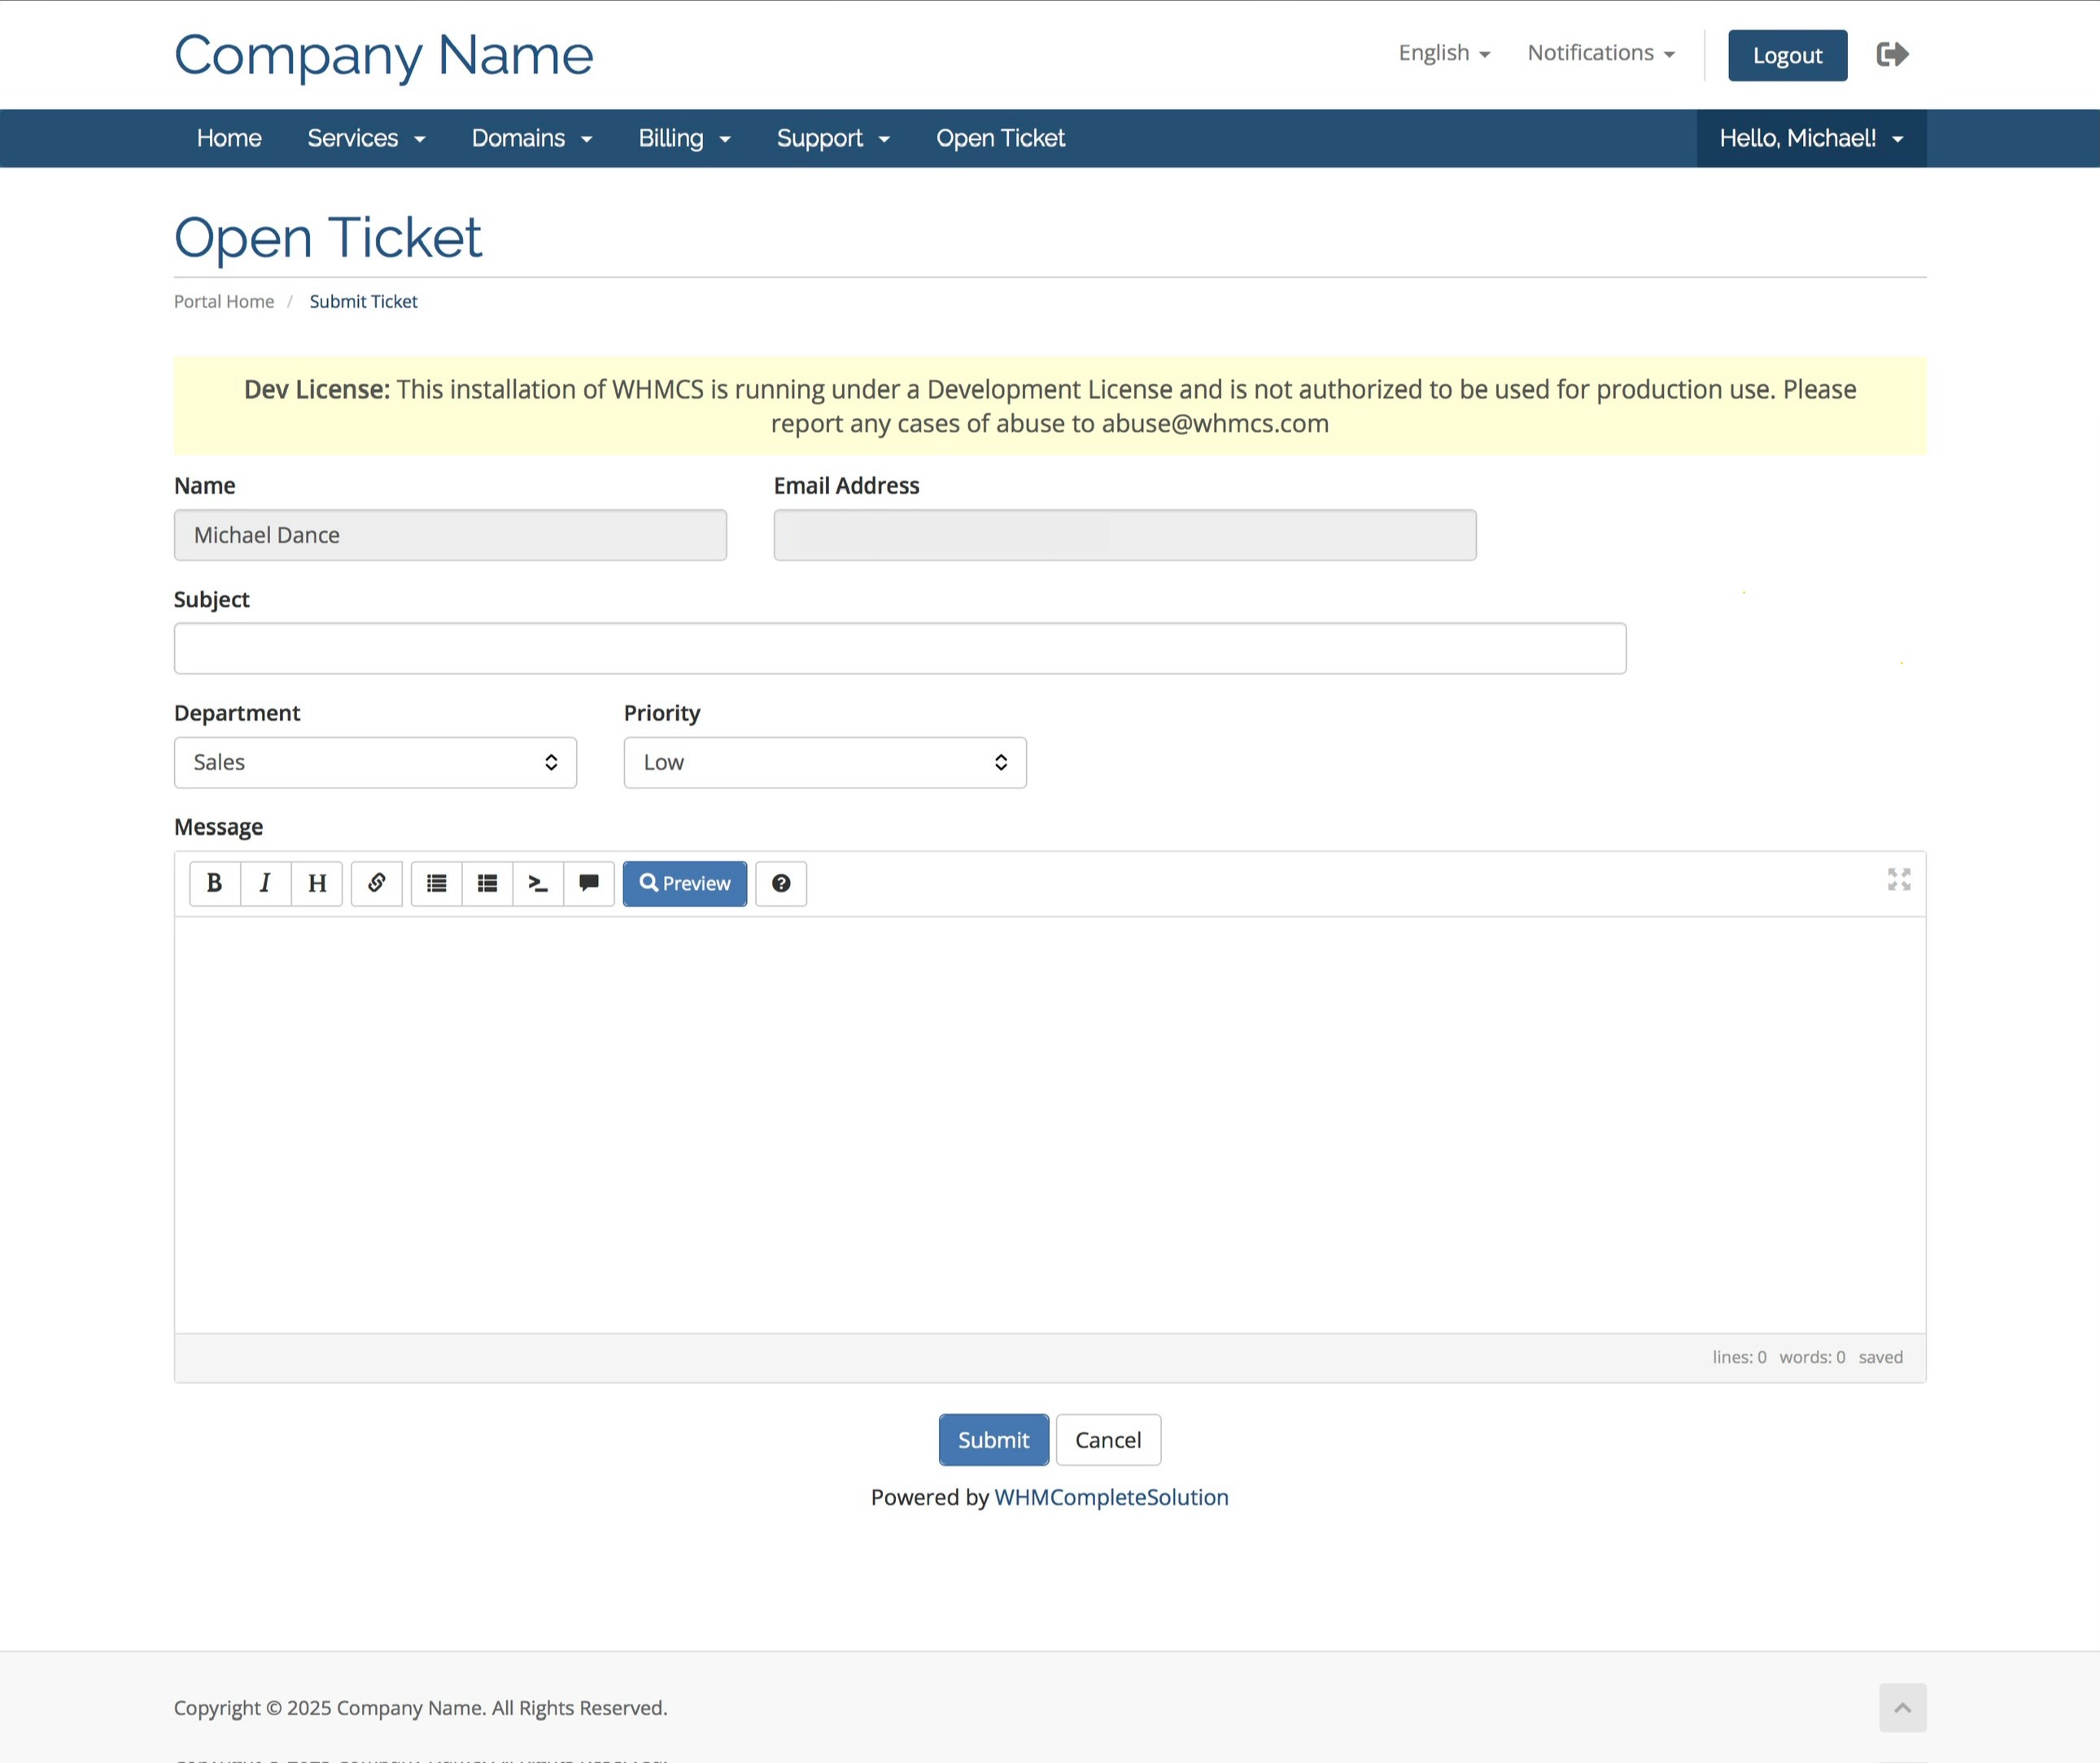
After they’ve created the ticket, they can go to the tickets overviews, by going to Support and then Tickets.
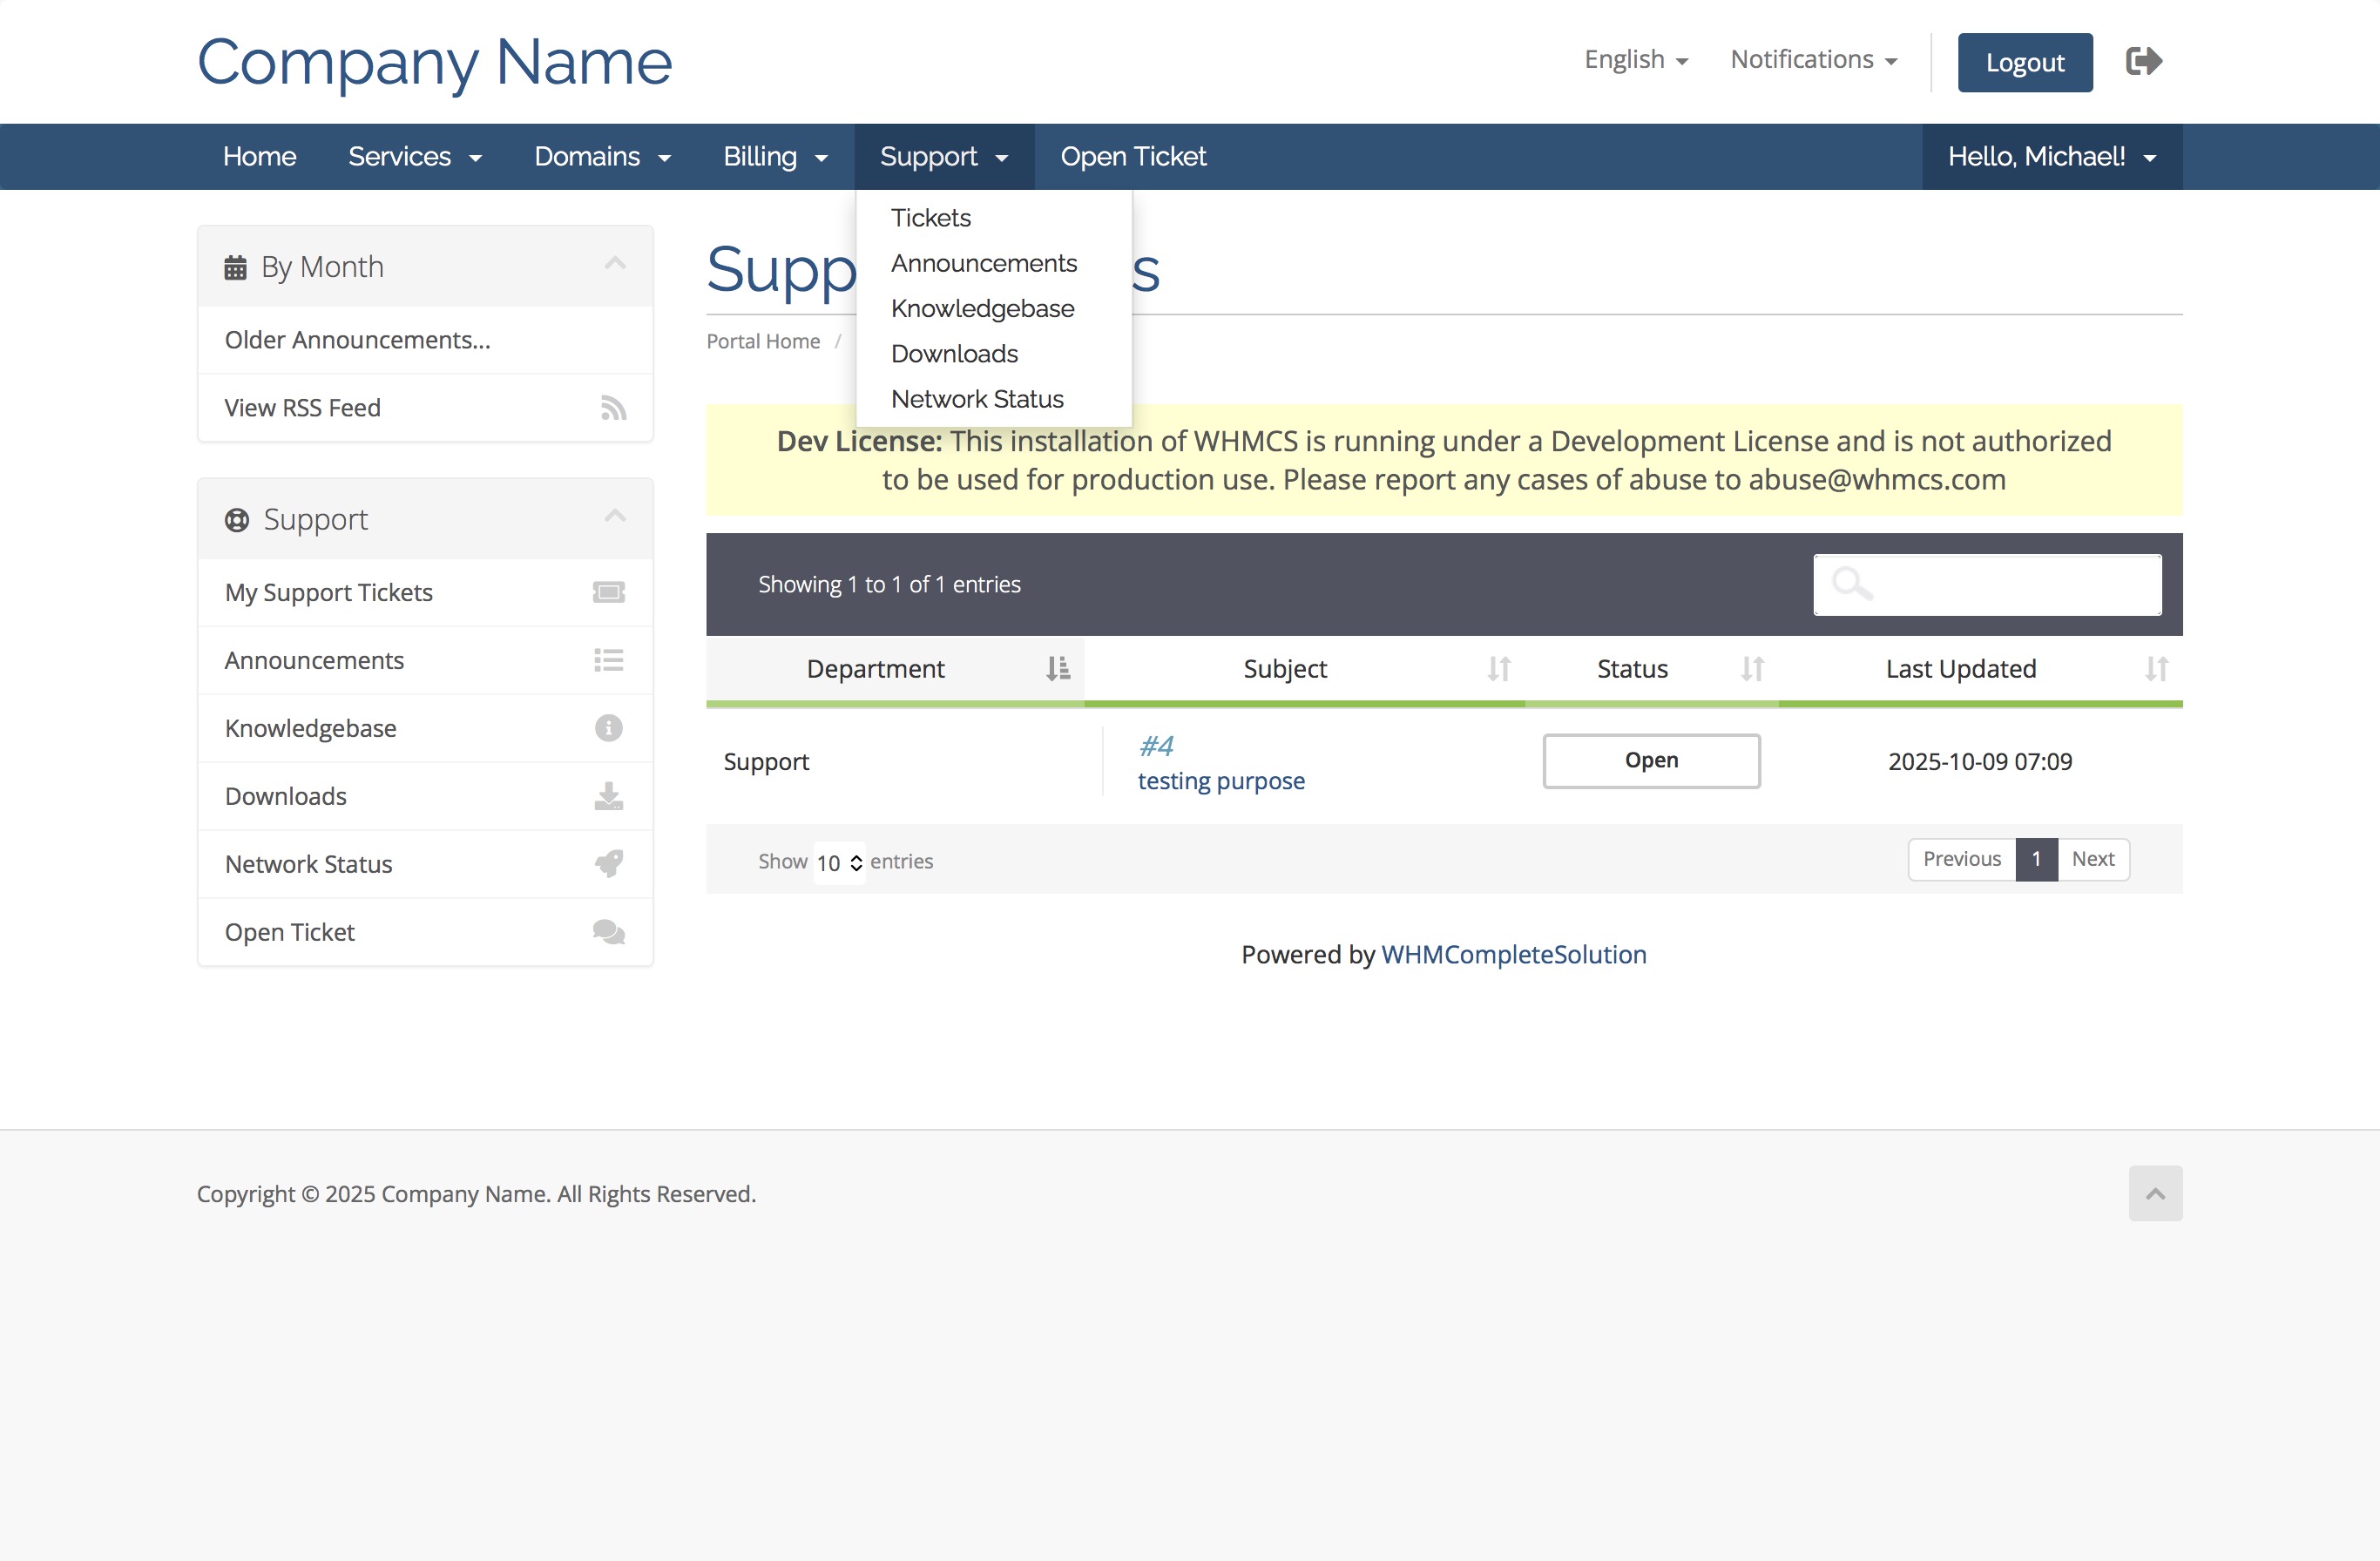
Here your customers can view all their tickets, click on the ticket number to view the ticket in question.
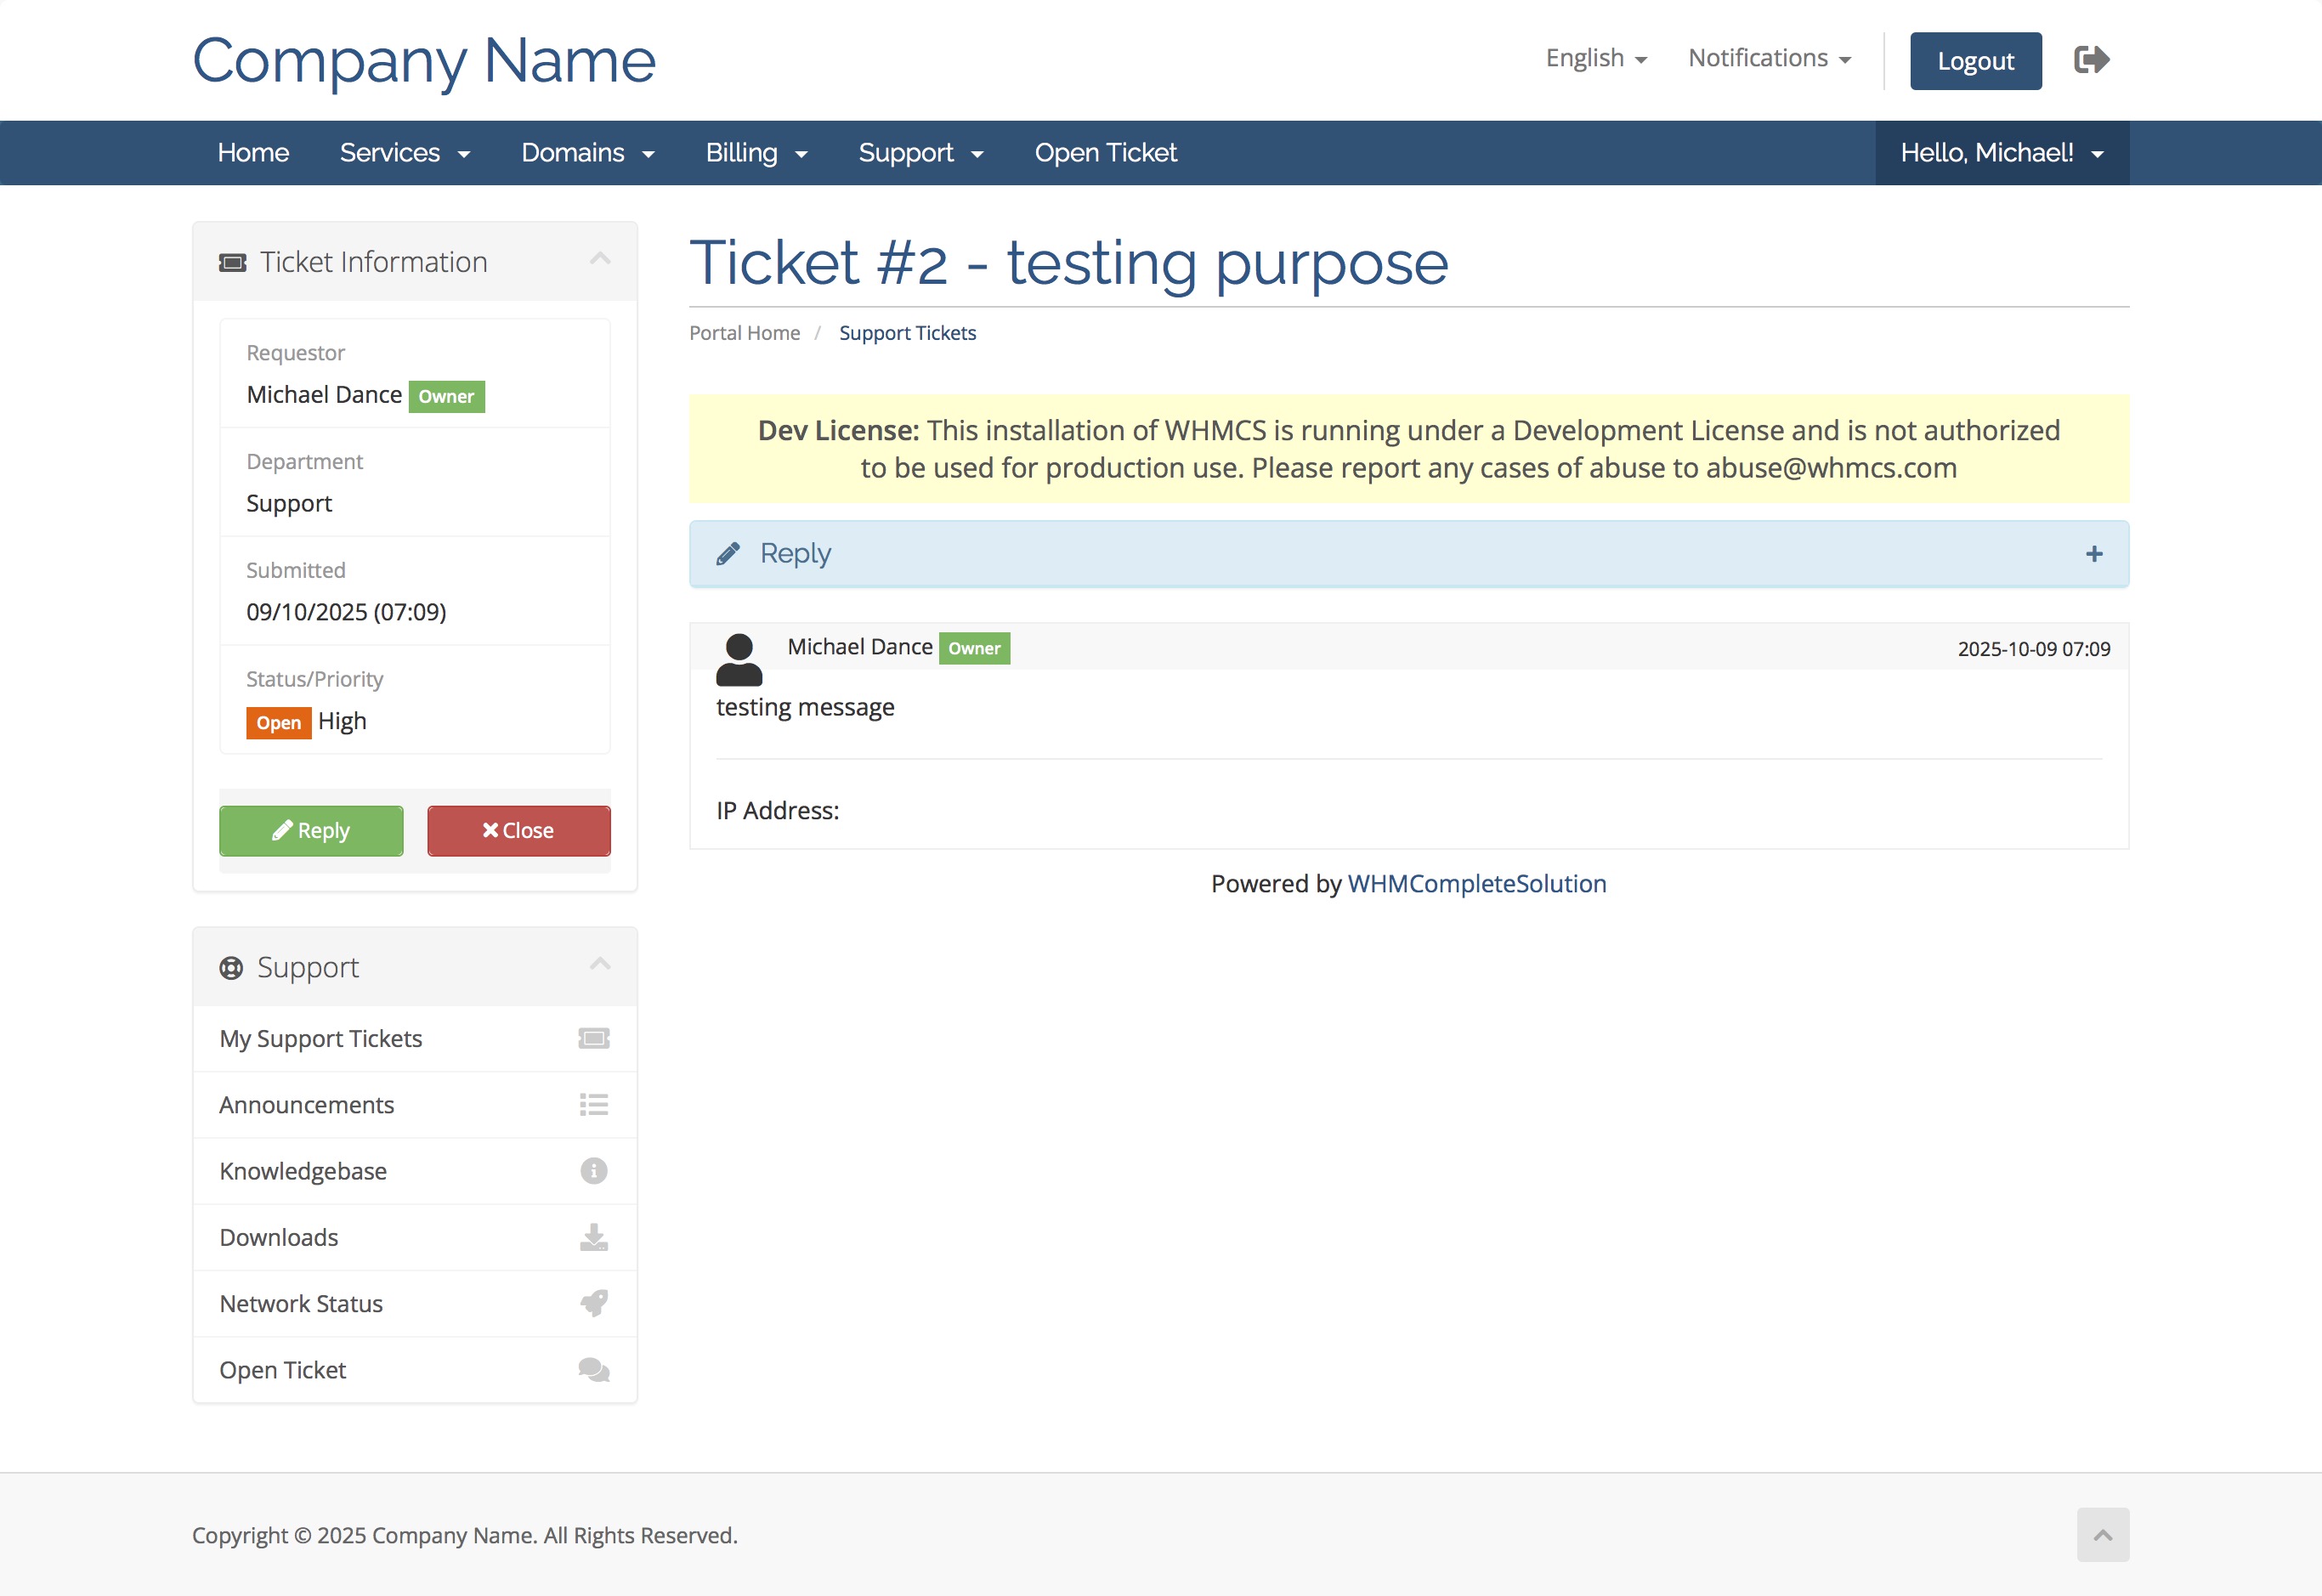
Your customers can reply to their ticket by expanding the reply section.