Installing Ticaga
System Requirements
Ticaga requires the latest stable version of PHP to ensure optimal performance, modern functionality and the highest security standards.
Minimum Requirements
-
PHP: 8.4
-
Database:
-
MariaDB 10.5.27 or higher
-
MySQL 8.x or higher
-
-
IonCube Loaders: 14.0
-
Composer (latest stable version)
-
Laravel: 12.x
-
SSL: Let’s Encrypt (recommended)
Recommended Environment
For best performance and reliability, we recommend:
-
Operating System: AlmaLinux 10
-
Server Type: Virtual Private Server (VPS)
-
Memory: Minimum of 2 GB RAM
Installation
To begin the installation, run the following commands:
yum install wget nano unzip -y;wget -N https://ticaga.com/install.sh;chmod +x install.sh;sh ./install.shInstall AlmaLinux 10, paste the commands, and you’re ready to go, let us do the hard work, so you don't have to.
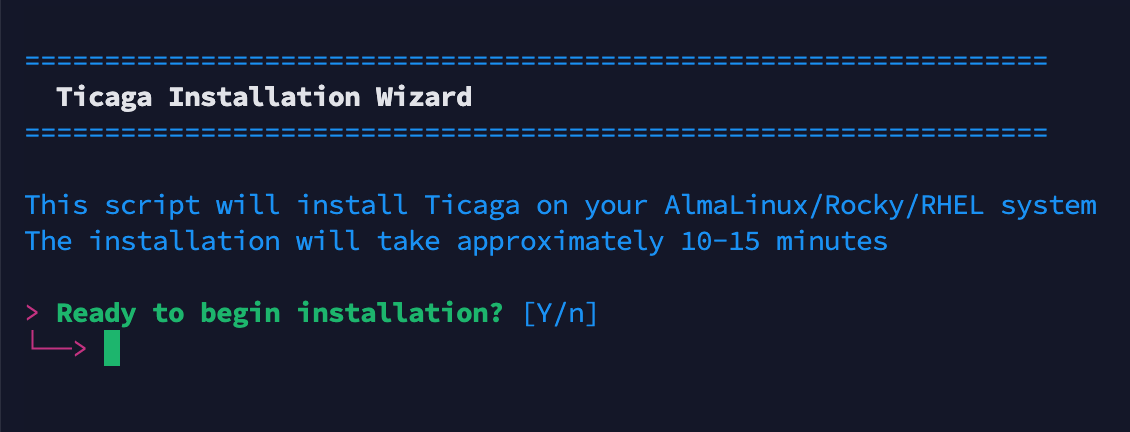
When you're ready enter "Y" to continue.
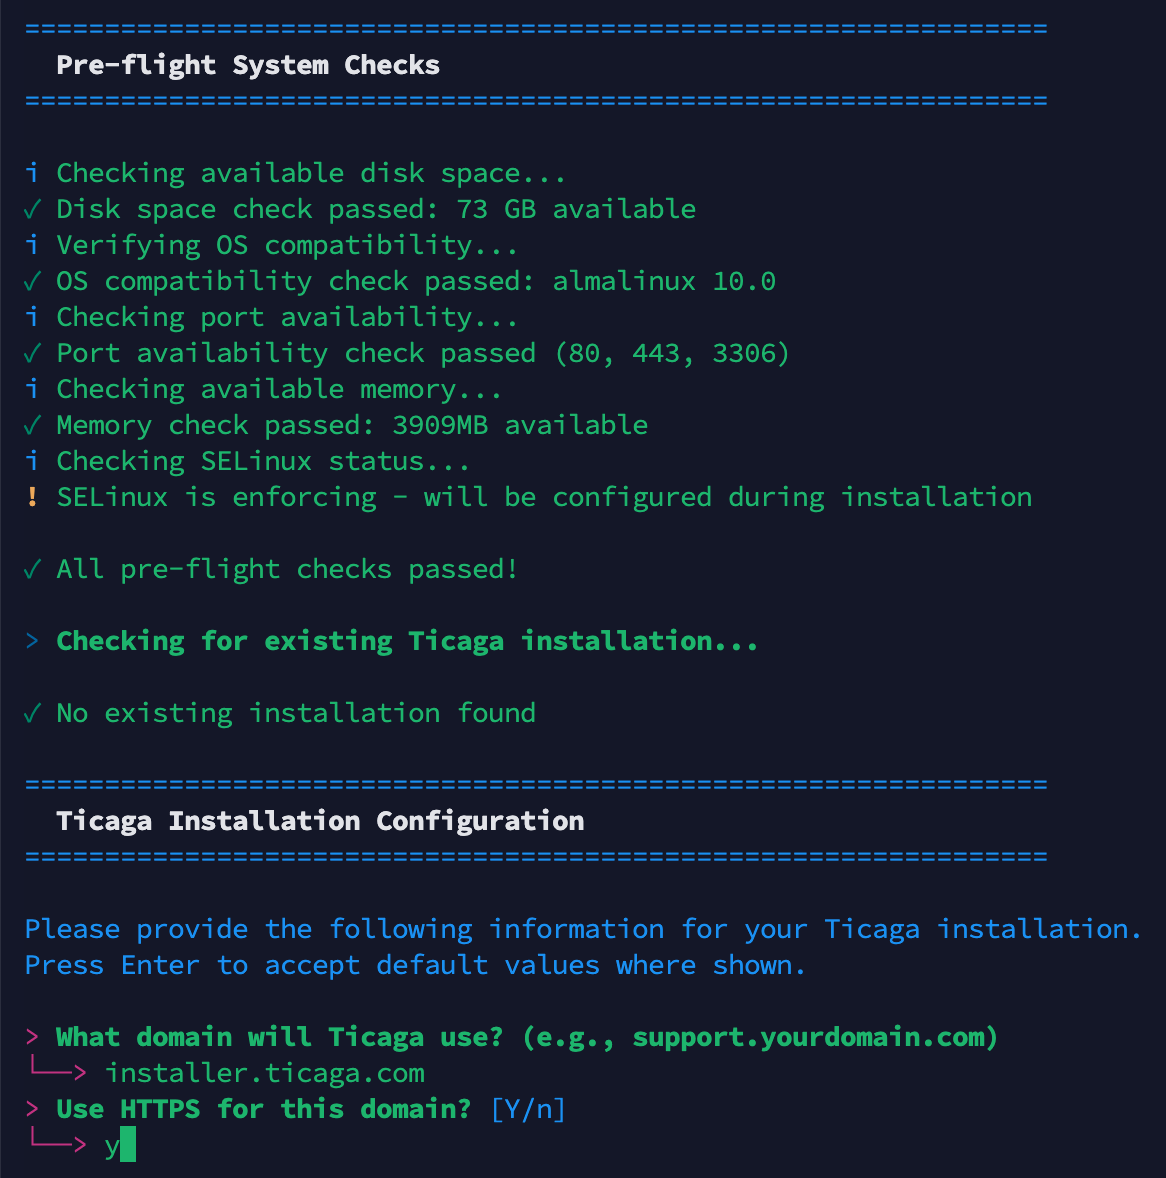
Enter the domain you're installing Ticaga on? We recommend support.yourdomain.com or helpdesk.yourdomain.com, then we recommend SSL so if you want to as-well enter "Y" for HTTPS.
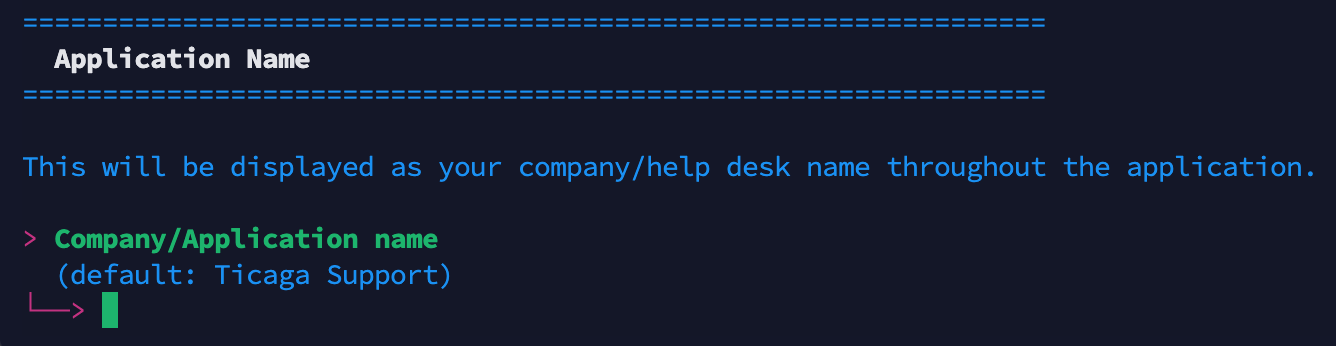
Enter your company name which will be displayed on Ticaga.
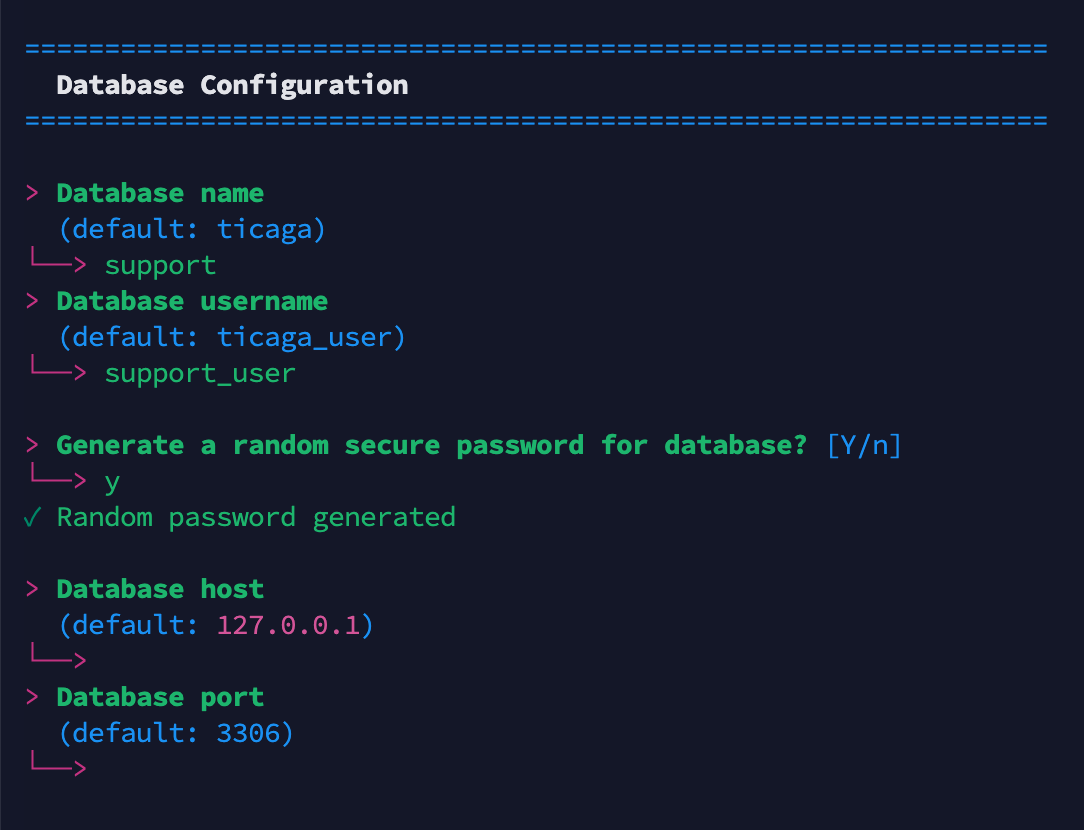
This is where you set-up your database for Ticaga, if you don't want to randomly generate a password you can enter your own.
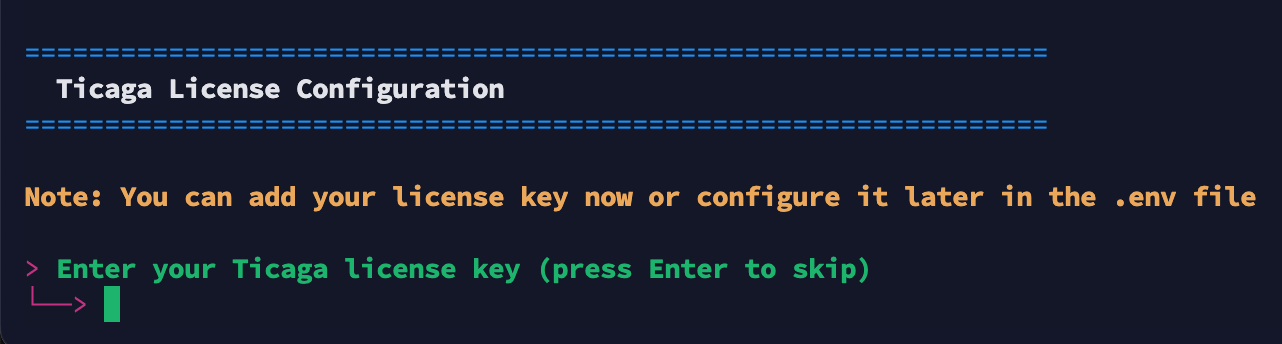
Now you can enter your paid license if you have, you can skip this and get a trial license for 30 days later.

Ticaga needs your email address just for the Lets Encrypt SSL (You won't get emails from them).
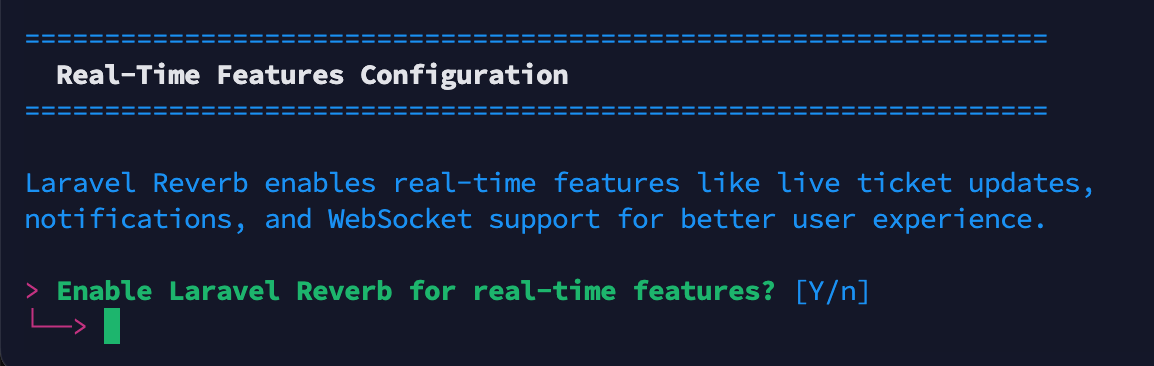
We recommend Reverb to get the best out of Ticaga. You don't need it but you'll loose the following features:
- Viewing Tickets (Employee's and customers) but visible to just Employees.
- Collision Detection to see if someone is replying to the ticket already.
- Live chat (Paid Extension).
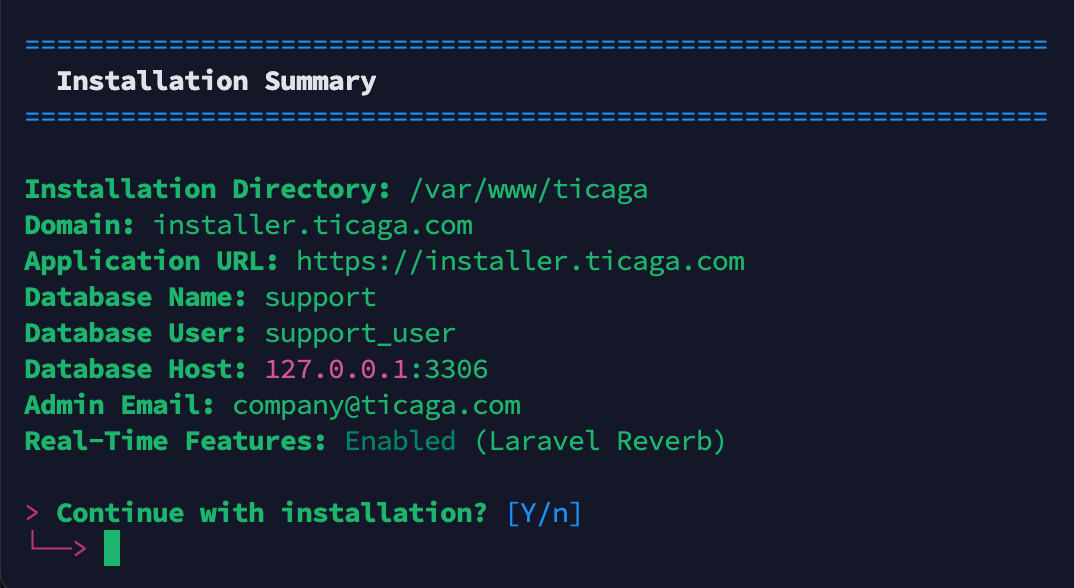
This summary means you can double check everything before you continue with the installation. When you're happy enter "Y".
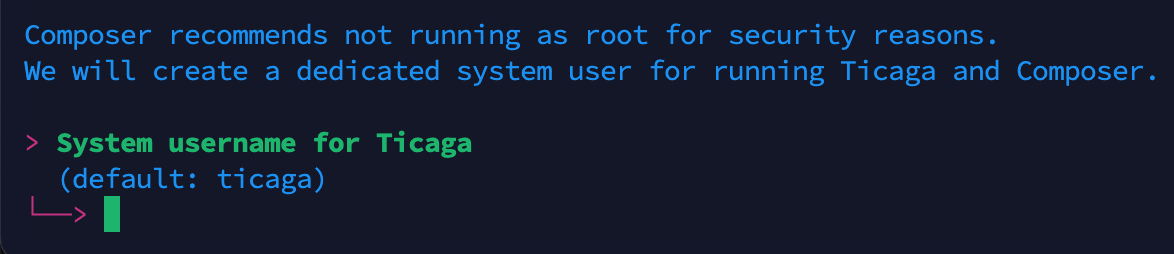
Next create your separate account (Non ROOT) this is for security purposes. Create the password and continue.
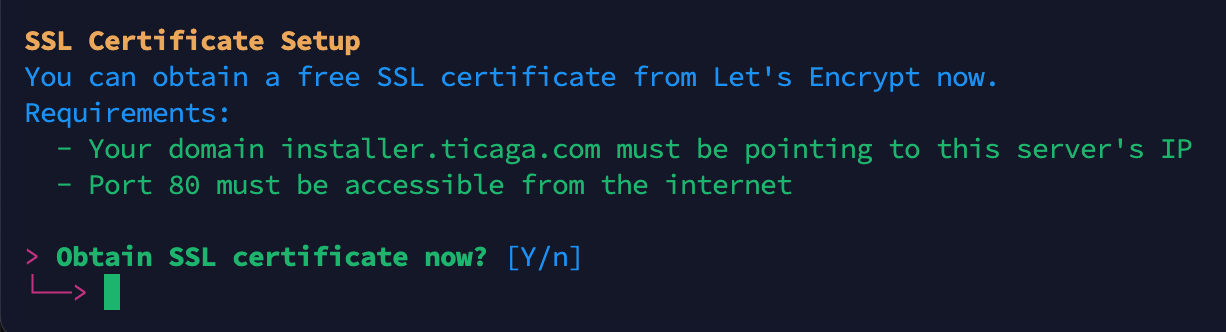
If you've selected HTTPS:// above you'll get told you can get the SSL now just enter "Y".
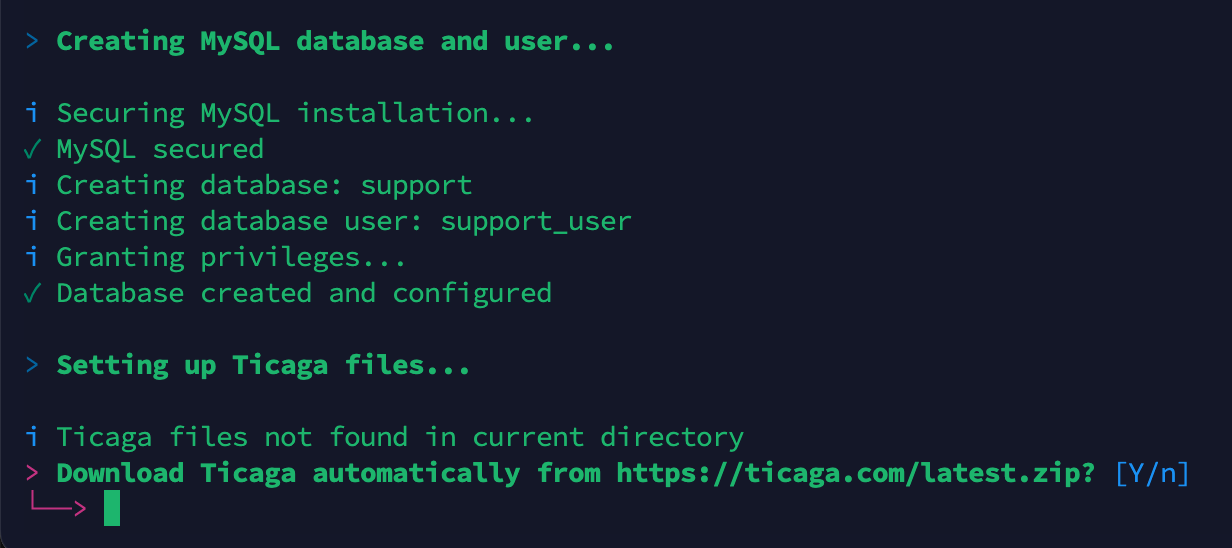
Time to download Ticaga, just enter "Y" and the installer will download the files and get it all configured and set-up.
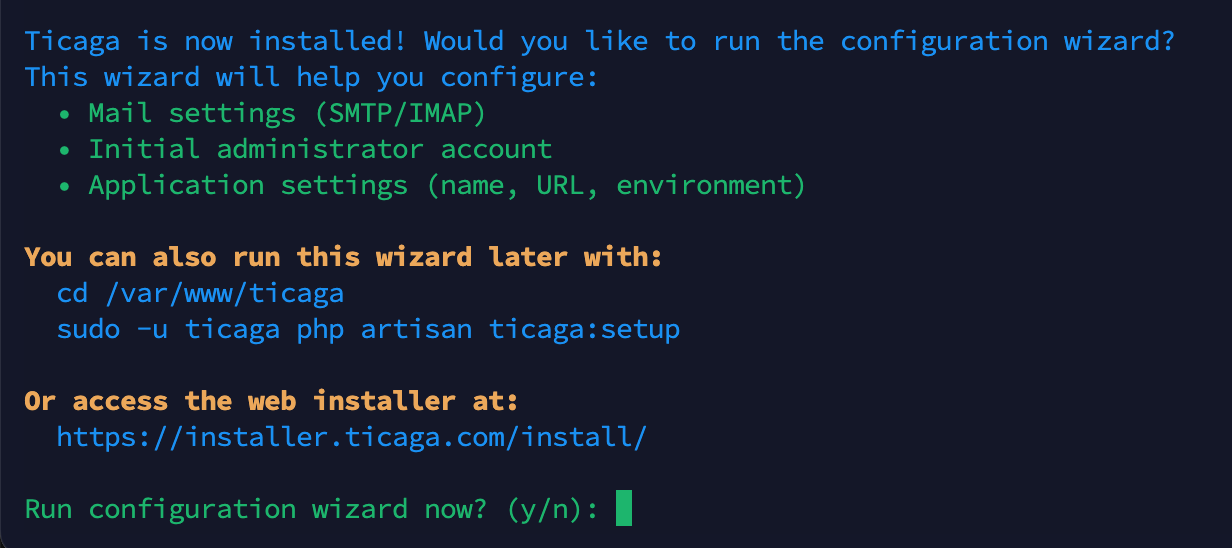
When you get to this bit, if you select "Y" You will move to the CLI section, if you select "n" you can pick either the GUI or CLI.
All your database details are in /var/www/ticaga/installation_completed_info.txt Please remove this when Ticaga is installed. It's not accessible from the public but it's best practices to remove it.
CLI
cd /var/www/ticaga
sudo -u ticaga php artisan ticaga:setup
If you don't need to change your database details you can select no.

If you want to set up your email for outgoing emails, you can set it here, otherwise select no.
It fills in the .env mail settings and not linked to the Mail Servers in Settings which is used for tickets.

If you don't create an superadmin account here you'll have to register then add your role manually.

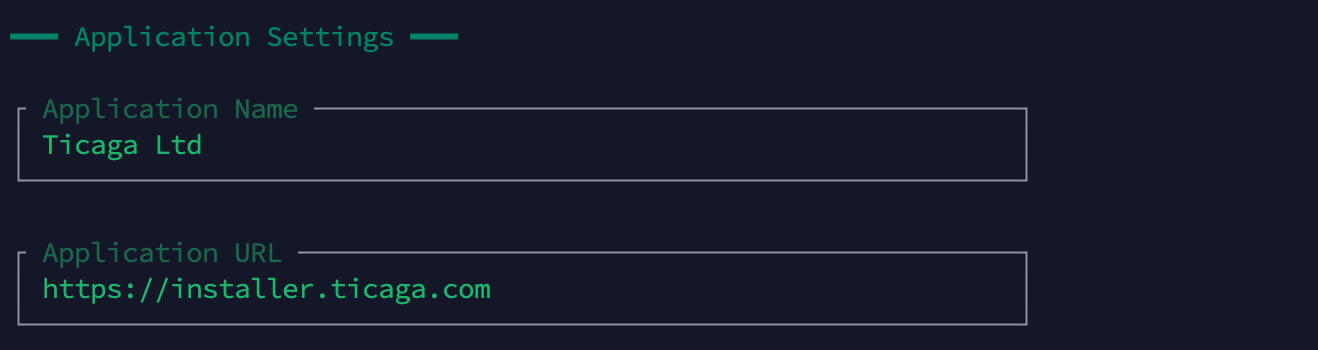
This allows you to change the Company name, url and debug mode.

You'll need to go into the license management to receive a trial, else you can contact our sales team to obtain a key.


GUI
https://support.yourdomain.com/install/
https://helpdesk.yourdomain.com/install/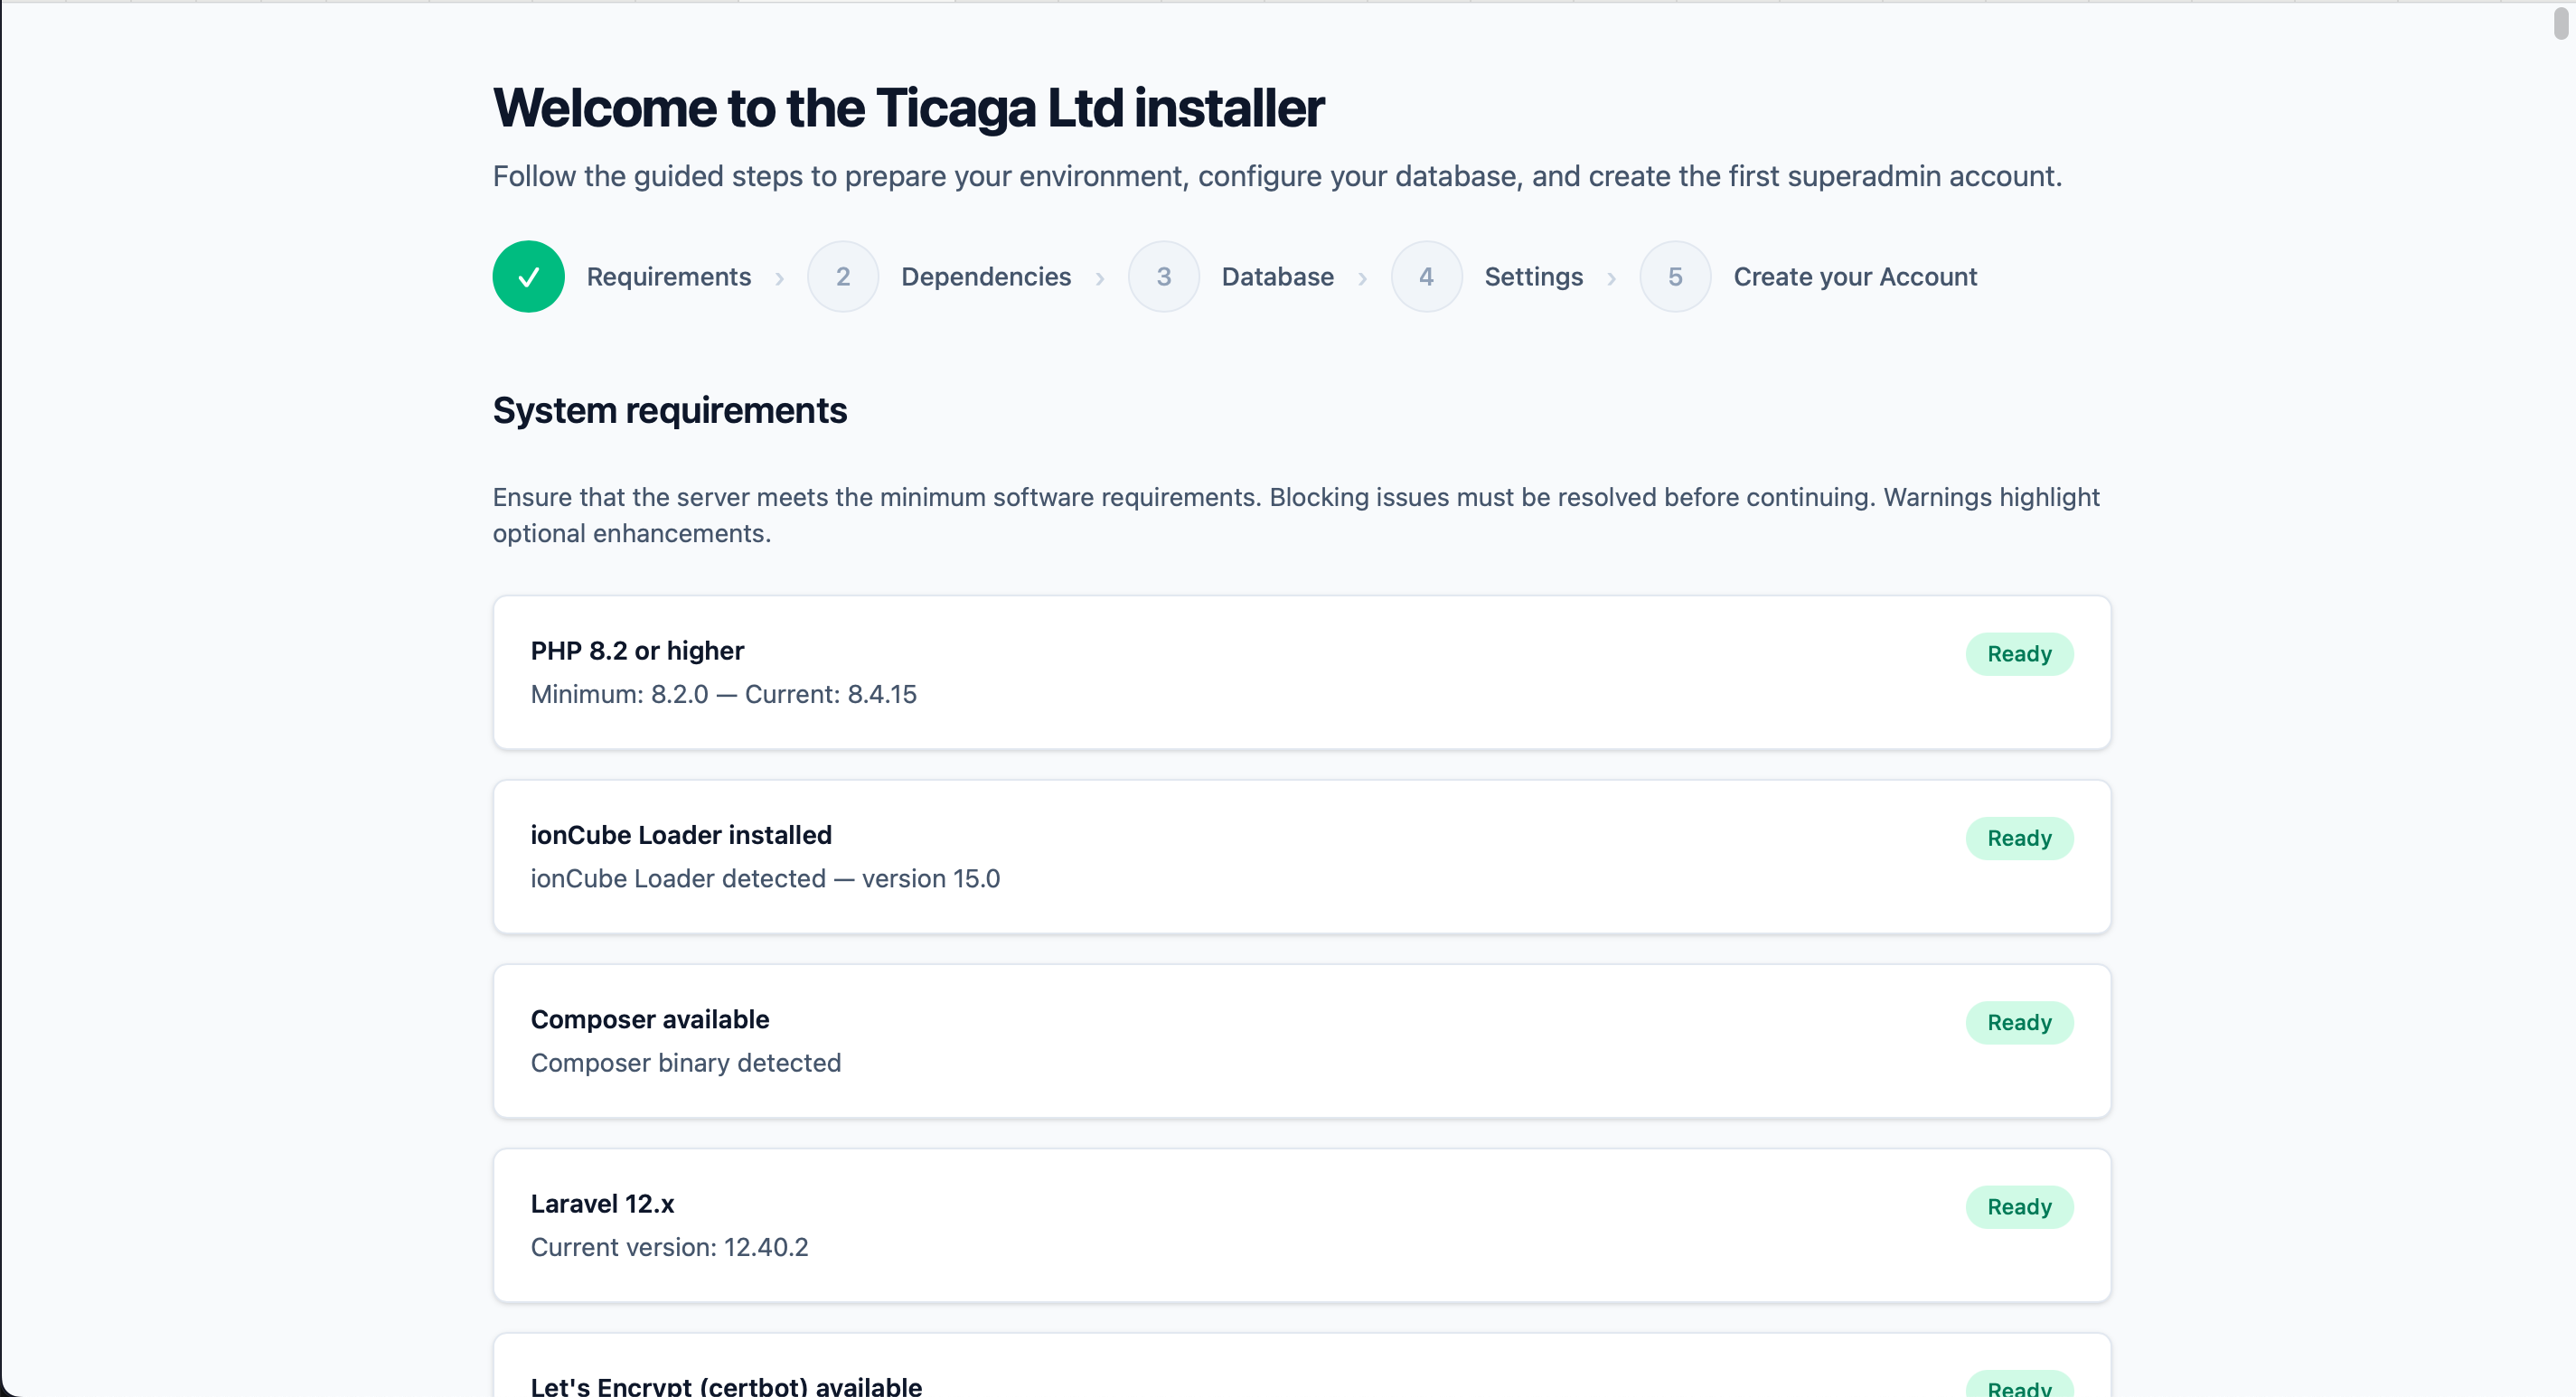
When you've met all the requirements (If you've ran the installer code above this will be all ready).
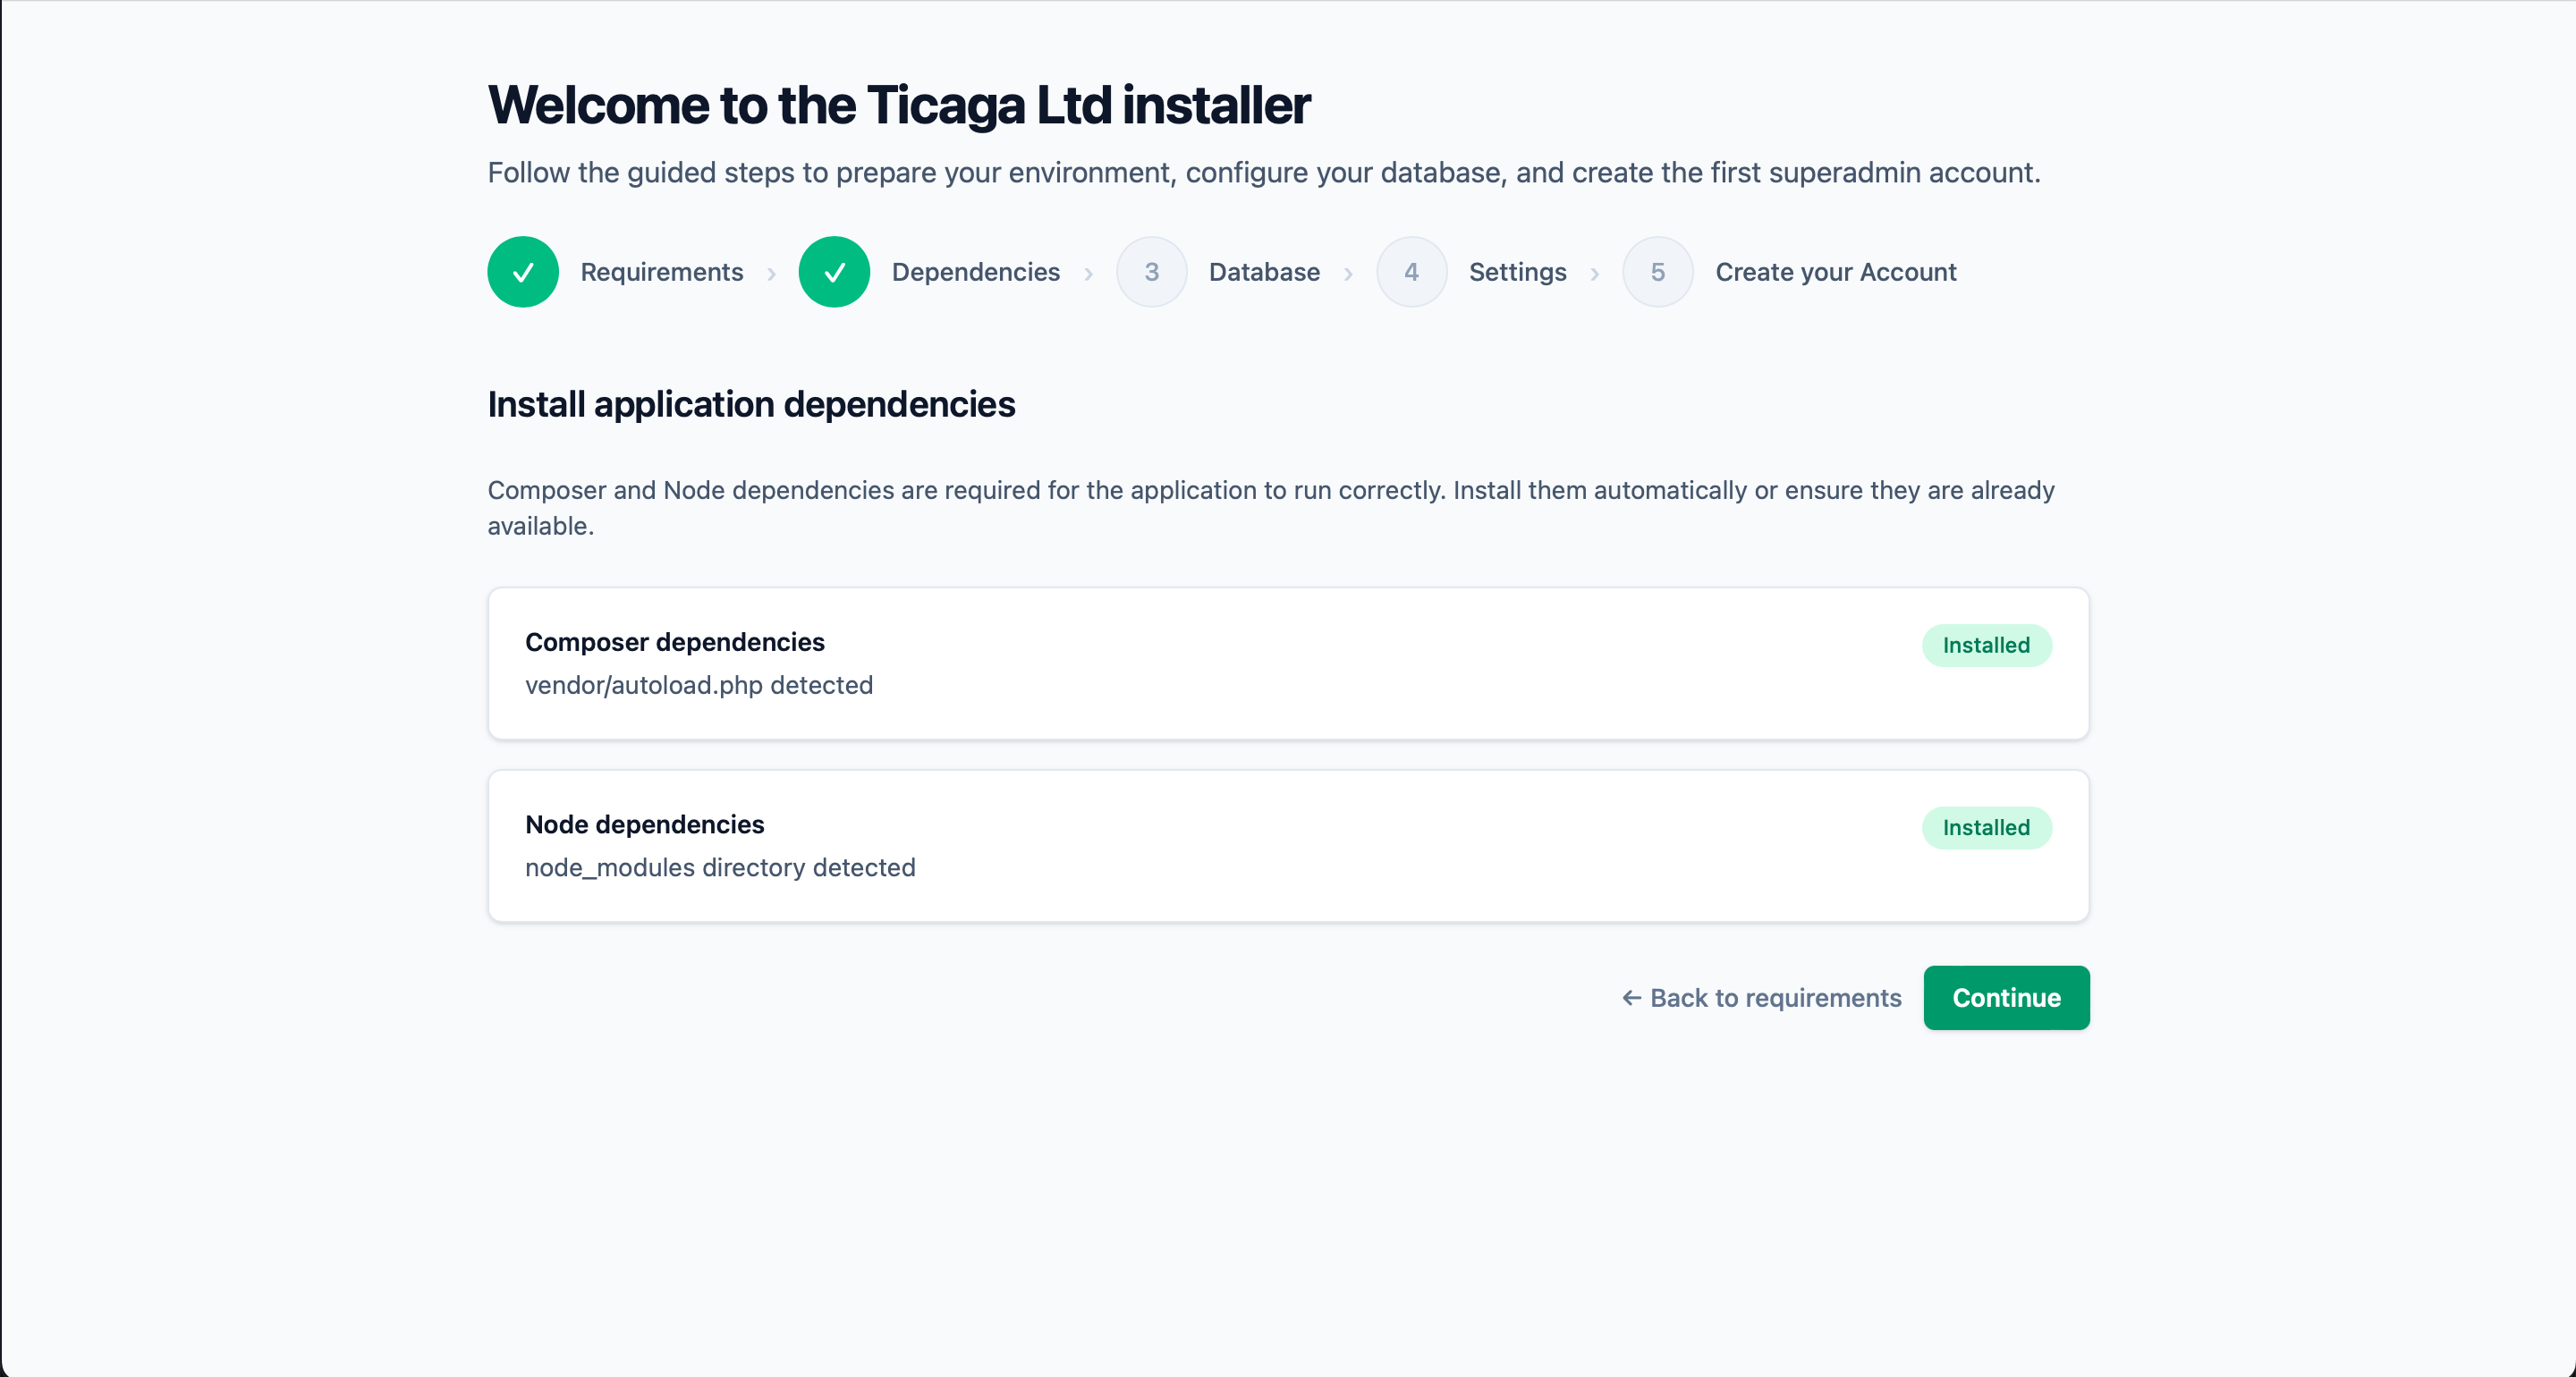
We need the dependencies installed, if there's not there's a button to install them.
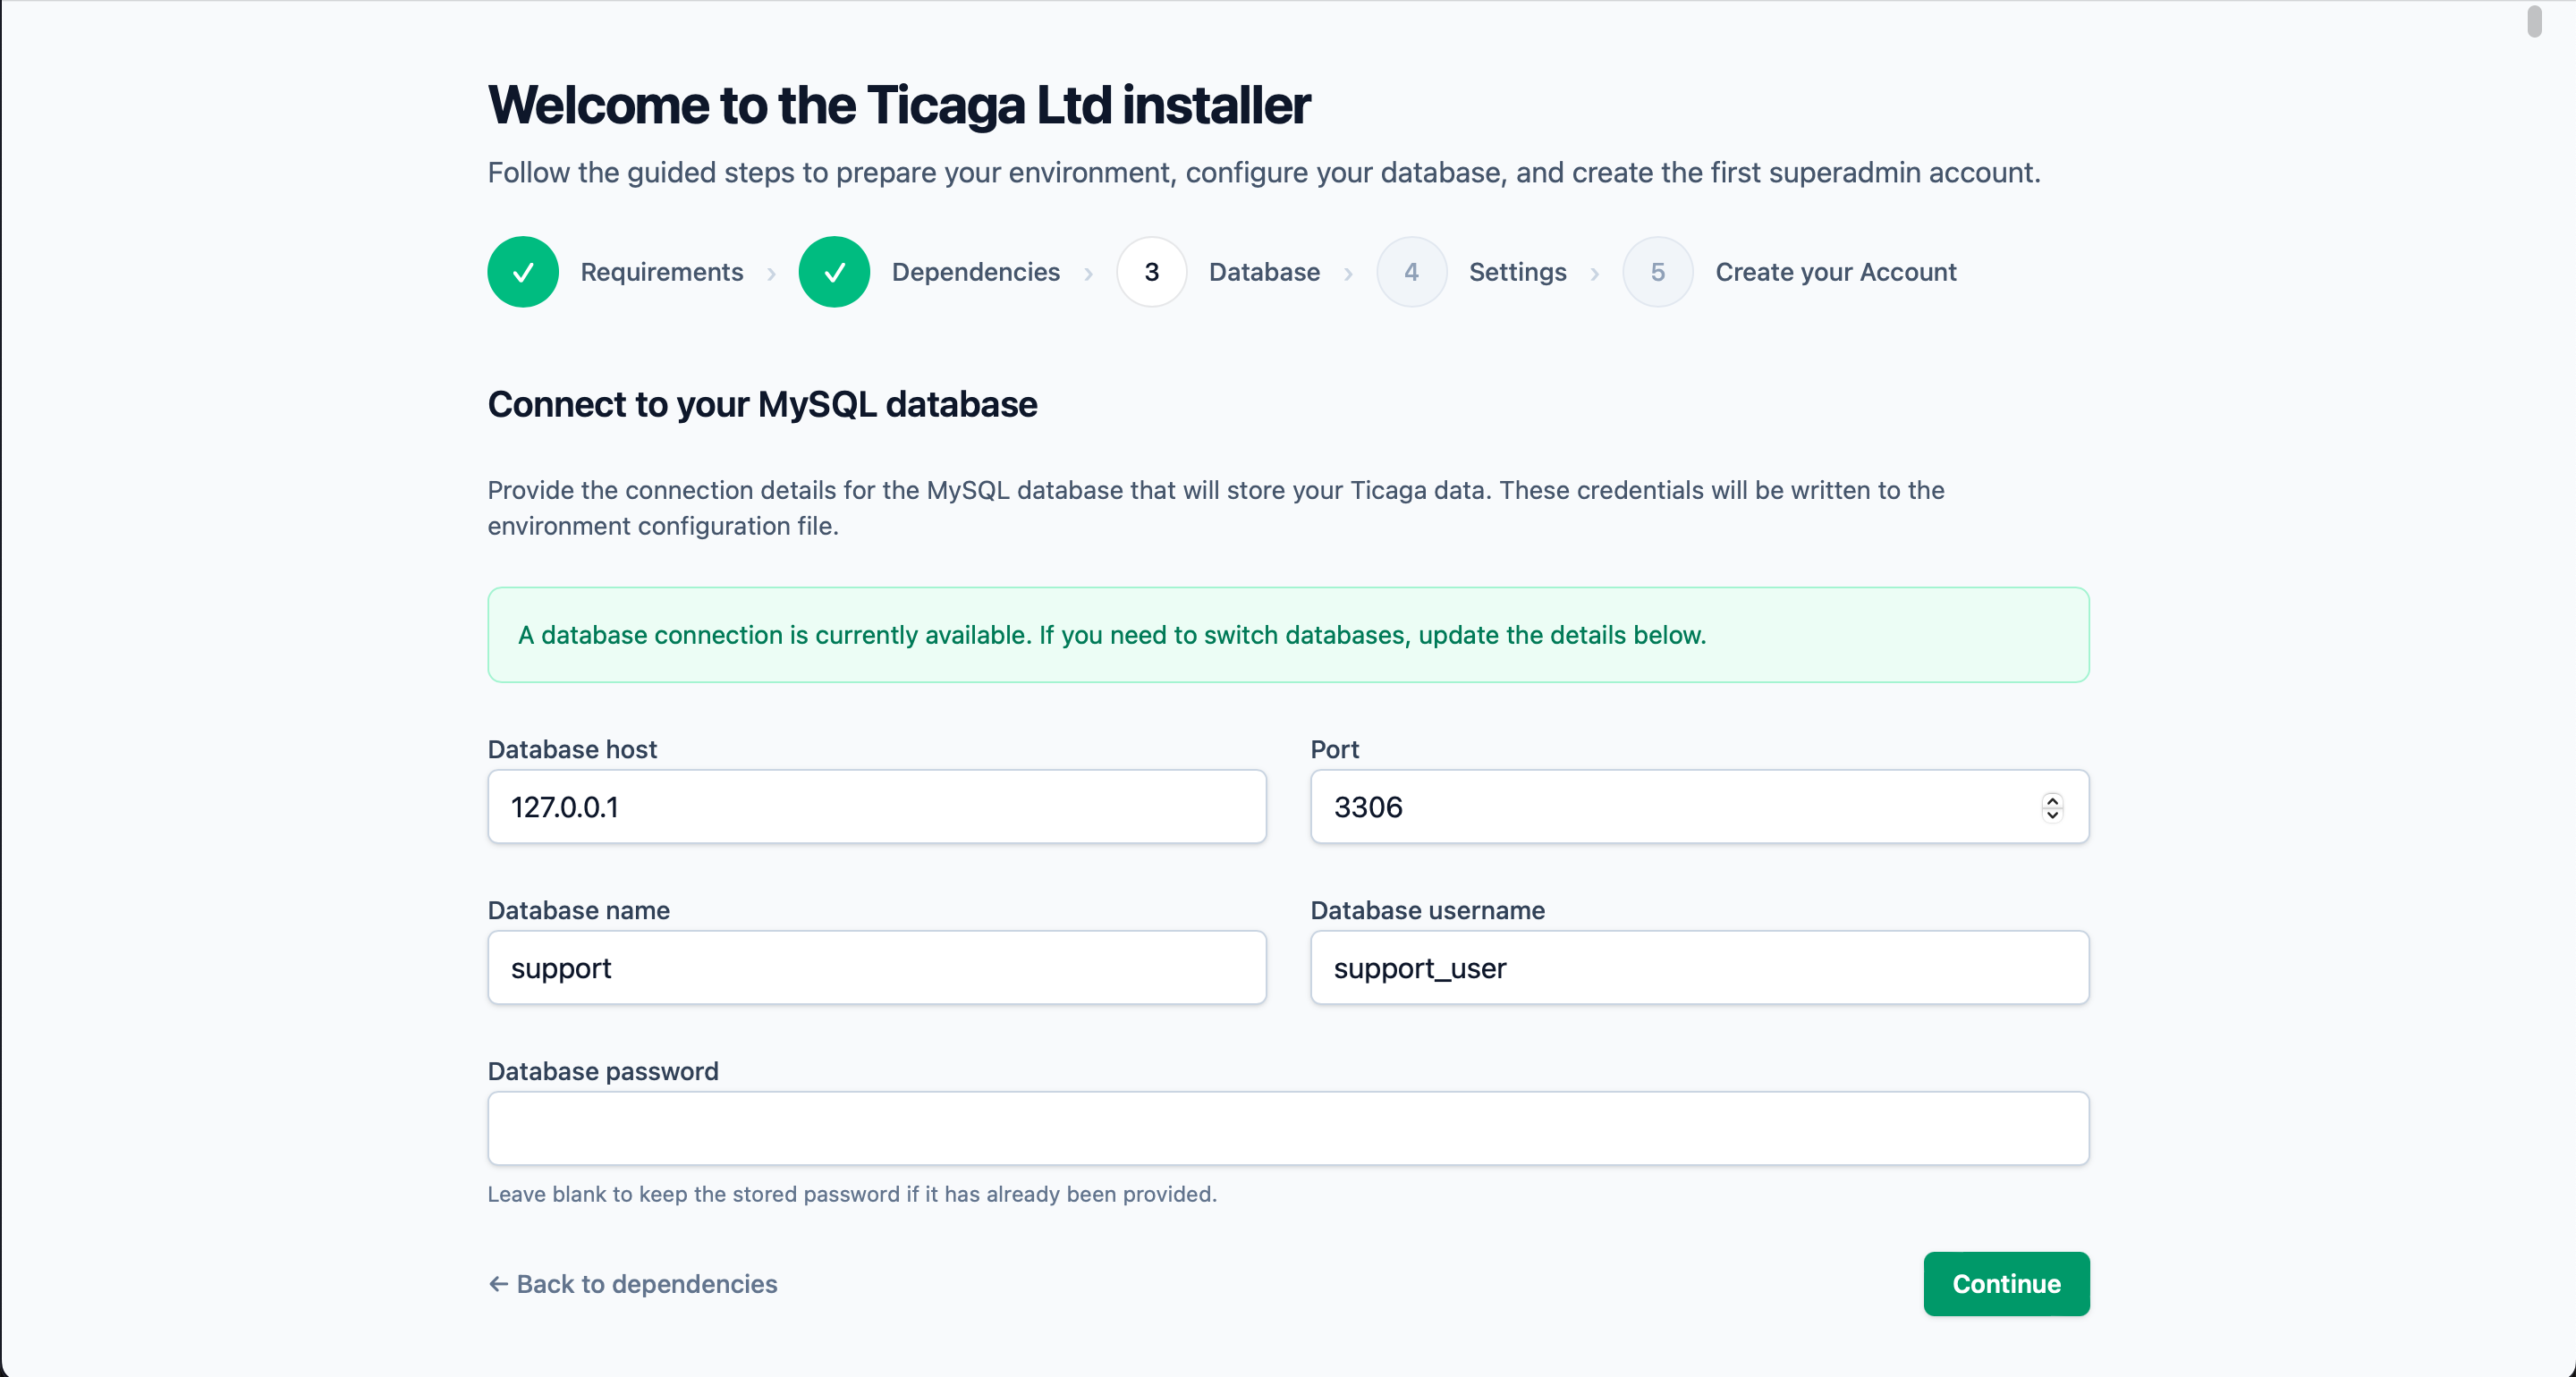
Connect to your database next, if you've used the installer above, just click on continue.
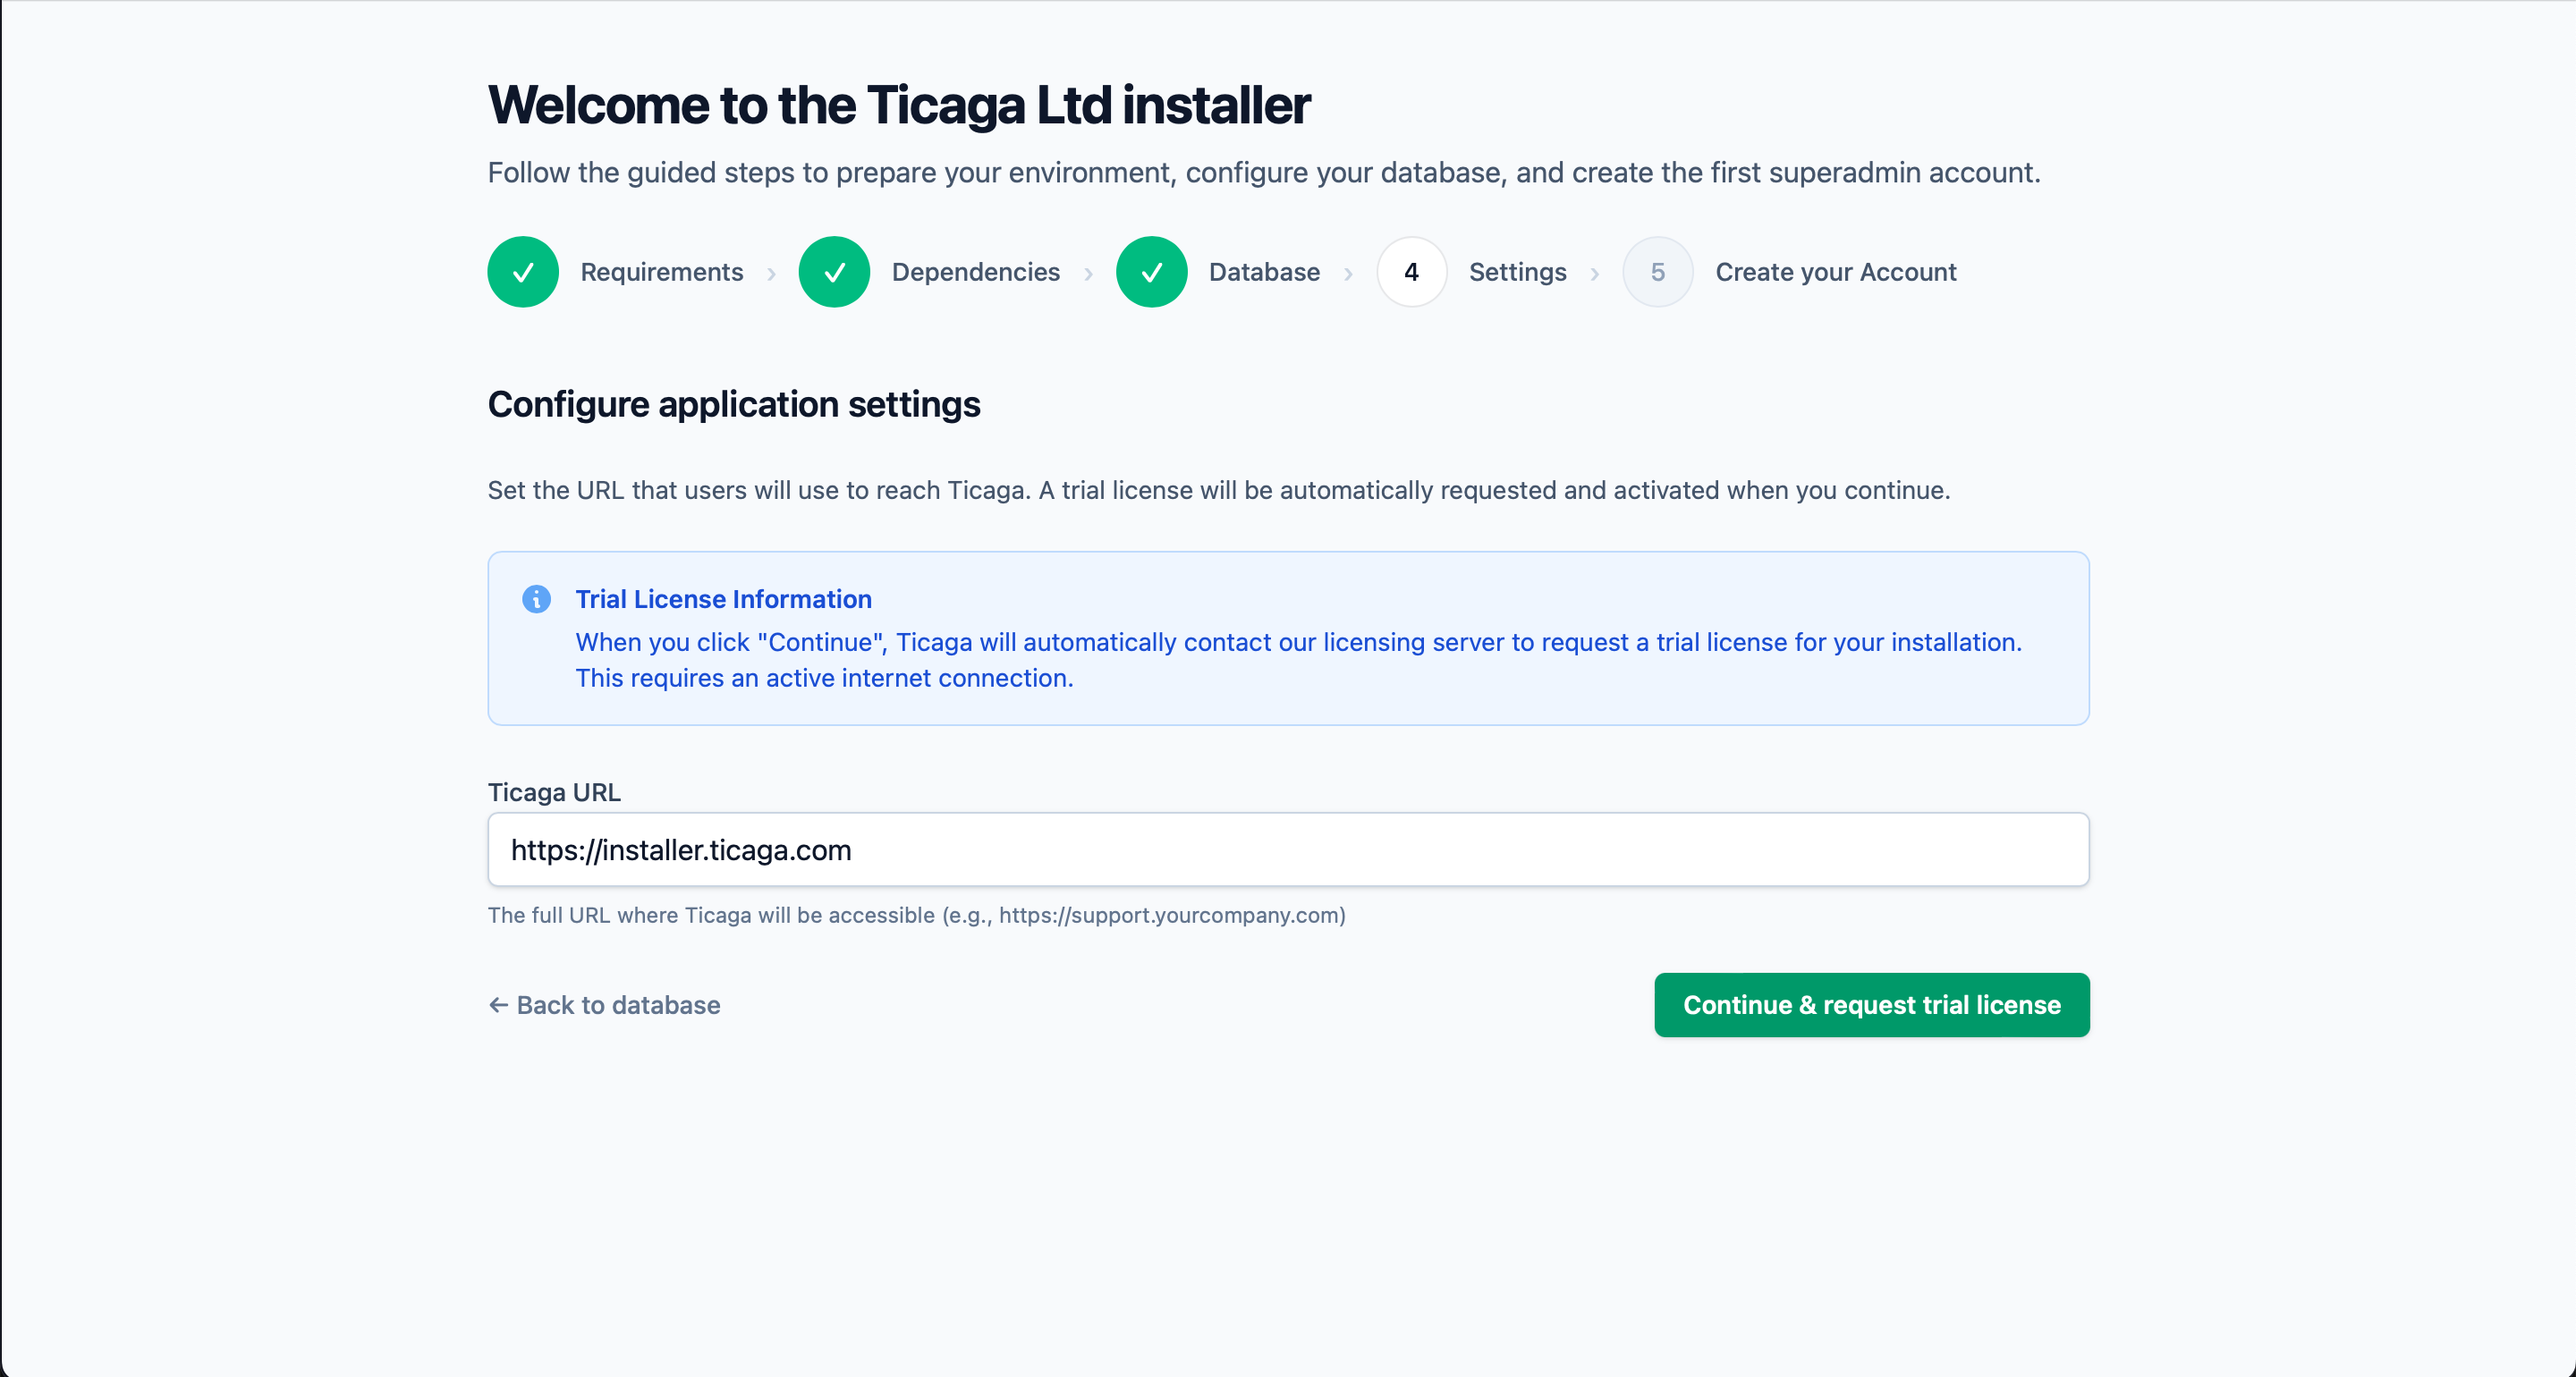
Grab a free 30 day trial automatically.
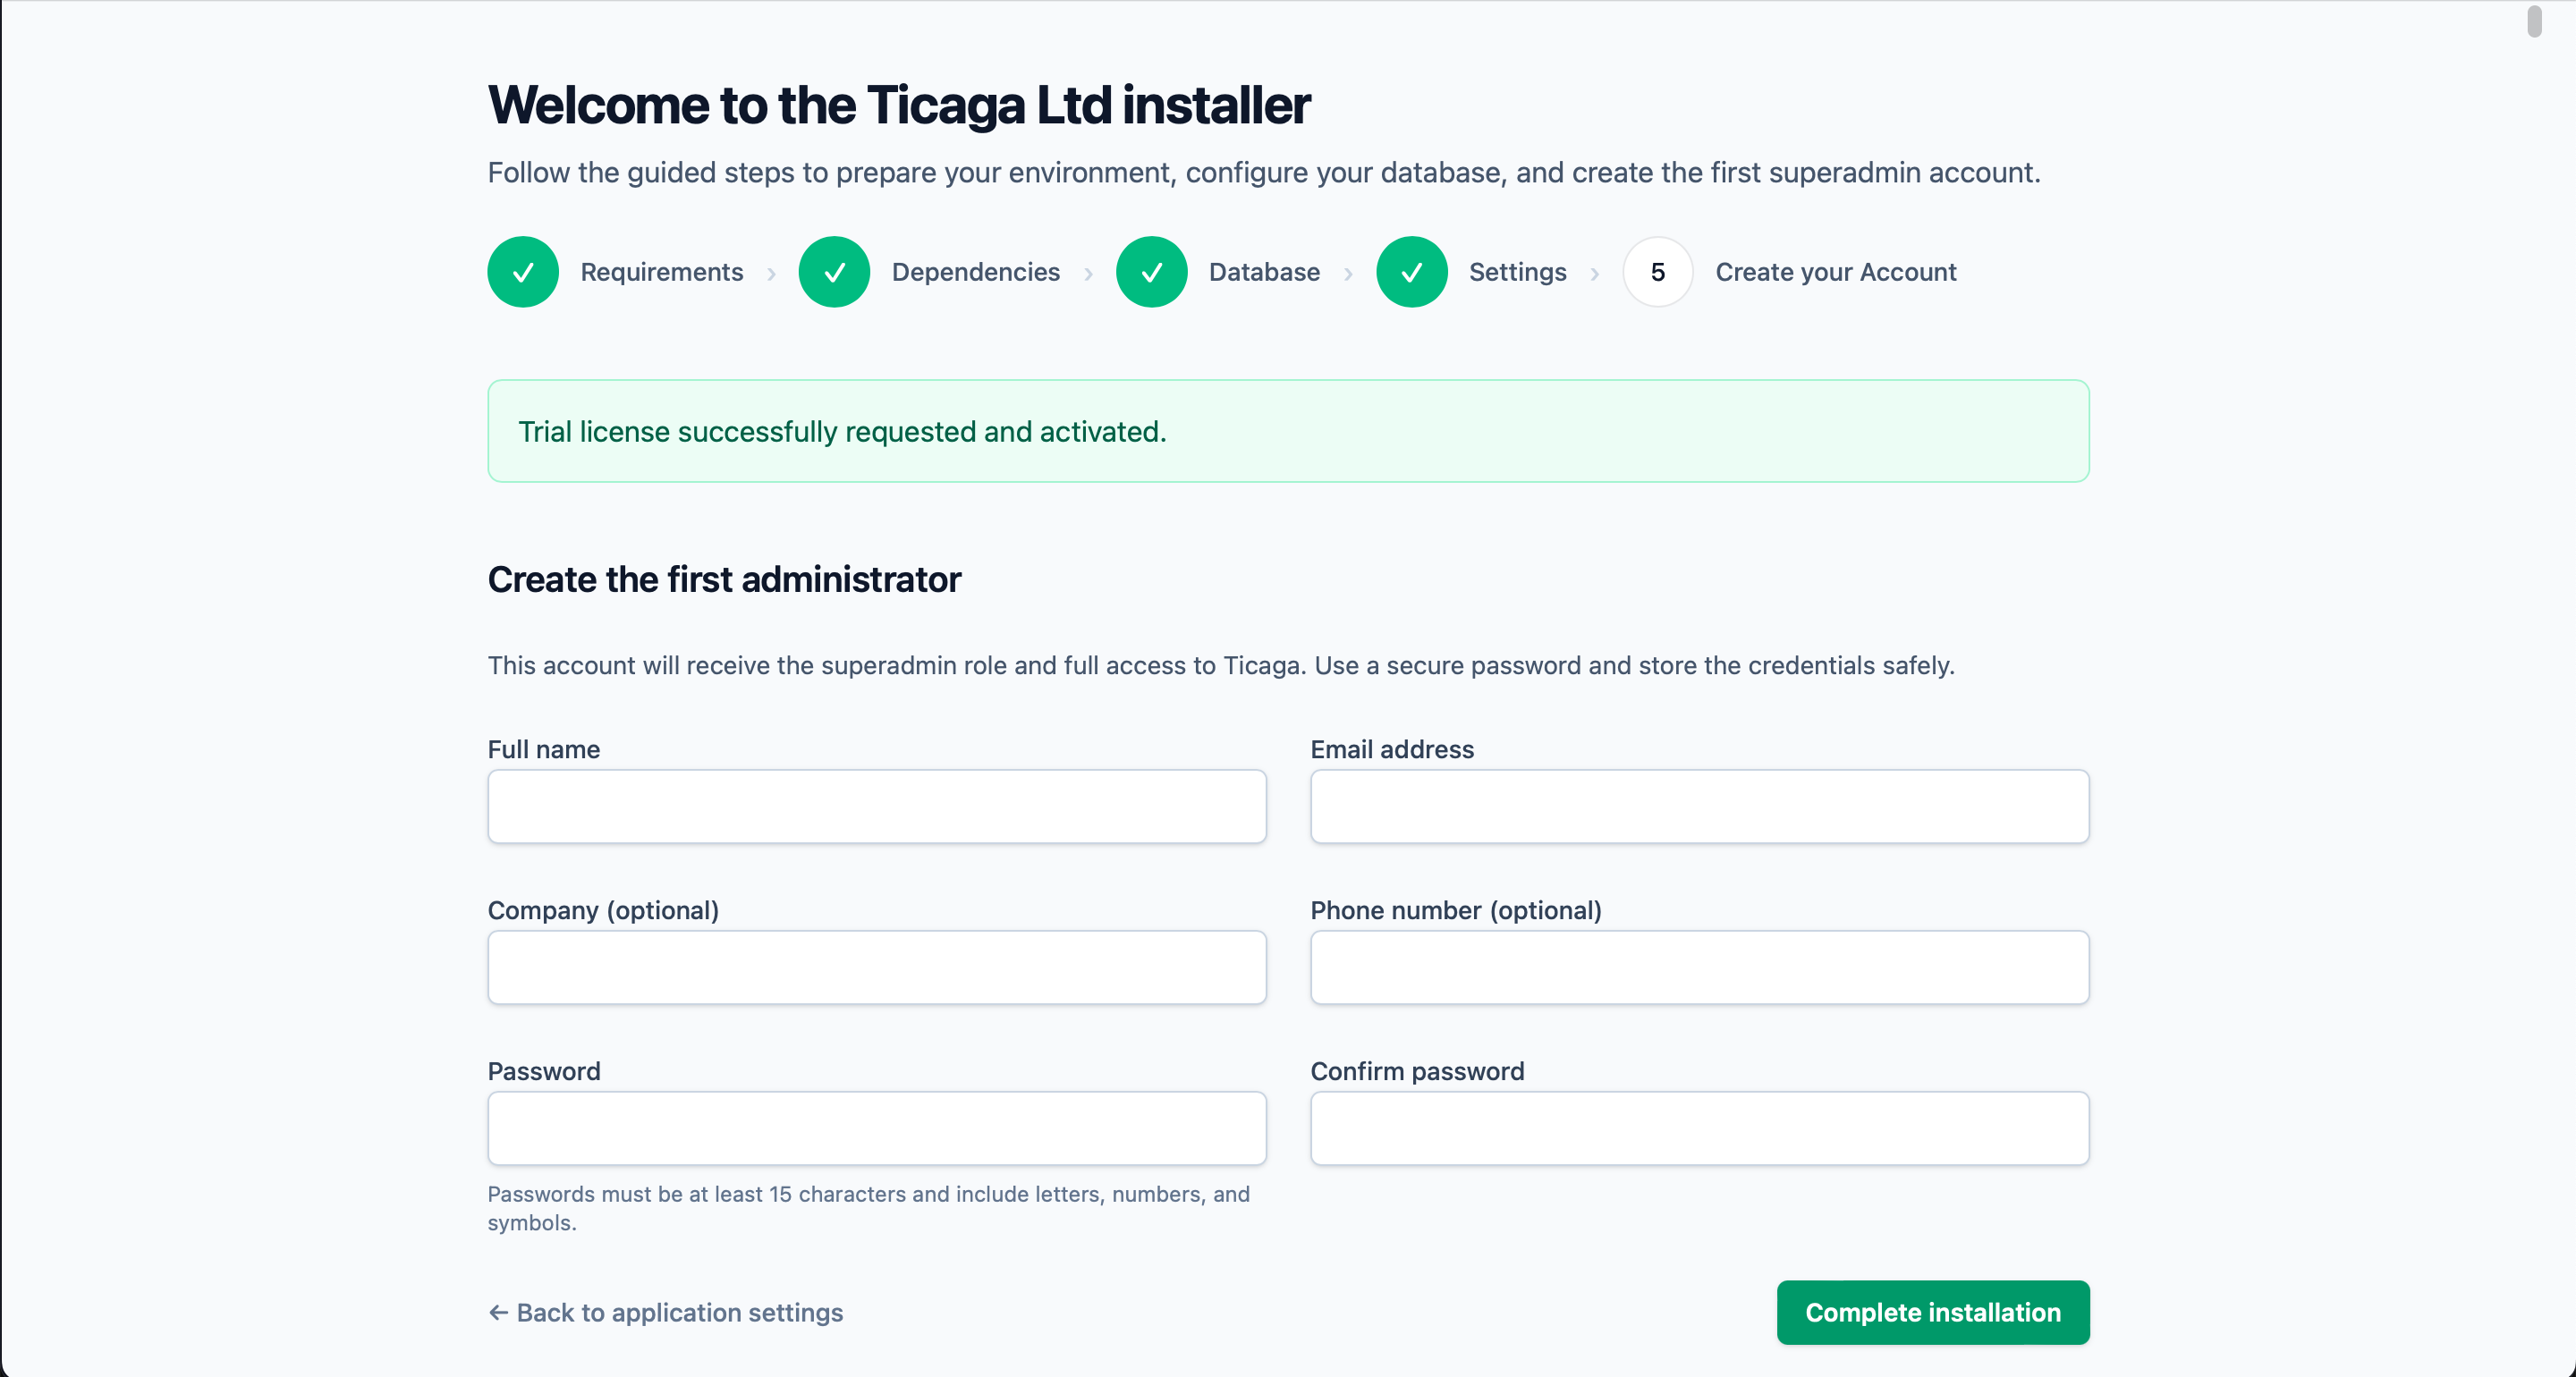
Next create your first Super Admin account, you'll will be able to log in next.