Create a Department
Firstly you want to select Support Departments on the left hand navigation.
You will see this page, we've already created a Sales department. In this tutorial we'll be creating the support department.
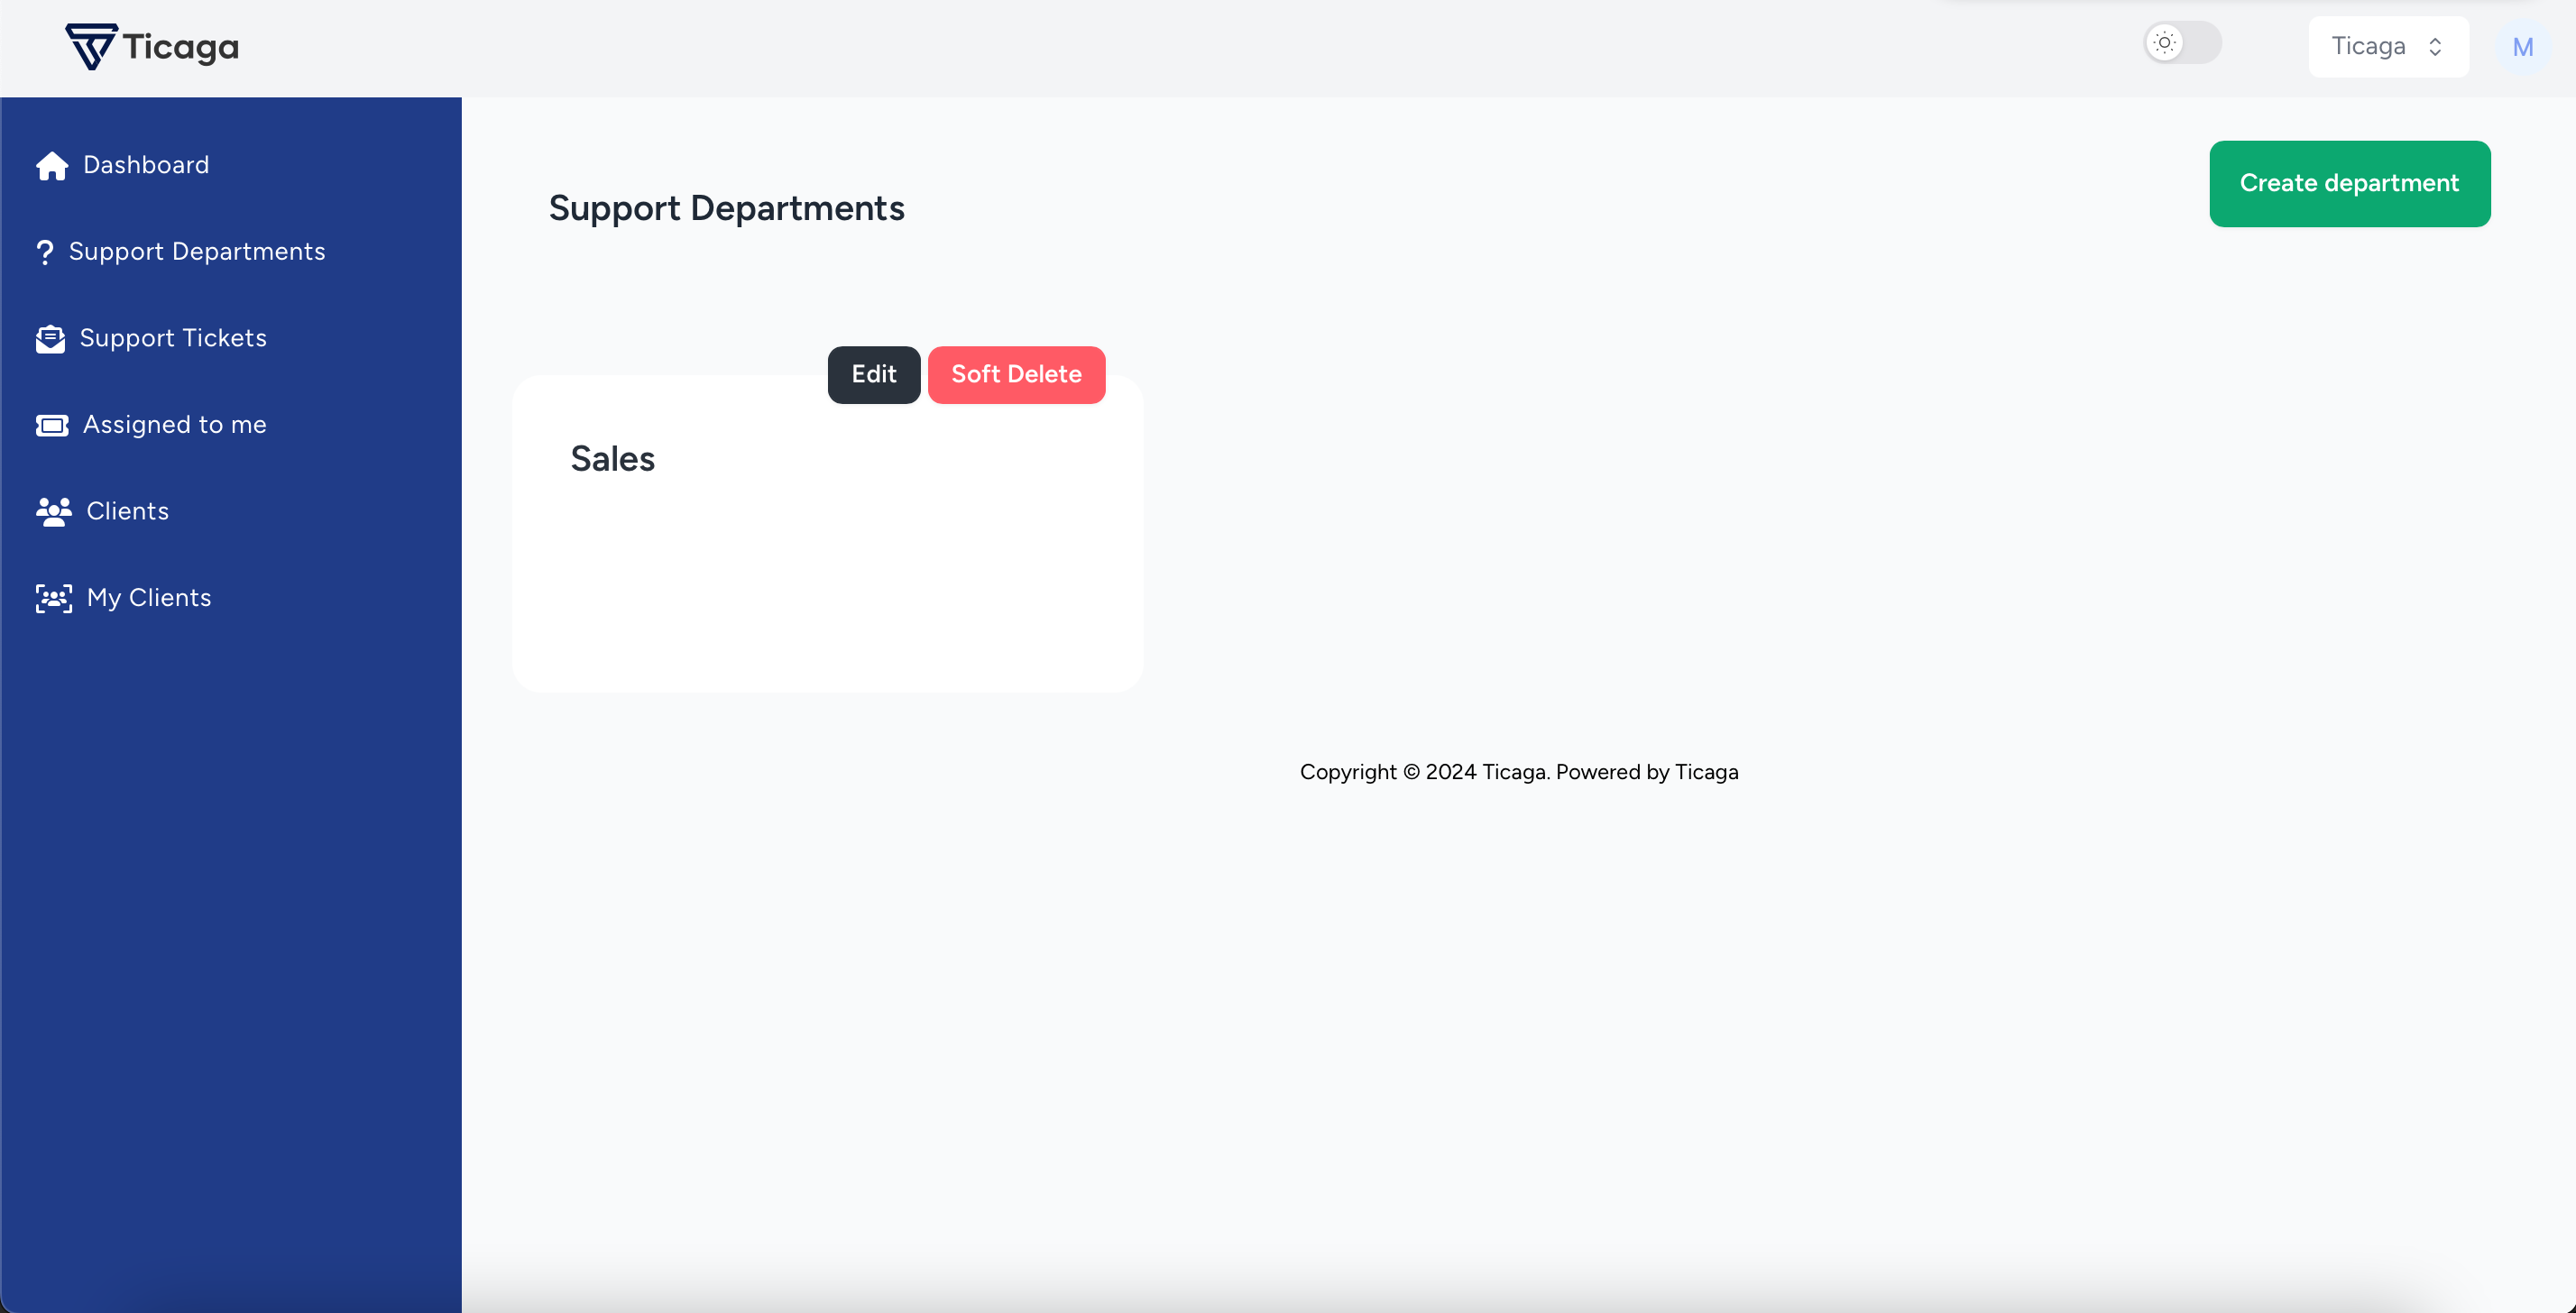
Now you can click on Create department button, to start creating your department.
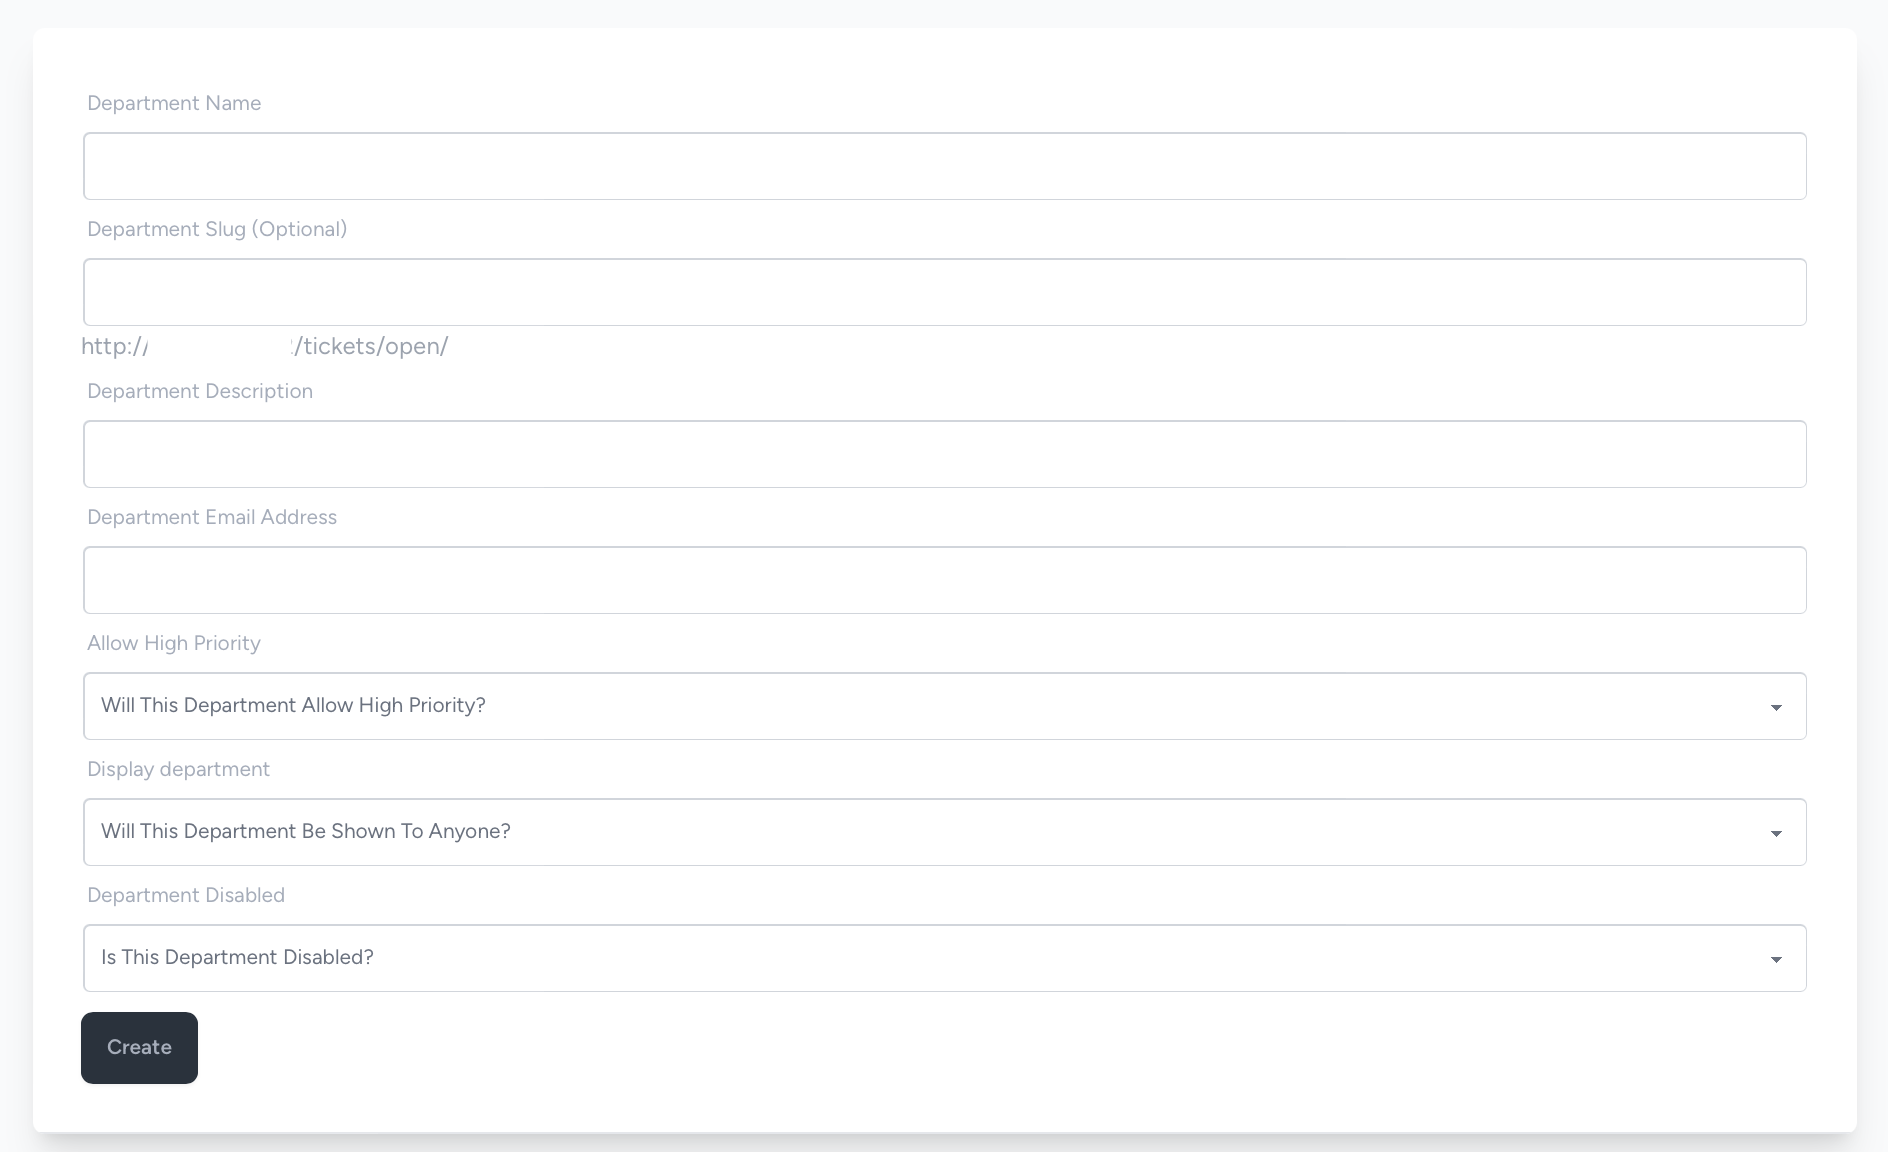
Department Name: The name of the department.
Description: You can enter a description here for the department this will be displayed under the name.
Department Slug: You can put the url to the department here, it is optional and it will generate a slug from the department name on creation.
Department Description: You can enter a description here for the department this will be displayed under the name.
Department Email Address: This is the email address for the department, this will be where the emails are from. This needs a valid domain in it.
Allow High Priority: Yes or No, if you select Yes, then your customers or guests can open a ticket with a Low, Medium, High or Emergency, or any other priorities you create in the Enum.Enum, otherwise it's just Low, Medium or any other priorities you've created which aren't "High Priority".
DisplayWho Department:can open tickets: This setting sets whether it's
- Private:Private shared link:- Shown to no-one, you can only access it via the link.
- Public:- Shown to everyone.
- OnlyCustomers Clients:only:- Shown to just customers.
DepartmentIs Disabled:the department visible: Is the department disabled? Yes means no-one can access it. No means anyone can access it depending on the display"Who departmentcan open tickets" setting above.
After you've clicked create, you will be able to see and use the department.