Viewing a ticket
When you're viewing a ticket you will see the following:
Viewing Ticket: Will show you the subject of the ticket.
Customer: Shows you the currently assigned customer.
If the ticket is from a non customer, you can assign the ticket to a customer via the dropdown.
This is only shown to the Agents.
Now if you're an Agent you can view the following section.
You can change the Department, Status, Priority of the ticket, as-well as assigning the ticket to an Agent.
If you're an Account manager for a customer, their tickets automatically get assigned to you. You can however change them to not assigned or to another agent if required.
Responses:
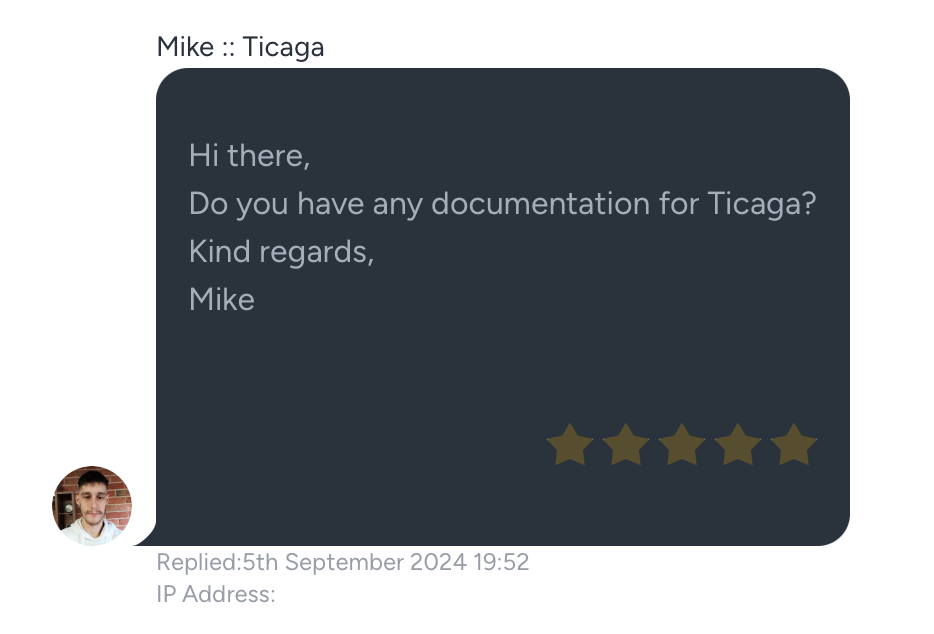
Customers show up in grey and the first ticket reply will show up with stars for the customer to rate you. If they rate you, they'll be a solid Yellow.
Customer's replies are always on the left.
Agent replies are always on the right, in blue and don't show the IP Address.
You can leave Notes for other agents, these don't show up for the customer. They are in Yellow just like the Agents and always on the right hand side.
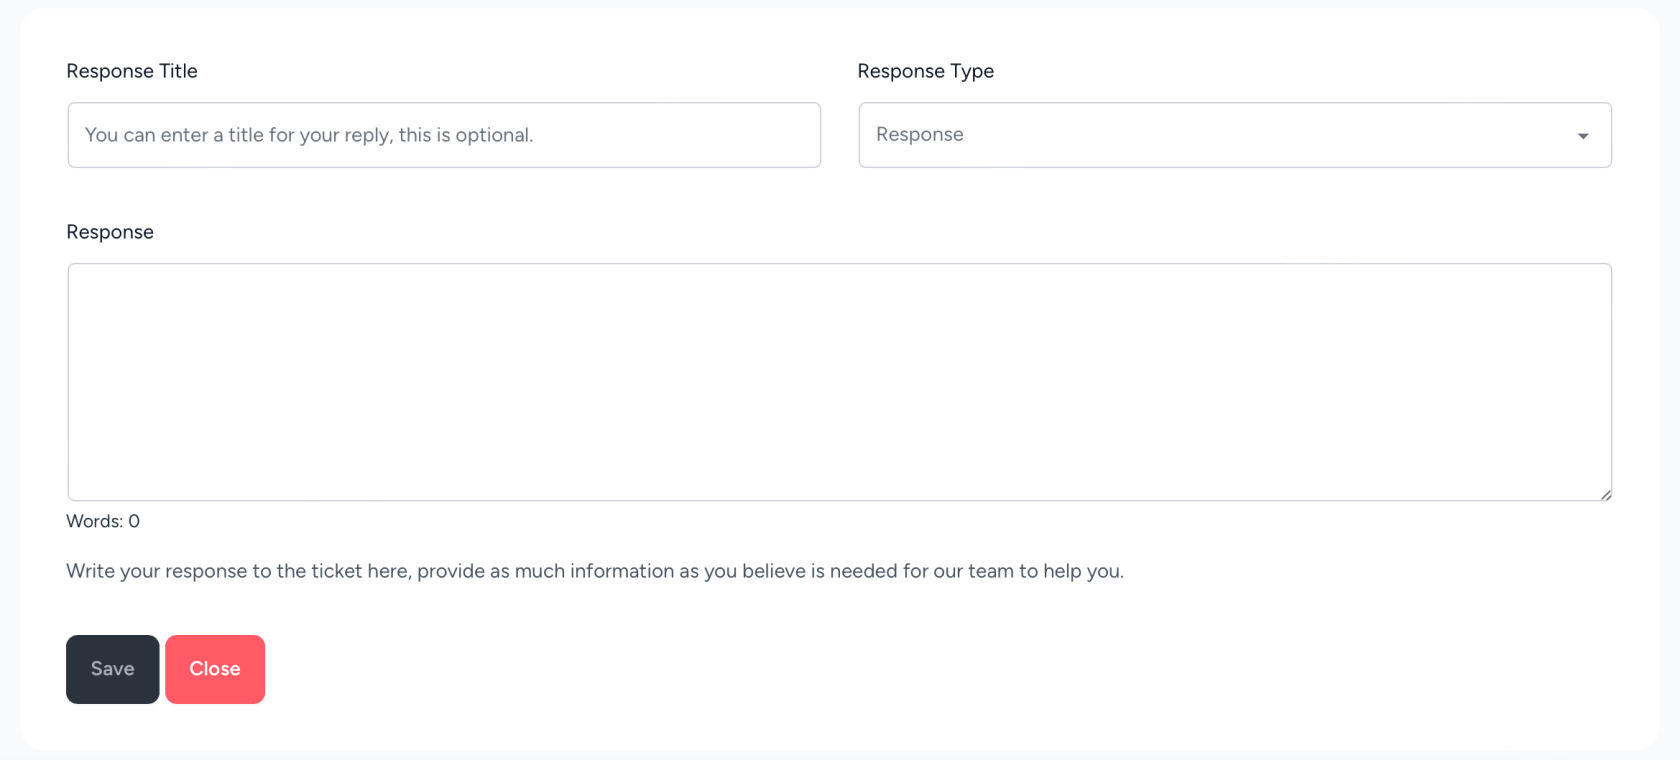
Response Title: You can enter a subject for your response, this will be used instead of the ticket subject. This is optional and not required.
Response Type: If you're an Agent you get this option to either reply to the customer or leave a Private Note for your colleagues.
Response: This is where you can write your response to the ticket. Provide as much detail as you can to help.
Save: This submits the response.
Close: This closes the ticket and marks it as resolved.


